Removing the airborne contaminant filter
Use the following instructions to remove the airborne contaminant filter in the low-profile or
extended-profile configuration.
Removing the low-profile filter
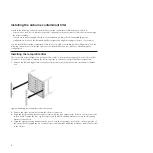
Complete the following steps to remove the low-profile airborne contaminant filter:
1.
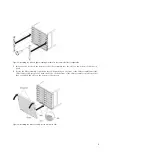
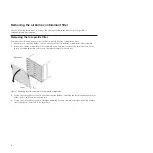
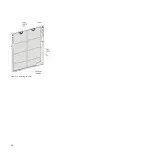
Push down on the slide latches on both sides of the chassis airborne contaminant filter assembly.
2.
Rotate the airborne contaminant filter assembly down and remove the hooks from the slots on the
chassis or extended-profile collar. Store the filter assembly for future use.
3.
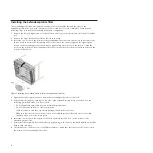
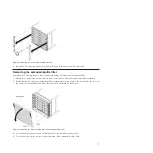
Loosen the four captive screws on the left mounting bracket, and slide the left mounting bracket out
of the chassis, and store it for future use.
4.
Loosen the four captive screws on the right mounting bracket, and slide the right mounting bracket
out of the chassis, and store it for future use.
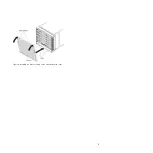
Figure 7. Removing the filter assembly in the low-profile configuration
6


