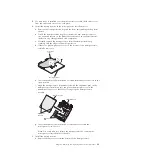
a.
If you installed microprocessor 1, install the memory module into DIMM
connector 1 (see “Installing a memory module” on page 64).
b.
If you installed microprocessor 2, install the memory module into DIMM
connector 10 (see “Installing a memory module” on page 64).
11.
If you are using a single microprocessor, make sure that a memory module is
installed in DIMM socket 3. If two microprocessors are installed in the blade
server, make sure that memory modules are installed in DIMM socket 3 and
DIMM socket 12. See “Installing a memory module” on page 64 for more
information on installing a memory module.
12.
If you removed the bezel in a previous step, install the bezel (see “Installing
the bezel assembly” on page 60).
13.
Install the optional expansion unit, if you removed one from the blade server
to replace the battery (see “Installing an optional expansion unit” on page 58
for instructions).
14.
Install the cover onto the blade server (see “Closing the blade server cover”
on page 56).
15.
Install the blade server into the BladeCenter unit (see “Installing the blade
server in a BladeCenter unit” on page 53).
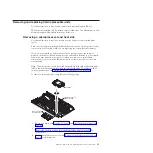
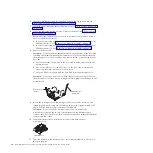
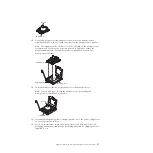
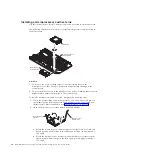
Thermal grease
Use this information to determine the guidelines for using thermal grease on a
heat sink and processor.
The thermal grease must be replaced whenever the heat sink has been removed
from the top of the microprocessor and is going to be reused or when debris is
found in the grease.
To replace missing, damaged, or contaminated thermal grease on the
microprocessor and heat sink, complete the following steps:
1.
Place the heat-sink assembly on a clean work surface.
2.
Remove the cleaning pad from its package and unfold it completely.
3.
Use the cleaning pad to wipe the thermal grease from the bottom of the heat
sink.
Note:
Make sure that all of the thermal grease is removed.
4.
Use a clean area of the cleaning pad to wipe the thermal grease from the
microprocessor; then, dispose of the cleaning pad after all of the thermal grease
is removed.
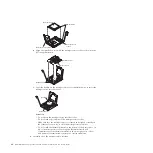
Microprocessor
0.02 mL of thermal
grease
5.
Use the thermal-grease syringe to place nine uniformly spaced dots of 0.02 mL
each on the top of the microprocessor.
92
BladeCenter HS22V Type 7871 and 1949: Problem Determination and Service Guide
Содержание BladeCenter HS22V 7871
Страница 1: ...BladeCenter HS22V Type 7871 and 1949 Problem Determination and Service Guide...
Страница 2: ......
Страница 3: ...BladeCenter HS22V Type 7871 and 1949 Problem Determination and Service Guide...
Страница 16: ...xiv BladeCenter HS22V Type 7871 and 1949 Problem Determination and Service Guide...
Страница 20: ...4 BladeCenter HS22V Type 7871 and 1949 Problem Determination and Service Guide...
Страница 34: ...18 BladeCenter HS22V Type 7871 and 1949 Problem Determination and Service Guide...
Страница 64: ...48 BladeCenter HS22V Type 7871 and 1949 Problem Determination and Service Guide...
Страница 112: ...96 BladeCenter HS22V Type 7871 and 1949 Problem Determination and Service Guide...
Страница 240: ...224 BladeCenter HS22V Type 7871 and 1949 Problem Determination and Service Guide...
Страница 244: ...228 BladeCenter HS22V Type 7871 and 1949 Problem Determination and Service Guide...
Страница 252: ...236 BladeCenter HS22V Type 7871 and 1949 Problem Determination and Service Guide...
Страница 257: ......
Страница 258: ...Part Number 00Y8038 Printed in USA 1P P N 00Y8038...

