| Appendix |
347
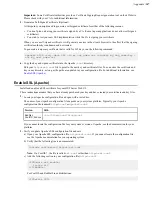
Important:
Some Certificate Authorities provide a Certificate Signing Request generation tool on their Website.
Please check with your CA for additional information.
5.
Generate a Self-Signed Certificate (Optional).
At this point, you might need to generate a self-signed certificate for either of the following reasons:
• You don't plan on having your certificate signed by a CA (Some Aspera applications do not allow self-signed
certificates)
• You wish to test your new SSL implementation while the CA is signing your certificate
When you use a self-signed certificate, it will generate an error in the client's browser to the effect that the signing
certificate authority is unknown and not trusted.
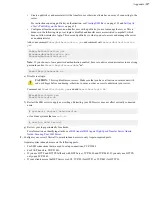
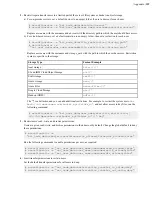
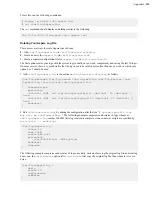
To generate a temporary certificate that is valid for 365 days, run the following command:
openssl x509 -req -days 365 -in
my_csr_name
.csr -signkey
my_key_name
.key -
out
my_cert_name
.crt
6.
Copy the key and signed certificate into the Apache
/conf
directory.
Edit your
httpd-ssl.conf
file to point to the new key and certificate files. You can store the certificate and
key in any directory, as long as the paths are updated in your configuration file. For additional information, see
.
Enable SSL (Apache)
Install and enable an SSL certificate for your HST Server Web UI.
These instructions assume that you have already purchased your key and have created your certificate and key files.
1.
Locate your Apache configuration file and open with a text editor.
The name of your Apache configuration file depends on your system platform. Typically, your Apache
configuration file is named
httpd.conf
or
apache2.conf
.
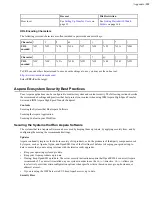
Version
Path
RedHat,
CentOS, Fedora
/etc/httpd/conf/httpd.conf
If you cannot locate the configuration file for your system's version of Apache, see the documentation for your
platform.
2.
Verify or update Apache's SSL configuration file and save.
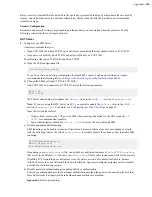
a) Open your Apache SSL configuration file,
httpd-ssl.conf
. If you cannot locate the configuration file,
see the Apache documentation for your operating system.
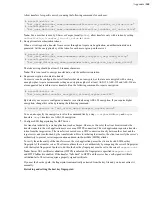
b) Verify that the following line is uncommented:
Include conf/extra/[httpd-]ssl.conf
Note:
On CentOS 7, the file is called
ssl.conf
rather than
httpd-ssl.conf
.
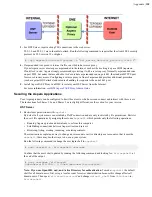
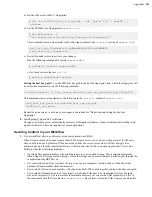
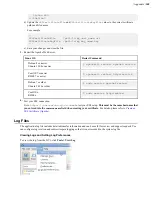
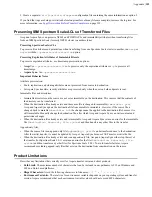
c) Add the following section to your configuration file (
httpd.conf
):
<IfModule ssl_module>
Listen 443
</IfModule>
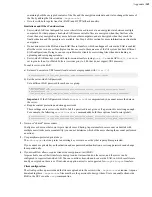
For CentOS and RedHat Linux distributions:
<IfDefine SSL>


