If you are not using a twinaxial console to manage your server, go to task 11
Finish your system setup.
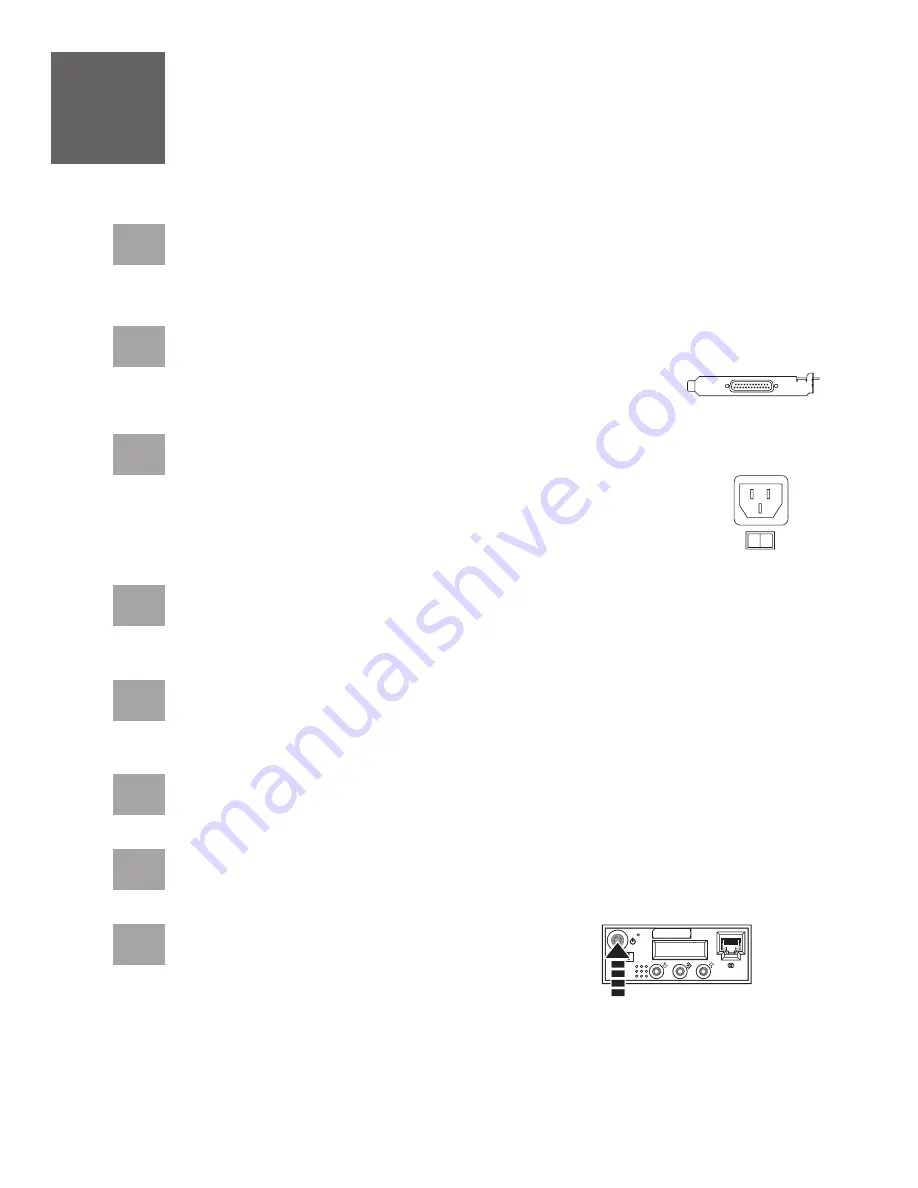
Connect a twinaxial cable from the workstation that you will be using as the system
console to port 0 on the 8-port twinaxial attachment cable.
Connect the 8-port twinaxial attachment cable (Part Number 21F5093) to the twinaxial
adapter card (2746). This card should be located in position 5 or 2 on the back of the
server.
Connect one end of a telephone cable to the RJ11 connector of the adapter in position 3,
and the other end to an analog telephone jack.
10
Cable the server and twinaxial console
Route the power cords through the rings or clamps, if available, on the back of the server,
and connect to the server. Do not connect the power cords to a power source until
instructed to do so.
10.1
10.2
10.3
10.4
10.5
10.6
10.7
10.8
Important:
The workstation address of your console must be set to 0.
To set the address, see the information included with your workstation.
If you are using any optional adapters, connect the cables to the appropriate adapter
connectors in the PCI slots of your server. If your server is in a rack, route the cables
through the cable-management arm and secure with the straps provided.
Connect your console to a power source and turn it on.
Connect your server to a power source, and wait for the control panel on the front of the server
to display
. This might take several minutes.
01
Press the white Power On button on the control panel.
Your console is now cabled and will be ready for login when the IPL is complete. Continue
to task 11
for details about how to access the information center.
Finish your system setup


