4
Mounting
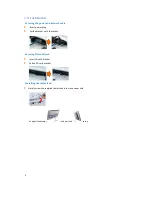
IAD18001 is MIS-D75 compatible, the recommended screw is M4 x 4.5~5mm (excl. bracket thickness)
Mounting Option 1: [VESA mount]
Supporting VESA standard: VESA MIS-D75 (75*75mm)
Supporting screw: M4*4mm (exclude the mounting plate thickness)
Mounting Option 2: [Using back cover]
(power / SD card brackets MUST NOT installed while mount on back cover)
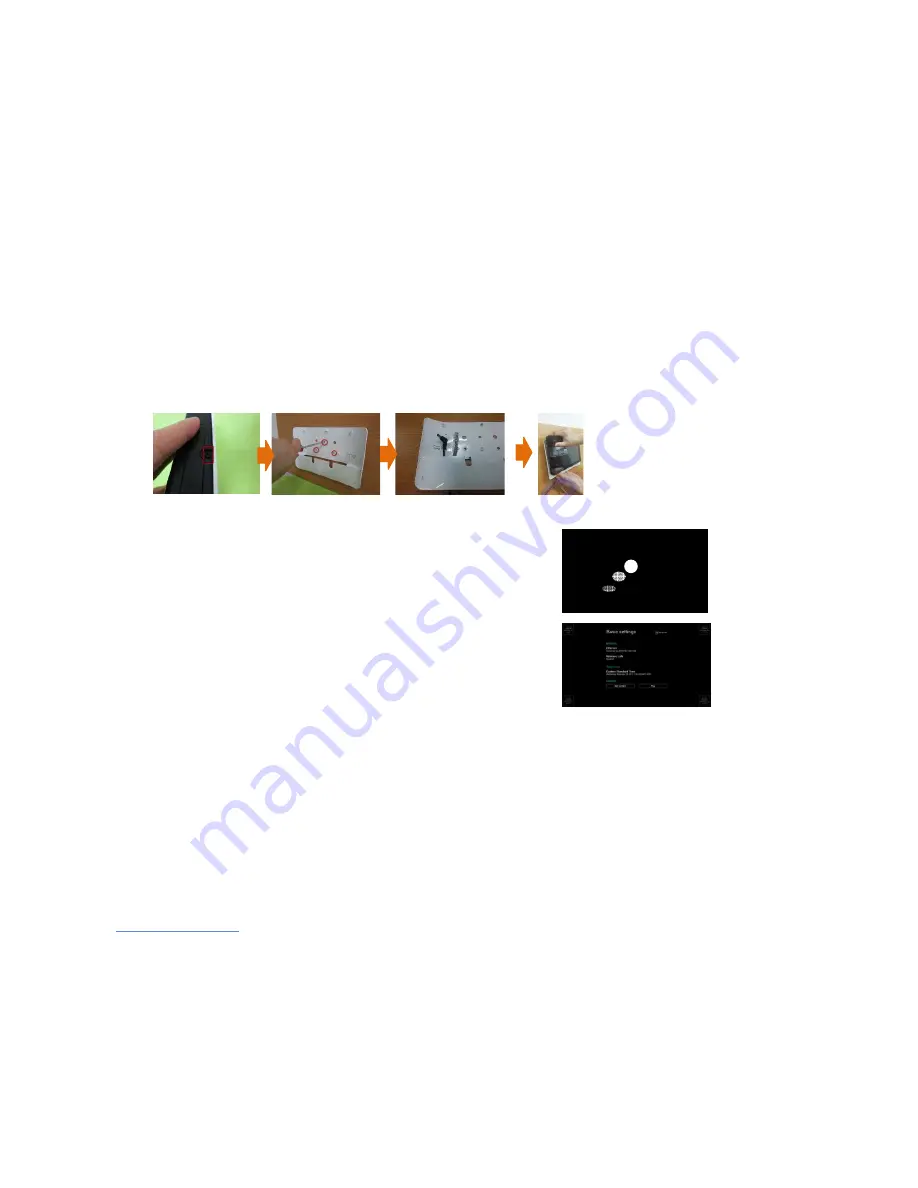
1
Release the back cover screw to release back cover
2
Install back cover : thread head height must not exceed
3mm
3
Route power and network cable from bottom as shown in photo
4
Plug power and network cable to signboard , and then install signboard with back cover carefully
1.4.
System setup
1
INSTALL
the AC power adapter
→
You should see the player boot up screen as shown in right
2
WAIT
while player boots up
→
once you see “Basic settings” on screen, the unit is ready for content
update or menu configuration
3
PLUG IN
a USB mouse to the unit’s USB port or configure by touch
screen(IAD18001 only)
4
Enter
the corresponding configuration option
by moving the mouse cursor over the configuration and click
on the option to enter (or tap on the configuration option for IAD18001)
→
find and set the correct time/date AND time zone
.
IMPORTANT
: time zone must be set correctly in the menu or via management software for scheduled playback
→
(OPTIONAL)
Set a Password
in the menus to prevent unauthorized changes.
IMPORTANT
: Password will be asked while enter the setup menu during playback
5
Click
Set content
button to configure your signage appliance to the content service if needed
→
For advanced player configuration, such as static IP, display resolution, and firmware update, visit
www.digisignage.com
for more information
Содержание IAD18000
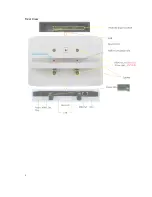
Страница 5: ...2 Rear View...


