background image

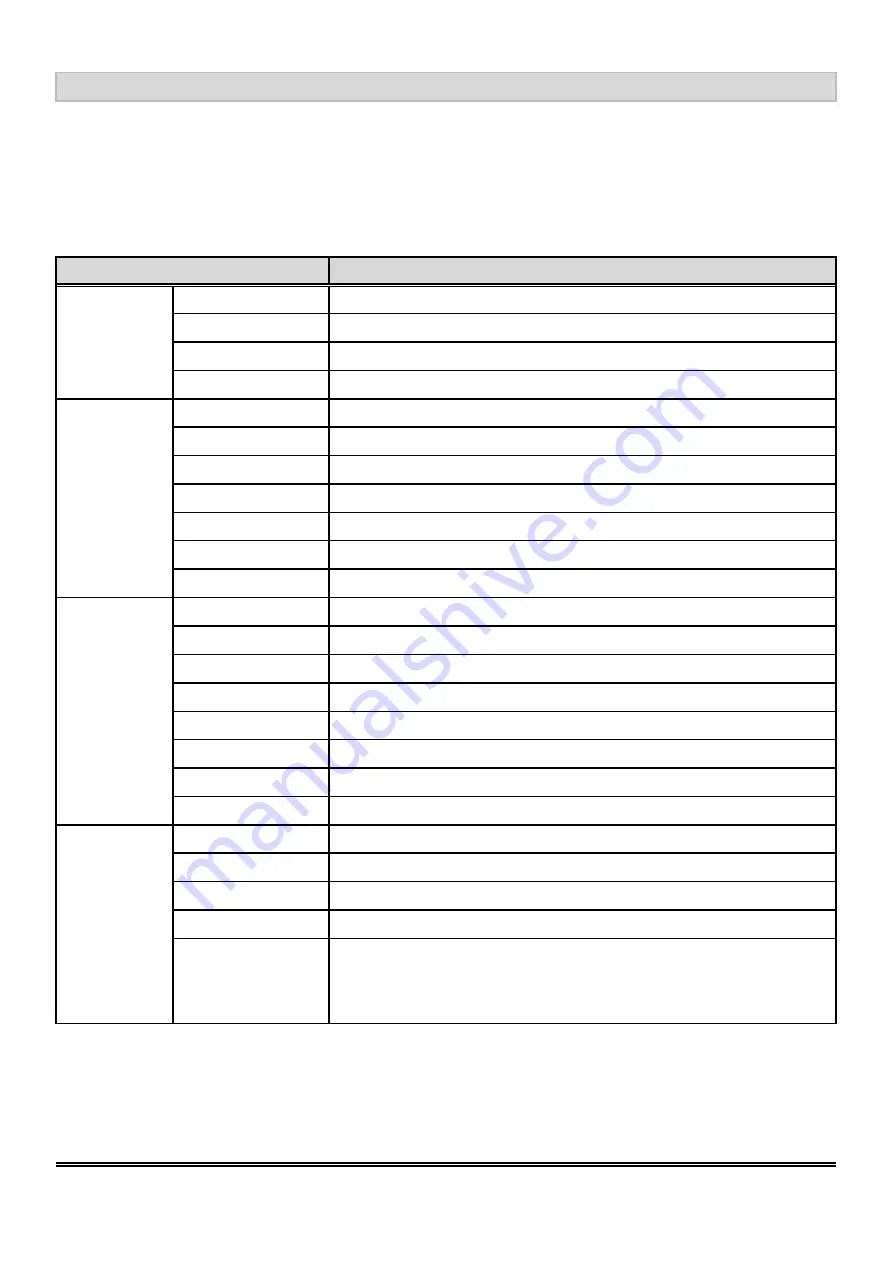
3.2 Setup for Operation

Description

Contrast 

Adjust the contrast of the screen.

Brightness

Adjust the brightness of the screen.

Color Temp

Choose "User color" can use to set value of Red/Green/Blue.

Scale

Set to full or center.

BASS

Adjust the bass of the audio.

TREBLE

Adjust the treble of the audio.

BALANCE

Adjust the balance of the audio.

Sound mode

Set sound mode to STANDARD, USER, MOVIE, MUSIC.

Equalizer

Set equalizer to 120Hz, 500Hz, 1500Hz, 5KHz, 10KHz.

AVC

Set AVC to turn ON or OFF.

Product Specification

AUDIO

The OSD (On Screen Display) menu enables user to manipulate the image and settings OSD Main
menu consists of source:

PC

OSD MENU

Sound effect

Set sound effect to OFF, SRS, MSTAR.

Sleep timer

Set sleep timer to OFF, 15M, 30M, 45M, 60M.

Language

Select one of the 7 languages.

H-position

Adjust the horizontal position of OSD menu screen's image.

V-position

Adjust the vertical position of OSD menu screen's image.

Duration

Adjust OSD display time.

Halftone

Adjust the halftone of OSDs menu screen's image.

Blue screen

Set blue screen to ON or OFF.

Restore

Return to factory original setting.

H-position

Adjust the horizontal position of the screen's image.

V-position

Adjust the vertical position of the screen's image.

Clock

Adjust frequency to fill display.

Phase

Adjust the phase control of image.

OSD

Automatically adjust the horizontal position, vertical position,
horizontal size and phase Windows background or characters
should display on your full screen after proceed this function.

Geometry

AUTO ADJST

9/16

Содержание YPM1040PHB

Страница 1: ...mer s Confirmation Approved by Reviewed by Prepared by Supplier s Confirmation Approved by Reviewed by Prepared by Please return 1 copy for our confirmation with your signature and comments 1 16 COMPA...

Страница 2: ...09 Do not allow anything to rest on the power cord 09 Do not locate this product where persons will walk on the cord 10 If an extension cord is used with this product make sure that the total of the...

Страница 3: ...First Edition for Customer 3 16 Product Specification Record of Revision Version Date Page Old Description New Description 0 1 2014 07 14 All...

Страница 4: ...g the monitor 1 Power Signal connections 2 Optional cable connections 3 Dimensions 3 Using VGA LCD monitor 1 Key definition 2 Setup for Operation 4 Cleaning the monitor 5 Disclaimer 6 Trouble shooting...

Страница 5: ...or with steel frame Custom design by request 1 2 Notice Do not touch the LCD panel surface with sharp or hard objects Do not use abrasive cleaners waxes or solvents for cleaning use only a dry or damp...

Страница 6: ...t the power to the monitor through the AC DC adapter 2 1 3 VGA cable connection Plug 15 pin VGA signal cable to the VGA connector in the rear of PC system and plug the other end to the monitor Secure...

Страница 7: ...2 3 Dimensions Product Specification 7 16...

Страница 8: ...3 Using VGA LCD Monitor 3 1 Key Definition Product Specification Down value decrease Up value increase Power Power ON OFF Menu Menu Select Select Signal Select 8 16 OSD KEY FUNCTION...

Страница 9: ...ound effect to OFF SRS MSTAR Sleep timer Set sleep timer to OFF 15M 30M 45M 60M Language Select one of the 7 languages H position Adjust the horizontal position of OSD menu screen s image V position A...

Страница 10: ...COLOR TEMP Set color to NORMAL WARM COLD SRGB USER You can select the screen s color level of the white color field from the default color temperature settings Also you can fine tune the color temper...

Страница 11: ...alance of the audio SOUND MODE Set sound mode to STANDARD USER MOVIE MUSIC EQUALIZER Set equalizer to 120Hz 500Hz 1500Hz 5KHz 10KHz AVC Set AVC to turn ON or OFF SOUND EFFECT Set sound effect to OFF S...

Страница 12: ...SITION Adjust the vertical position of OSD menu screen s image DURATION Adjust OSD display time HALFTONE Adjust the halftone of OSDs menu screen s image BLUE SCREEN Set blue screen to ON or OFF RESTOR...

Страница 13: ...ntal position of the screen s image V POSITION Adjust the vertical position of the screen s image CLOCK Use to adjust the value of horizontal image PHASE Use to adjust the phase control AUTO ADJUST H...

Страница 14: ...ranty 5 If it is still not clean enough apply a small amount of non ammonia non alcohol based 4 glass cleaner onto a clean soft lint free cloth and wipe the screen 6 Don t use water or oil directly on...

Страница 15: ...hes the input level of your computer Make sure the signal timings of the computer system are within the specification of the monitor If your computer was working with a CRT monitor you should check th...

Страница 16: ...duct Specification Operating Temperature 0 50 Storage Temperature 0 50 B 2 1 C D D A S E V y a l P g u l P The LCD Products listed on this document are not suitable for use in aerospace submarine nucl...

Отзывы: