17
4.
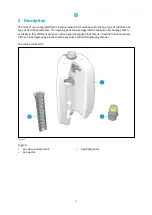
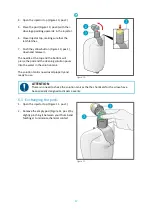
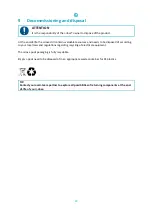
Open the injector top (Figure 10, pos 2).
5.
Place the pod (Figure 10, pos 3) with the i-
dose logo pointing upwards, in the injector.
6.
Close injector top, making sure that the
latch latches.
7.
Push the yellow button (Figure 10, pos 1)
down and release it.
The needle at the top and the bottom will
pierce the pod and the cleaning solution pours
into the water in the solution tank.
The solution tank is now dosed properly and
ready to use.
Figure 10
ATTENTION
There is no need to shake the solution tank as the the chemicals for the i-dose have
been specially designed to disperse evenly.
6.1
Exchanging the pods
1.
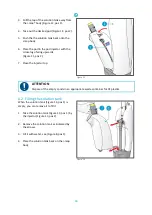
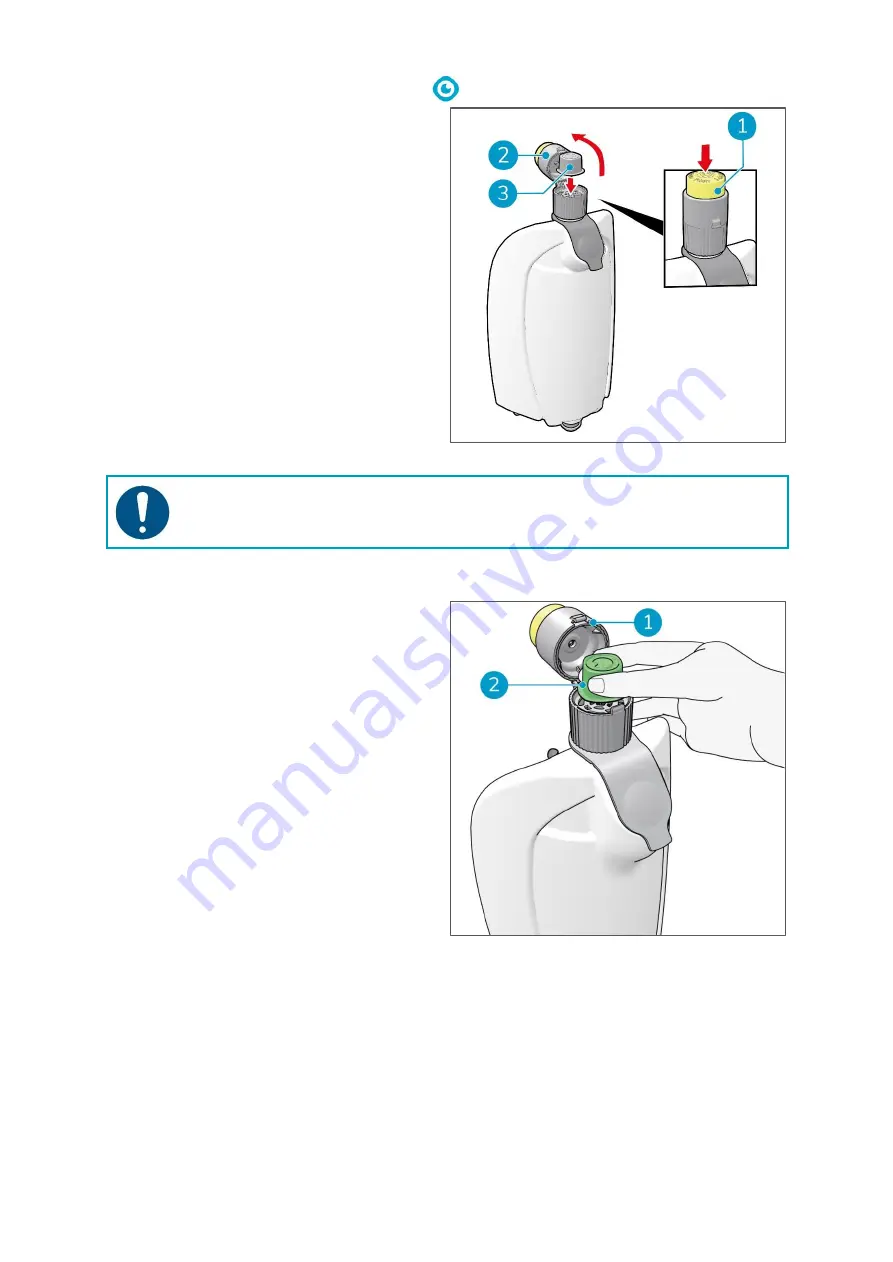
Open the injector top (Figure 11, pos 1).
2.
Remove the empty pod (Figure 11, pos 2) by
slightly pinching it between your thumb and
forefinger to minimize chemical contact.
Figure 11

