


XX181-03-00 Rev 1107 VN-855V4 IP Camera
8
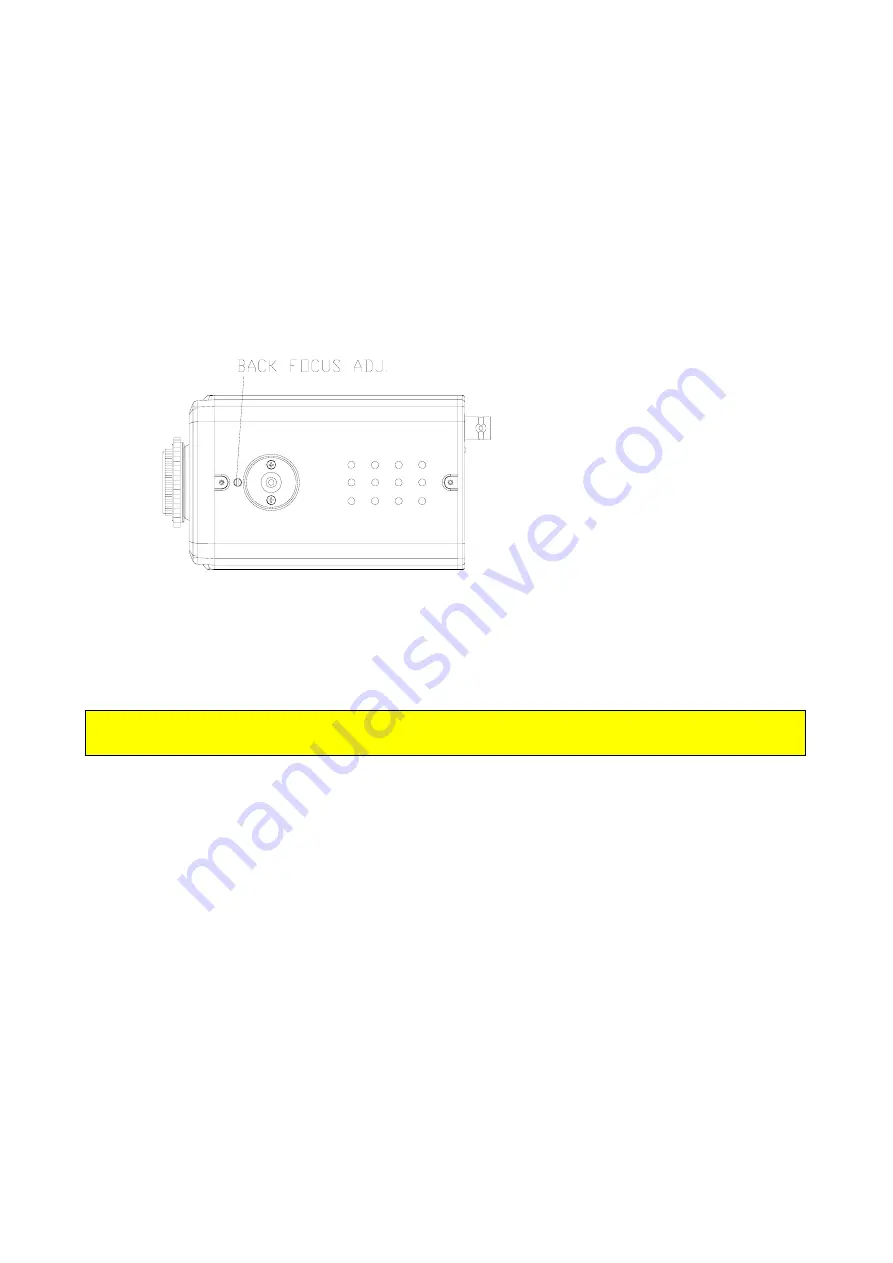
3. Open the iris completely. If an autoiris lens used, reduce the room lighting to allow the lens to open
completely. This gives the most accurate results.
4. Zoom the lens in to the maximum telephoto setting. Adjust the optical focus of the lens using the
remote lens control.
5. Zoom out to the maximum wide angle setting. If the picture is no longer in focus, readjust the
backfocus screw.
6. Repeat steps 4~6 until the image remains sharp through the entire zoom range.
This completes the adjustment. The backfocus adjustment screw is held in place by friction, so there
is no locking screw.
13. CAMERA MOUNTING HOLE
There are two mounting holes provided, one each on the top and bottom of the camera.
Settings for the VN-855WDRV4 camera can also be done from an OSD menu system after the camera is
setup in the ViconNet system (ViconNet setup procedure follows). Refer to the most current ViconNet
manual, XX113-0X, for detailed instructions on using ViconNet.
Configuration of the VN-855WDR is done by activating the PTZ driver as SurveyorVFT default
configuration (4800 bps). Be sure the most current PTZ driver is installed. After configuration is
completed, the driver
MUST BE DISABLED
to prevent confusion about PTZ functions of this
fixed camera during operation.
Enter Preset 94 to enter the menu system. Use AP to make submenu selections, AI to escape submenus,
Pan Left/Right to make changes/selections and Tilt Up/Down to move the cursor in the menu system and
navigate between menus. When using the mouse to set parameters that have a large range of settings,
clicking and holding the mouse will scroll quickly through the numbers.
OSD MENU SET UP FOR VN-855WDRV4 CAMERA
Содержание VN-855V4 AND
Страница 2: ......
Страница 4: ......
Страница 6: ......
Страница 23: ...XX181 03 00 Rev 1107 VN 855V4 IP Camera 17 IMPORTANT NOTE...


