background image

10

Operation

when you press ENTER button.

RETURN

When playing DVD, Super-VCD or VCD2.0 

discs, press RETURN button to go to the disc 
menu. Press the button again to return to 
current playback. This function is not available 
when PBC is off.

System setup

1.  Press SETUP button to enter the setup 

menu. In Setup menu, press SETUP button 
again to quit the setup page.

2.  Use 

/

 buttons to choose a setup 

page: General setup page, Audio setup 
page, Dolby Digital setup, Video setup page, 
Preference page, Exit.

3.  Press 

 button to enter the setup page 

selected.

4.  Use 

/

 buttons to select the 

option you want to adjust.

5.  Press 

button to enter the adjustment 

list. Use 

/

 buttons to select the 

adjustment and press ENTER button to confirm 
and 

 button to return to options list.

6.  To return to setup page list press 


button when in the option list.

  The items in gray can’t be set up. The 

setup is memorized and kept after power is off.

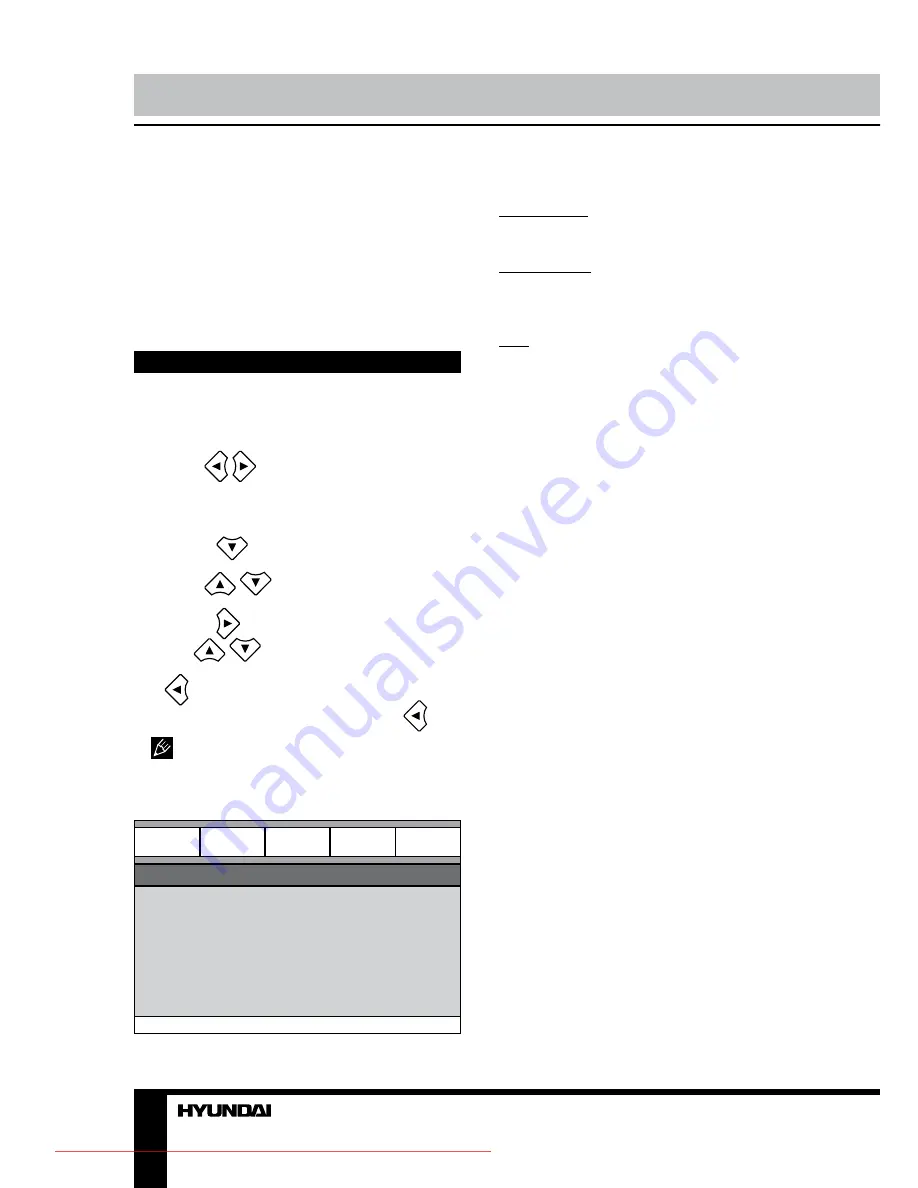
General setup page

General

General setup page

TV display
Angle mark
OSD language
Closed captions
Screen saver
HDCD
Last memory

Audio

Dolby

Video

Preference

•  TV DISPLAY
4:3 PanScan: When the unit connects to the 

normal TV set, the wide-screen image shows 
on the full screen, but some part is cut off.

4:3 LetterBox: When the unit connects to the 

normal TV set, the wide-screen image shows 
and black bars appear on the top and bottom 
of screen.

16:9: Use this item when the unit is 

connected with the wide screen TV set.

•  ANGLE MARK
It will show the angle mark when playing 

DVD disc with multi-angle view if selecting On.

•  OSD LANGUAGE
Select on-screen display language: English, 

Russian.

•  CLOSED CAPTIONS
This function doesn’t work when the disc 

without caption. If the caption is Off, press 
SUBTITLE button on the RC to make caption 
on. The default setup is On.

•  SCREEN SAVER
If the Screen saver is set On and the unit is 

switched on without a disc playing for several 
minutes, a moving picture appears on the 
screen, and the unit will go to standby mode 
after 20 minutes. You can press any button 
except STANDBY to wake it up.

•  HDCD
You can select the digital filter Off, 1x, 2x. 

The initial factory setup is Off.

•  LAST MEMORY
When this function is on, the unit can 

memorize the time elapsed from the last time 
you played the disc. Then at the next playing, it 
will resume playing from the memorized time.


Downloaded From DvDPlayer-Manual.com Hyundai Manuals

Содержание H-DVD5037

Страница 1: ...DVD DVD PLAYER Instruction manual H DVD5037 Downloaded From DvDPlayer Manual com Hyundai Manuals...

Страница 2: ...ry Button functions Open close Standby Title PBC Subtitle Angle Menu Ripping Play pause Cursor buttons Number buttons Enter Stop Step Fast forward Rewind Previous Next Prog Slow Setup V Mode Repeat A...

Страница 3: ...to the warm room or vice versa condensate may form on the laser head and the device may not operate properly In this case please turn the device on for 1 2 hours without disc before playback to heat...

Страница 4: ...l images Supported formats Disc types Symbol Contents DVD Compressed digital audio video MPEG4 DivX Compressed digital audio video Video CD VCD Compressed digital audio video Super VCD SVCD Compressed...

Страница 5: ...S Video input of a TV monitor 5 1CH audio Use 3 pairs of audio cables to connect the 5 1 CH audio outputs of this unit to the 5 1 channel inputs of external audio amplifiers or other players Stereo au...

Страница 6: ...ton 6 button 7 button 8 USB slot 9 SD MMC MS memory card slot Rear panel 3 4 5 1 6 7 8 2 1 Microphone socket 2 SCART connector 3 Component video output 4 Composite video output 5 5 1CH audio output 6...

Страница 7: ...ton 30 A B button Changing the battery 1 Remove the battery compartment cover on the back of the RC 2 Insert the batteries into the battery compartment making sure that the correct polarity is observe...

Страница 8: ...ENU RIPPING button When a USB is connected press MENU RIPPING button once to go to ripping menu PLAY PAUSE When playing the disc press button once to pause press button again to return to normal playb...

Страница 9: ...urn to normal play DEFAULT When the disc tray is open or the disc is stopped press this button to restore the default settings except Password and Parental item settings AUDIO When playing DVD with mo...

Страница 10: ...4 3 PanScan When the unit connects to the normal TV set the wide screen image shows on the full screen but some part is cut off 4 3 LetterBox When the unit connects to the normal TV set the wide scre...

Страница 11: ...he speaker distances in the real conditions Press cursor buttons to select the speaker press cursor buttons to adjust the distance Audio setup page General Audio setup page Analog audio Digital audio...

Страница 12: ...n auto When this item is set to Off all following items MODE PANORAMA etc are unavailable MODE Music All sound arrive stimulatingly without delay Movie At the surrounding CH plus 10ms delay PRO LOGIC...

Страница 13: ...rs with the physical connection the TV set may be without picture In case of no picture you can reset the setting then keep pressing V MODE button until the picture is OK again COLOR SETTING You can s...

Страница 14: ...C outlet and unplug the USB drive or and the memory card from the player Then power on the player again The player will resume the normal status If there is no disc in the disc tray the player will sw...

Страница 15: ...ow Start slide show playback Menu Enter the instruction menu for RC button functions In the menu press ENTER button to turn over to the next menu page and again to exit the instruction menu In JPEG pl...

Страница 16: ...lace the existing one with the selected track Select option Cancel to quit And you can choose to create another folder in the connected USB drive for ripping this track Create a new folder for ripping...

Страница 17: ...the recorded surface of the discs Use 12 cm CDs Use only conventional fully circular discs Do not use irregularly shaped discs Cleaning discs Fingerprints should be carefully wiped from the surface of...

Страница 18: ...inserted incorrectly Install the disc with the label side facing up Condensate on the unit laser head Switch the unit on without disc for an hour Remote control does not operate Remote control is inco...

Страница 19: ...TS digital out coaxial Dolby Prologic II Video Support NTSC PAL Connectors Composite SCART Coaxial S Video Component YUV 5 1 Stereo Functions Children lock Karaoke Audio CD ripping in MP3 format to US...

Страница 20: ...Menu Ripping Enter Stop Step Prog Slow Setup V Mode Repeat A B Default Audio 20 21 21 21 22 23 23 24 24 24 24 25 25 26 26 26 26 26 26 26 26 26 26 26 26 26 26 27 27 27 27 27 27 27 27 27 27 Copy Zoom V...

Страница 21: ...21 1 1 2 Warning RISK OF ELECTRIC SHOCK DO NOT OPEN Downloaded From DvDPlayer Manual com Hyundai Manuals...

Страница 22: ...22 DVD MPEG4 DivX Video CD VCD Super VCD SVCD CDDA MP3 Kodak Picture CD JPEG Downloaded From DvDPlayer Manual com Hyundai Manuals...

Страница 23: ...23 S Video S Video S Video SCART 21 SCART SCART SCART 5 1 3 5 1 5 1 DTS Downloaded From DvDPlayer Manual com Hyundai Manuals...

Страница 24: ...24 1 2 3 4 5 6 7 8 9 1 STANDBY 2 3 4 OPEN CLOSE 5 6 7 8 USB 9 SD MMC MS 3 4 5 1 6 7 8 2 1 2 SCART 3 4 5 5 1 6 7 8 S Video Downloaded From DvDPlayer Manual com Hyundai Manuals...

Страница 25: ...STEP 16 REPEAT 17 OPEN CLOSE 18 19 V MODE 20 ANGLE 21 DEFAULT 22 VOL VOL 23 24 SUBTITLE 25 MENU RIPPING 26 SLOW 27 RETURN 28 ZOOM 29 STOP 30 A B 1 2 3 AAA 1 5V 8 30 1 2 3 1 17 18 19 20 21 22 23 24 25...

Страница 26: ...E PBC VCD PBC Playback Control SUBTITLE DVD SUBTITLE ANGLE DVD ANGLE MENU RIPPING DVD MENU RIPPING SVCD VCD2 0 PBC MENU RIPPING SB MENU RIPPING RIPPING ENTER ENTER STOP DVD SVCD VCD CD STOP STOP STEP...

Страница 27: ...DVD SVCD VCD CD DVD SVCD VCD CD PROG PROG ENTER PROG SLOW SLOW 1 2 1 4 1 8 1 16 SETUP SETUP V MODE REPEAT REPEAT DEFAULT AUDIO DVD COPY USB ZOOM DVD SVCD VCD ZOOM 2x 3x 4x 1 2 1 3 1 4 Downloaded From...

Страница 28: ...VOL VOL OSD OSD L R ST USB USB GOTO GOTO ENTER RETURN DVD Super VCD VCD2 0 RETURN PBC 1 SETUP SETUP 2 Dolby Digital 3 4 5 ENTER 6 HDCD Dolby T 4 3 PanScan Downloaded From DvDPlayer Manual com Hyundai...

Страница 29: ...29 4 3 LetterBox 16 9 SUBTITLE 20 STANDBY HDCD 1 2 Dolby Dolby Dolby Surround 5 1 Downloaded From DvDPlayer Manual com Hyundai Manuals...

Страница 30: ...30 5 1 SPDIF LPCM Dolby SPDIF SPDIF SPDIF RAW SPDIF PCM LPCM 48 96 96 Dolby Pro Logic II Dolby Downloaded From DvDPlayer Manual com Hyundai Manuals...

Страница 31: ...RO LOGIC 3D 5 1 PRO LOGIC II 2 5 1 PRO Logic II PRO Logic DVD Dolby Digital 10 PRO LOGIC PRO LOGIC 5 1 PRO Logic II 3 Dolby Digital Dolby Digital Dolby Downloaded From DvDPlayer Manual com Hyundai Man...

Страница 32: ...32 Dolby YUV Y U V P YUV YUV RGB SCART V MODE PBC Dolby PAL NTSC PBC VCD PBC Playback Control AUDIO SUBTITLE Downloaded From DvDPlayer Manual com Hyundai Manuals...

Страница 33: ...VCD L R ST USB USB USB USB USB SD MS MMC USB USB USB USB USB USB USB MP3 MPEG4 MENU DVD USB USB SD MMC MS 8 USB USB MP3 MP3 12 MP3 CD 600 170 MP3 CD JPEG Joint Photographic Expert Group Downloaded Fro...

Страница 34: ...34 15 20 DivX AVI 2 USB ENTER PROG MPEG4 MENU JPEG STOP ENTER ENTER ENTER STOP 90 90 PROG ZOOM Ripping RIPPING CD Downloaded From DvDPlayer Manual com Hyundai Manuals...

Страница 35: ...U RIPPING CD USB Create ID3 Yes USB ENTER bit rate ENTER Start ENTER OPEN CLOSE VOLUME VOLUME USB RIPPING USB USB SD MMC MP3 JPG DivX COPY ALL SELECT ALL UNSEL COPY ENTER ALL SELECT COPY ENTER USB SD...

Страница 36: ...36 ENTER USB SD MMC USB COPY ALL SELECT ALL UNSEL COPY DEL ENTER DEL ENTER Downloaded From DvDPlayer Manual com Hyundai Manuals...

Страница 37: ...37 12 DVD 1 1 1 AAA 1 5V 2 1 1 1 Downloaded From DvDPlayer Manual com Hyundai Manuals...

Страница 38: ...38 1 2 1 2 Downloaded From DvDPlayer Manual com Hyundai Manuals...

Страница 39: ...USB SD MMC MS DVD video DVD audio MPEG4 DivX XviD SVCD VCD CDDA HDCD MP3 Kodak Picture CD JPEG MPEG4 Dolby Digital DTS Dolby Prologic II NTSC PAL SCART 5 1 S video CD MP3 USB USB ID3 1 100 240 50 60...

Отзывы: