


6
Note: For smooth registration, it is highly
recommended to put the frequently used
frequencies of base stations in the control
channel list via your dealer.
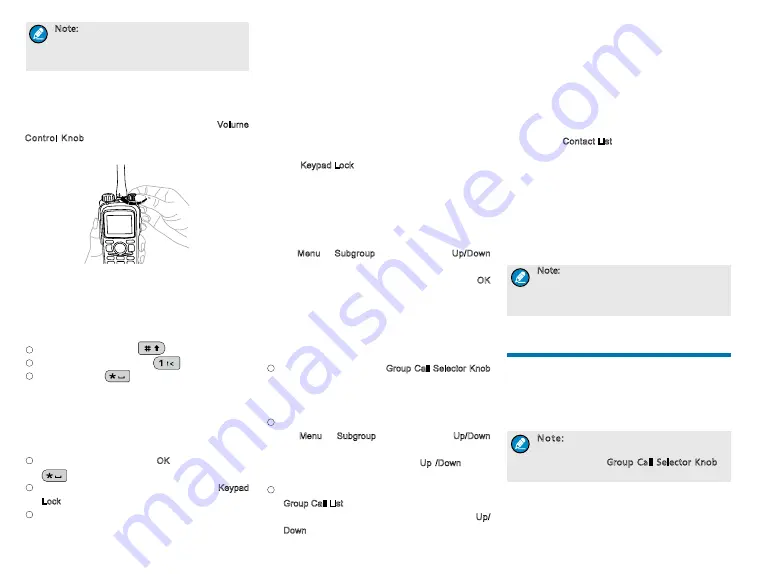
Adjusting the Volume
You can adjust the volume of output voice, side tone
and channel noti
fi
cation tone by rotating the Volume
Control Knob. For other tones, the volume will be
con
fi
gured by the dealer.
Inputting via Keypad
You can input alias, call numbers and messages via
the keypad of the radio. Besides, you may need to do
the following during inputting.
●
To switch input method:
●
To input special characters:
●
To input space:
Locking/Unlocking the Keypad
When the keypad is not in use, you can lock the
keypad to avoid mishandling. You can lock or unlock
the keypad through any of the following methods:
●
Key Combination: Press the OK key and then press
.
●
Programmable Key: Press the programmed Keypad
Lock key preset by your dealer.
●
Menu Navigation: Go to
“
Settings -> Radio
Settings -> Keypad Lock
”
to enable or disable the
feature.
»
Enable: The keypad will be locked automatically
if there is no radio operation within the preset
time. After this feature is enabled, you can
press the
Up/Down
key to set the Keypad Auto
Lock Delay Time.
»
Disable: The keypad will not be locked
automatically. However, you can lock or
unlock the keypad via the key combination or
Keypad Lock key mentioned above.
Selecting a Subgroup
You can include your desired group call contacts into
a subgroup for ef
fi
cient management.
To select a subgroup: Go to the menu
“
Subgroup
”
via the Menu or Subgroup key, then use the Up/Down
key to select an appropriate subgroup. Afterwards,
select the option
“
Set as Default
”
and press the OK
key to switch to that subgroup.
Selecting a Group Call Contact
After the radio is registered, you may select a group
call contact through any of the following methods:
●
Via the knob: Rotate the Group Call Selector Knob
to select your desired group call contact. An audio
alert will be given in case of no group call contact
preset for this knob.
●
Via the menu: Go to the menu
“
Subgroup
”
via
the Menu or Subgroup key, then use the Up/Down
key to select your desired subgroup. Afterwards,
select
“
Member
”
and use the Up /Down key to
select your desired group call contact.
●
Via the shortcuts: You can press the programmed
Group Call List key to access the group call list, and
select the group call contact by pressing the Up/
Down key.
Managing the Contact
You can manage the contacts via the
“
Contact
”
menu.
Contact List
The Contact List is used to save Private Call contacts
information. You can access the
“
Contact List
”
menu via the
“
Contact
”
menu or by pressing the
programmed Contact List key.
In the
“
Contact List
”
menu, you can check the
contact information, edit or delete the private contacts.
New Contact
You can add and save a new contact to the contact
list. The number and alias of a new contact must be
unique. For the contact number range, please refer to
“
Dial Scheme
”
in the corresponding Feature Book.
Note: Except for adding a new contact, you
can also save the new numbers from Call
Logs, ReDial List and BackDial List into the
contact list.
Call Services
After the radio is powered on and registered, you can
make and receive calls. To ensure optimal volume
of the receiving radio, keep the microphone about
2.5 to 5 centimeters away from your mouth when
transmitting.
Note: If the radio does not register
successfully or you select an empty group
by rotating the Group Call Selector Knob,
the radio cannot make any call.


