


5
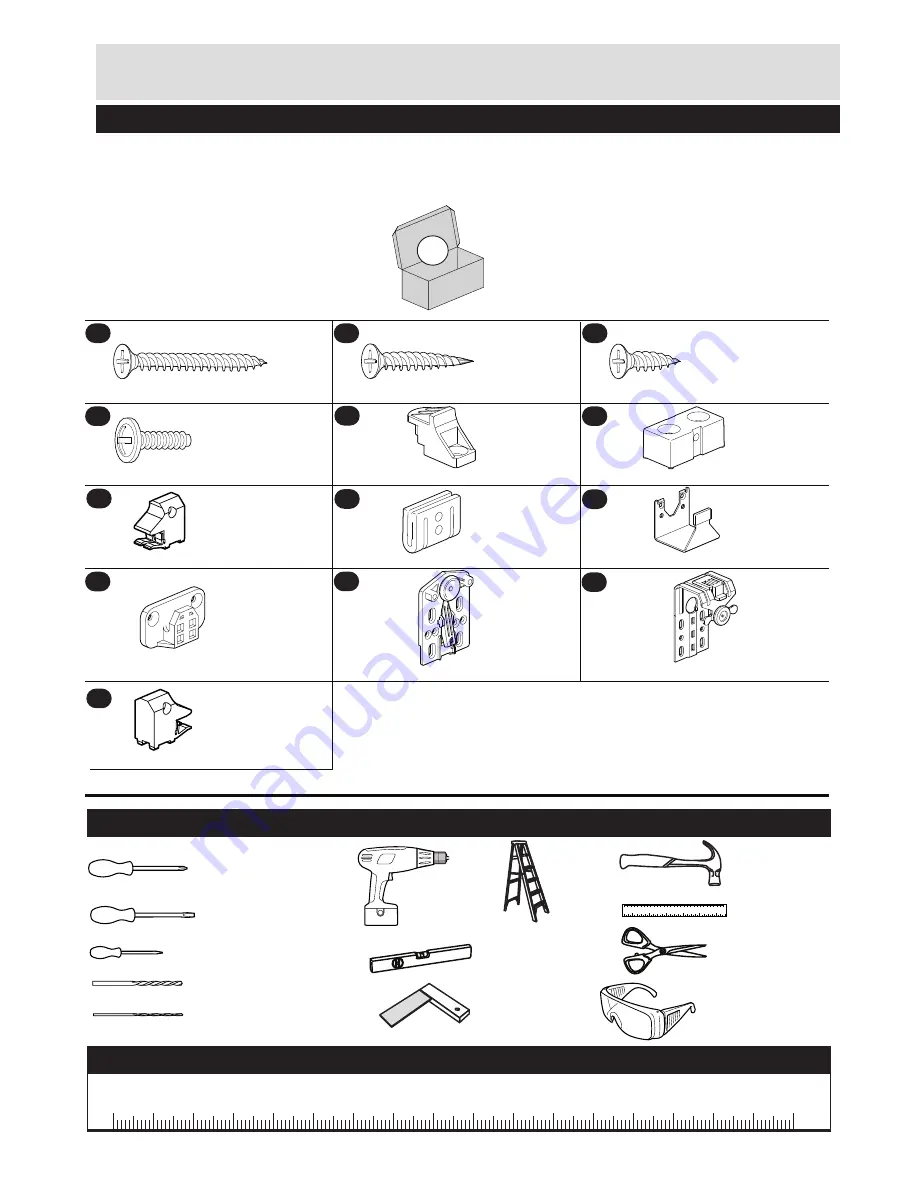
Screw x 33
(4x15mm)
AC
ZF9996L
Screw x 7
(3.5x25mm)
AB
ZF9996K
Screw x 4
(3.5x35mm)
AA
ZF9996I
Tapping block for guide rail x 2
AF
ZF9996E
Screw x 2
(4x14mm)
AD
ZF9996J
Stop guide rail x 2
AH
ZF9996H
Front guide part x 2
AI
ZF9996C
Spacer x 1
AE
ZF9996F
Sliding door connecting plate x 2
AK
ZF9996B
Sliding door connecting bracket x 2
AL
ZF9996A
End stop Right
AM
ZF9996M
End stop Left
AG
ZF9996G
Back guide part x 2
AJ
ZF9996D
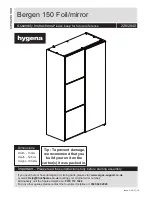
A
2/2
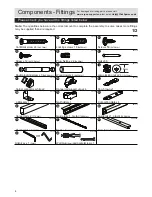
Please check you have all the fittings listed below
Components - Fittings
Note:
The quantities below are the correct amount to complete the assembly. In some cases more fittings
may be supplied than are required.
Ruler - Use this ruler to help correctly identify the screws
Tools required
0
5
10
15
20
25
30
35
40
45
50
55
60
65
70
75
80
85
90
95 100
110 115 120 125 130 135 140 145 150 155 160 165 170
105
Phillips screwdriver
(medium & large)
Flatblade screwdriver
Small
hammer
Ruler/tape
measure
Drill
Eye protection
(when using a
hammer or drill)
5mm Suitable drill bit
5mm Suitable drill bit
0
10
20
30
40
50
60
70
80
90
100
110
120
130
140
150
0
1
2
3
4
5
6
Stairs
Piercer
Scissors
(medium)
(small)
Spirit level
Setsquare


