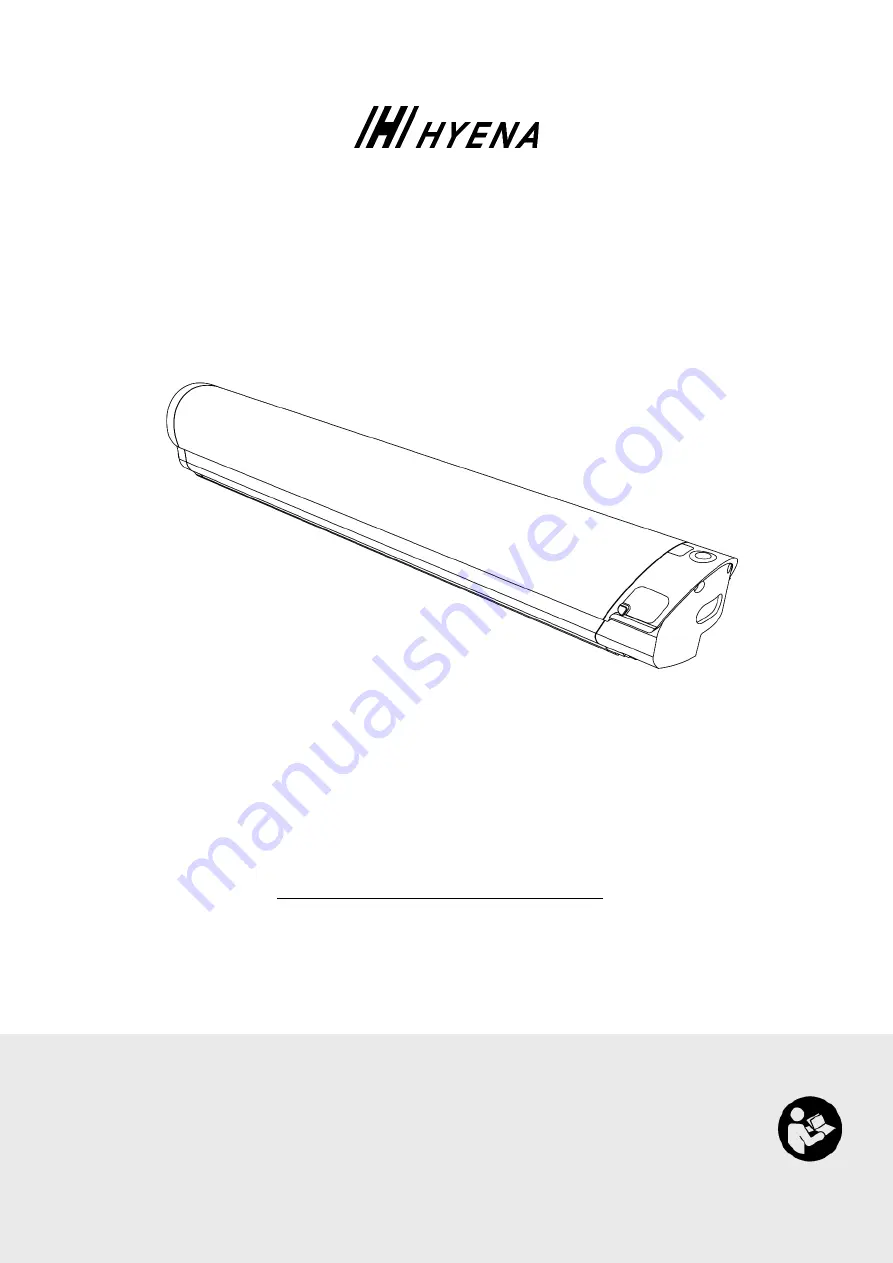
Hyena BS-A370 Скачать руководство пользователя страница 1


BS-A370


Product Manual 

This guideline is applicable for the Hyena e-bike system only 

Version 1.0


Copyright © 2020 HYENA INC. All Right Reserved.


This manual is intended primarily for the trained technician to install, disassemble, or maintain the e-bike. 

Содержание BS-A370

Страница 1: ...his guideline is applicable for the Hyena e bike system only Version 1 0 Copyright 2020 HYENA INC All Right Reserved This manual is intended primarily for the trained technician to install disassemble...

Страница 2: ...n 2 Technical Data 4 Mounting 5 Tool List 5 Accessory List 5 Mounting Instructions 5 Operation 8 Operation Instructions 8 Charging Instructions 9 Safety Instructions 10 Important Notice 10 Grounding I...

Страница 3: ...e batteries and keep the bike outward appearance in elegance Parts Description A Dustproof cover for charging socket B Charging socket C Battery charge indicator D Battery indicator button E Discharge...

Страница 4: ...female connect to battery charger Discharge 2 pins female connect to driver Pin Name Direction Description Remark 1 Ground Input Ground 2 NTC Output NTC 3 Power Input Charge Pin Name Direction Descrip...

Страница 5: ...n 4 pins male connect to driver Pin Name Direction Description Remark 1 Bike Present Input Reserved 2 DEN HMI Bidirectional Active low used to wakeup battery from sleep mode 3 CAN H Bidirectional CAN...

Страница 6: ...kg Waterproof level IPX4 Characteristic Protocol CAN2 0B Cell Type 18650 Cell Model Panasonic UR1865ZM2 Serial parallel 10S4P Operating temperature 10 60 80 RH 1 5C discharge Storage temperature 20 50...

Страница 7: ...rike it with any tool such as a hammer or wrenches CAUTION Please strictly follow these steps for assembly otherwise an incorrect assembly may cause permanent damage NOTE The bike image seen in the ma...

Страница 8: ...through the keyhole on the frame Step 7 Connect the cable of the side plate discharge end to the e bike driver then insert the side plate Step 8 Screw the side plate and lock together Step 9 Screw th...

Страница 9: ...sert the key Step 2 Turn the key and lift the battery from the lock end Step 3 Take the battery out Step 1 Insert the battery from the non discharge end first then put the other end in Step 2 Complete...

Страница 10: ...rger on the floor or other dusty places when using it Place the battery charger on a stable surface such as a table when using it Do not place any objects on top of the battery charger or its cable Do...

Страница 11: ...ct the charging plug with the charging socket on the battery When charging is complete disconnect the charging plug from the battery socket Unplug the charger from the wall socket Make sure to close t...

Страница 12: ...ded in accordance with all local codes ordinances WARNING Improper connection of the equipment grounding conductor is able to result in a risk of electric shock Check with a qualified electrician if y...

Страница 13: ...y must be recharged at least every three months to ensure the best performance and longest lifetime while not in use Dispose of the used battery according to local ordinances and or regulations Dispos...

Отзывы: