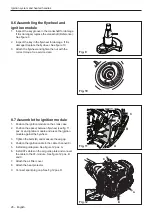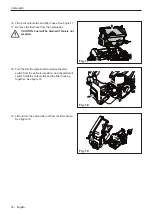
7.1 Dismantling
1.
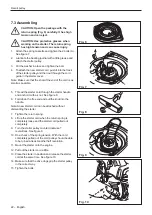
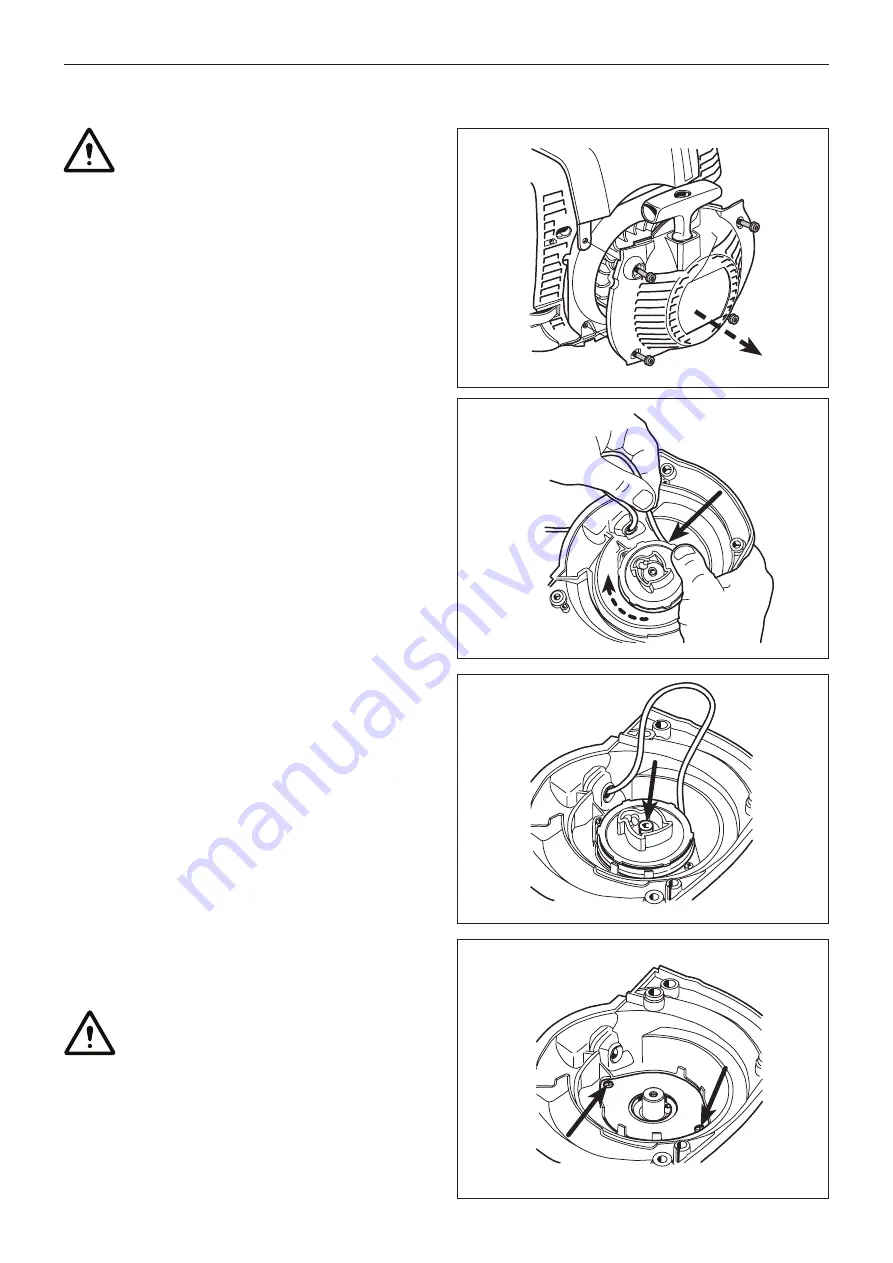
Remove the 4 screws and lift off the starter. See
figure 1.
Note: The cylinder cover does not need to be loosened
or detached.
Note: The screws are of captive type and stay in place
when the starter is removed.
Fig. 1
7 Starter
2. Loosen the spring tension.
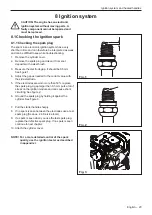
3. Pull out the starter cord about 30 cm. Brake the
starter pulley with your thumb and lift the cord. See
figure 2.
4. Let the starter pulley rotate backwards slowly.
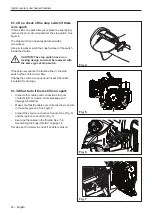
5. Remove the bolt in the centre of the starter pulley.
See figure 3.
6. Lift the starter pulley carefully from the starter cover.
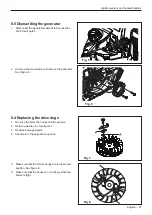
7. Remove the 2 bolts that hold the spring cassette.
See figure 4.
8. Replace the spring cassette if necessary.
WARNING: Use protective glasses. The
return spring can eject and cause injury.
7.2 Cleaning and inspection
1. Clean all components before assembly.
2. Replace the return spring, the starter pulley and the
starter cord as needed.
Fig. 2
Fig. 3
Fig. 4
Recoil pulley
WARNING: Use protective glasses when
working on the starter. The return spring
has high tension and can cause injury.
English – 21
Содержание 545FX AT
Страница 1: ...Workshop manual English 545RXT AT 545FX AT 545FXT AT 545FX 545FXT 545RX 545RXT ...
Страница 2: ......
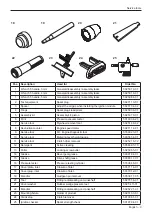
Страница 8: ...Service tools 3 Service tools 3 mm 4 mm 5 mm 1 11 4 6 9 7 10 8 5 2 12 3 13 14 15 16 17 8 English ...
Страница 79: ...English 79 ...
Страница 80: ...2018 10 04 115 88 11 26 ...

