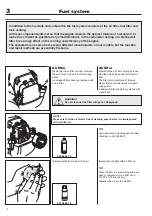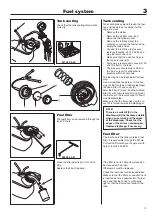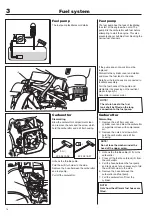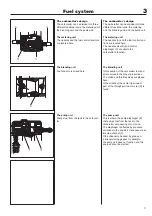
Starter
1
6
502 51 49-01
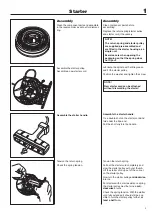
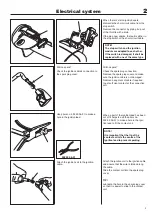
Fit the starter on the engine body.
1. Check that the rubber bushings (A) are
in position in the starter housing.
2. Insert the small tab (B) on the periphe-
ry of the starter under the carburettor
cover and swing the starter in against
the engine body.
3. Press the starter in against the engine
body.
4. Pull the starter handle and check that
the drive dogs engage.
5. Screw on the starter with 4 screws.
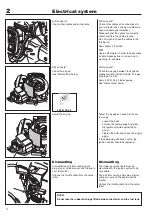
Remove the circlip and replace any dama-
ged drive dogs or springs, if necessary.
Remove the circlip holdings the drive dog.
Lift out the drive dog and spring for repla-
cement.
Assemble in the reverse order as set out
for dismantling.
Check that the drive dogs move easily!
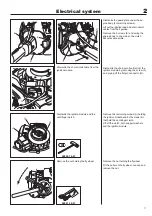
Replacing the drive dogs
Dismantle the drive body.
Replacing the drive dogs
Fit the puller 502 51 49-01 on the
fl
ywheel
(see chapter 2 ”Electrical system”) and
loosen the drive cup.
NOTE!
The nut is brazed onto the drive
cup.
Do not use, e.g. a pair of slip-joint
pliers to hold the drive cup. It can
easily be deformed so that the
drive dogs cannot move freely.
Note!
Make sure that the rubber support (C) is mounted on the starter. This prevents
vibrations in the tank and starter.
Содержание 241R
Страница 1: ...Workshop manual 241R 241RJ English ...
Страница 35: ...4 34 Centrifugal clutch ...
Страница 49: ...6 48 Cylinder and piston ...
Страница 59: ...58 8 List of tools ...
Страница 62: ...2008W37 115 11 96 26 ...


