EN
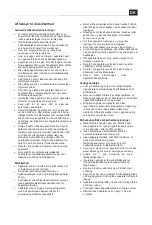
If the chipper is stopped up, first switch the device
off, disconnect the mains plug from the outlet and
wait until the device stops completely before
removing the stoppage. Keep on/off switches clean
and free of foreign bodies.
Do not attempt to remove materials to be chipped or
to hold already chipped material when the blades
are running. Only remove any jammed material to be
chipped when the device is switched off.
Avoid direct contact with the rotating cut-ting blade.
Keep your hands and feet out-side of the openings
when the machine is running.
Do not put your hands, other body parts or clothing in
the filling chamber, ejection channel or near other
moving parts.
Always remove the chipped material from the
ejection zone before it piles up. This way, you avoid
having the chipper get stopped up and having the
chipped material go back into the hopper on rebound
and thus cause accidents.
No other persons or animals may be pre-sent within
an area of 3 m around the work area, as they may
otherwise by hit by objects being slung away.
Do not operate the device on plastered or
concrete surfaces. The chipped material can
rebound and cause injuries.
Remember that moving parts may also be
located behind ventilation and venting slots.
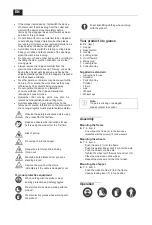
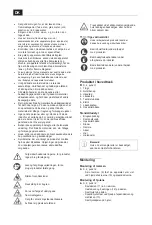
Symbols appearing on your product may not be
removed or covered. Information on the product that
are no longer legible must be replaced immediately.
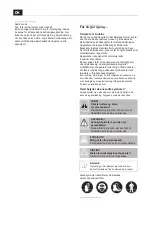
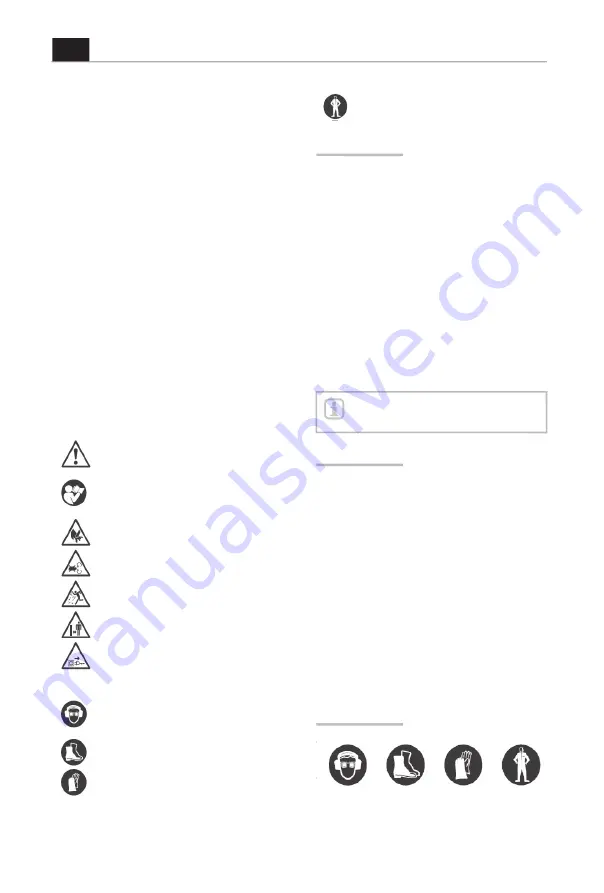
Observe the safety instructions before using
the product for the first time.
Read and observe the instructions for use
before using the product for the first time.
Risk of slicing.
Do not reach into the hopper.
Danger due to foreign bodies being
thrown out.
Maintain a safe distance from per-sons
standing around.
Remove the plug from the mains
immediately if the cable is damaged or cut.
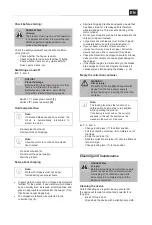
Personal protective equipment
When working with the product, wear
hearing protection and safety goggles.
Wear sturdy shoes when working with the
product.
Wear protective gloves when working with
the product.
Wear tight-fitting clothing when working
with the product.
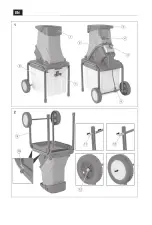
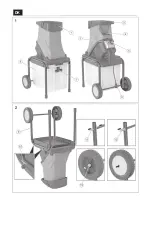
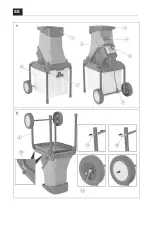
Your product at a glance
►
P. 2, item 1
1. Hopper
2. Reset button
3. Handle
4. Locking screw
5. On-Off switch
6. Mains plug
7. Locking lever
8. Collection tray
Supplied as standard
• Instructions for use
• Shredder
• Collection tra
y
• Prodder
• Frame
• Axle
• Wheels
• Wheel ca
ps
Note:
If a part is missing or damaged,
please contact the vendor.
Assembly
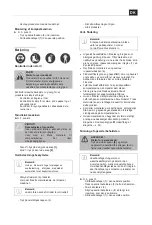
Mounting the frame
►
P. 2, item 2
- Screw down the frame (9) to the device as
illustrated with the screws (10) and washers.
Mounting the wheels
►
P. 2, item 2
- Push the axle
(11) into the frame.
- Push the washer and socket (12)
onto the axle.
- Push the wheel onto the axle.
- Tighten the wheel with the washer and nut (13).
- Place the wheel cap on the wheel.
- Repeat the procedure for the other wheel.
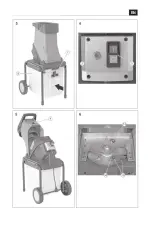
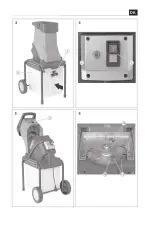
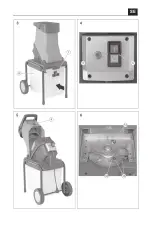
Mounting the chipper
►
P. 3, item 3
- Push the collection tray (8) into the frame.
- Change locking lever (7) to top position.
Operation
Содержание 6302588A
Страница 1: ...BAHAG NO 6302588A model SHF2500 142XX210MM...
Страница 2: ...EN 1 3 1 4 2 5 8 7 6 2 9 11 12 10 13...
Страница 3: ...EN 3 4 7 2 5 8 5 6 4 14 16 15...
Страница 10: ...BRUGERMANUAL...
Страница 11: ...DK 1 3 1 4 2 5 8 7 6 2 9 11 12 10 13...
Страница 12: ...DK 3 4 7 2 5 8 5 6 4 14 16 15...
Страница 19: ...BRUKSANVISNING...
Страница 20: ...1 3 1 4 2 5 8 7 6 2 9 11 12 10 13 SE...
Страница 21: ...4 7 2 5 8 5 6 4 14 16 15 SE...
Страница 28: ......


