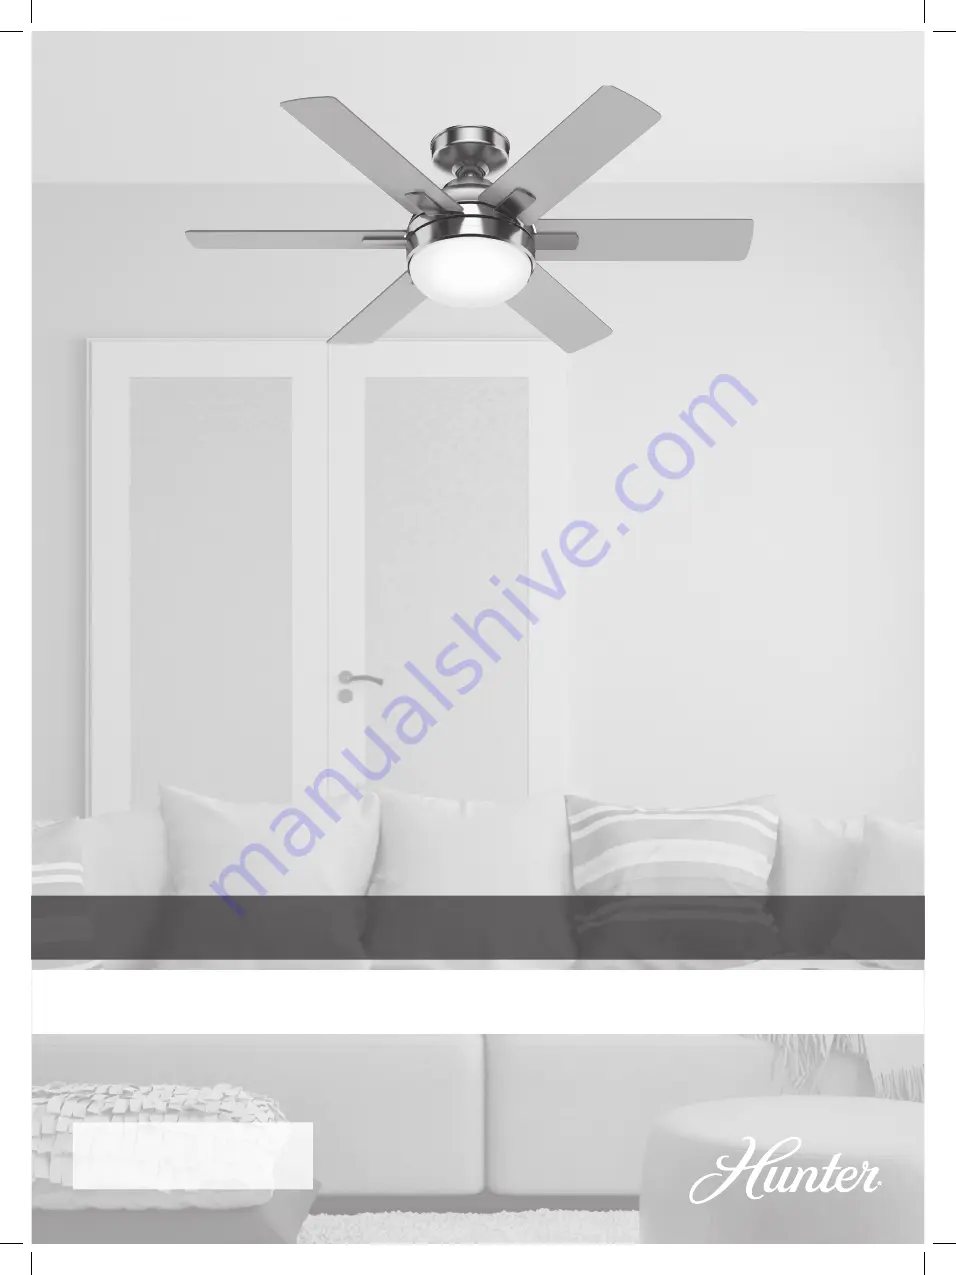
Installation Manual
©2020 Hunter Fan Co.
Model: 50721 Brushed Nickel
50722 Noble Bronze
Fan weight ±2 lbs: 20.3 lbs (9.2 kg)
Hardaway
PG3912 r070820
Pull Chain w/LIGHT or Remote not button w/ NO LIGHT or Remote no button w/ LIGHT
Страница 1: ...Installation Manual 2020 Hunter Fan Co Model 50721 Brushed Nickel 50722 Noble Bronze Fan weight 2 lbs 20 3 lbs 9 2 kg Hardaway PG3912 r070820 ...
Страница 2: ... risk of personal injury do not bend the blade brackets when installing the blade brackets balancing the blades or cleaning the fan Do not insert foreign objects in between rotating fan blades Caution c 1 All wiring must be in accordance with national and local electrical codes ANSI NFPA 70 If you are unfamiliar with wiring use a qualified electrician c 2 Use only Hunter replacement parts This equ...
Страница 3: ...com or call us at 1 888 830 1326 Spare Parts For your convenience you may receive extra fasteners bag Glass Switch Housing Plate Light Kit Assembly Motor Wood Screw WIre Nut Washer M3822 01 r071520 We recommend that you pull everything out of the box and lay it out We have grouped the drawn components below with the hardware you ll need for those parts The screws below are drawn to scale to make i...
Страница 4: ...port Structure Ceiling Outlet Box required Angled Mounting If you have a flat ceiling Hang your fan by a standard downrod Some fans come with a shorter downrod for a Low Profile installation Support Structure Ceiling Outlet Box required Standard Mounting A little more information on Angled Mounting For optimum performance and appearance a longer downrod should be used with your Hunter ceiling fan ...
Страница 5: ...ll wires to one side of horizontal bar in downrod assembly Hand tighten the downrod at least 4 5 full turns until it stops Trim the wires coming from the fan so that 8 inches remain coming from the top of the downrod Tighten the setscrew with pliers DO NOT HAND TIGHTEN KEEP For angled ceilings point opening toward peak ANGLED MOUNTING TIP bag 2 3 1 STEP STEP STEP Wood Screw Washer x2 x2 Hunter Pro...
Страница 6: ...y Blades Light Glass Bulbs Remote Hanging the Fan S l i d e c a n o p y o v e r d o wnrod and wires Place the downrod ball into the slot in the ceiling bracket NOTICE To prevent damage to fan ALWAYS lift holding either the fan housing or the downrod ...
Страница 7: ...eiver to the black wire from the fan Y e l l o w Connect the blue wire from the receiver to the blue wire from the fan Connect the white grounded wire from the ceiling to both the white wire from the receiver and the white wire from the fan White White Grounded Connect the black ungrounded wire from the ceiling to the black wire from the receiver Slide the remote receiver onto the top of the brack...
Страница 8: ... aligned Insert the two canopy screws found in the hardware bag F i t t h e c a n o p y i n place as shown bag Canopy Screw Lightly attach the blade arms to the motor with screws found in the hardware bag then securely tighten after both screws are attached Repeat x6 x12 bag Blade Arm Screw IMPORTANT NOTE The blade arms should be mounted with the ridge facing downward Installing it incorrectly cou...
Страница 9: ... 2 of 3 Light Kit Screw bag 1 of 3 Light Kit Screw bag 2 of 2 Short Light Kit Screw bag Insert the third screw found in the hardware bag in place and firmly tighten all the three screws Carefully push all switch housing components into the switch housing then install the switch housing plate using two short light kit assembly screws found in the hardware bag Fan style may vary Note Installing the ...
Страница 10: ...se the correct size and grade of battery most suitable for the intended use Replace all batteries of a set at the same time Clean the battery contacts and also those of the device prior to battery installation Ensure the batteries are installed correctly with regard to polarity and Remove batteries from equipment which is not to be used for an extended period of time Remove used batteries promptly...
Страница 11: ...have multiple remotes or multiple remote controlled fans installed on the same circuit breaker and you are experiencing interference or faulty operation of your remote controls please go to www HunterFan com FAQs and click How do I properly install multiple remote controlled fans for information on how to correct this issue Cleaning the Fan Use soft brushes or cloths to prevent scratching Cleaning...
Страница 12: ...on of Hunter What Does This Warranty NOT Cover Labor Excluded This warranty does not cover any costs or fees associated with the labor including electrician s fees required to install remove or replace a fan or any fan parts There is no warranty for light bulbs except where otherwise noted remote control batteries fans purchased or installed outside the United States fans owned by someone other th...