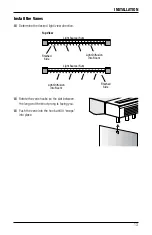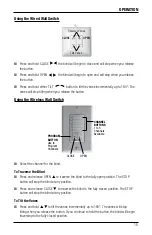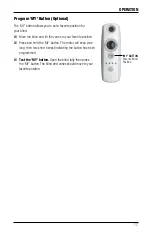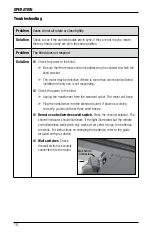
INSTALLATION
4
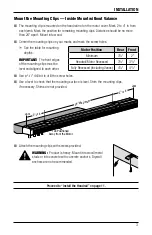
Mount the Installation Brackets — Outside Mount
■
Motor-End Bracket.
Remove the wingnut and install it on the top
of the bracket. The tab should be positioned away from the motor. The
orientation shown is for a rear motor mount.
■
Center the headrail over the window opening at the desired height.
Use a pencil to lightly mark each end of the headrail.
➤
Alternatively, measure the width of the headrail and use that width to mark the headrail
end points over the window opening.
■
Mark 2 to 4" in from each jamb for bracket location. Orient the mounting clips on the
bracket with the tab away from the motor.
➤
If more than two installation brackets came with your order, space additional
bracket(s) no more than 24" apart and mark their location.
Mount into wood.
■
Center the brackets on your marks and mark the screw holes.
➤
A minimum 2" flat vertical surface is required to mount the brackets.
important:
The front edges of the installation brackets must be level and aligned to
each other.
■
Use a
3
∕
32
" drill bit to drill the screw holes.
Warning:
Product is heavy. Mount into wood/
metal studs or into concrete with concrete anchors.
Drywall anchors are not recommended.
■
Use a level to check that the mounting surface is level.
Shim the brackets, if necessary. Shims are not provided.
■
Attach the installation brackets using the screws provided.
For valances, proceed to “Valance Assembly” on page 5. Otherwise, proceed to “Install the
Motor-End
Bracket
Orientation
Tab
Wingnut
24" Maximu
m
Jam
Motor-End
Bracket
Orientation
Non-Motor
End Bracket
Orientation
Jam
2" to 4"
2" to 4"
Содержание Specialty Motorized Vertical Blinds
Страница 1: ...Installation Operation Care Vertical Blinds Specialty Motorized...
Страница 22: ...Notes...
Страница 23: ......


