


20
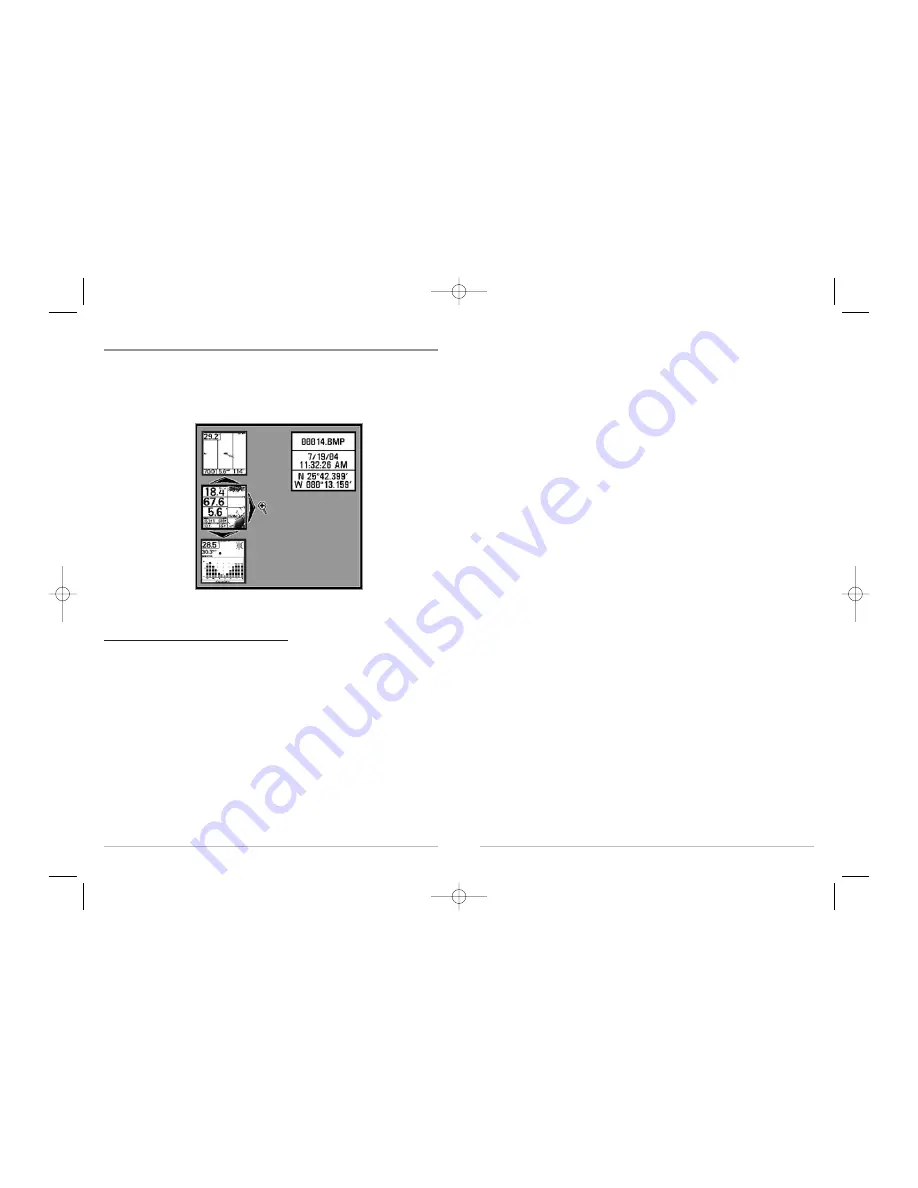
The Screen Snapshot View displays up to three thumbnails of these screen captures at
a time. You can scroll through the whole list of thumbnails of screen snapshots in this
view using the 4-WAY Cursor keys. The selected thumbnail will be highlighted with
arrows. See the full-sized image by selecting a thumbnail (using the Up or Down 4-Way
Cursor keys), then using the Right 4-Way Cursor key to view the full image. A border
around the full-size screen snapshot indicates that it is just a screen snapshot, not a
“live” view. You can delete the selected image, or all images, using Delete Image or
Delete All Images from the Screen Snapshot X-Press™ menu.
19
Screen Snapshot View
When
Screen Snapshot
is enabled (from the Accessories menu tab), pressing the MARK
key creates a saved screen capture (when you have an optional-purchase MMC/SD card
installed).
Taking a screen snapshot is a four step process:
1. Enabling Screen Snapshot from the Accessories Menu.
2. Making a Screen Snapshot.
3. Viewing a Screen Snapshot using the Screen Snapshot View.
4. Deleting a Screen Snapshot using the Screen Snapshot X-Press™ menu.
For more information, see the
Accessories Menu Tab: Using Screen Snapshot
procedure
and the
Screen Snapshot X-Press™ Menu
.
When you start a screen snapshot, you will see a message that a waypoint has been
created at the point where your cursor is on the screen, and the screen will freeze. A
status dialog box will appear that shows the progress of the save, and that displays the
numbered file name assigned to the .BMP file that is being created, along with the
percentage completed status.
Screen Capture View
531476-1_A - 787c2_Eng.qxd 11/22/2005 3:21 AM Page 26


