Chapter 2 • Assembling and connecting HX260 hardware
!
1038056-0001 Revision A
15
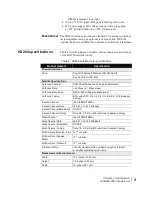
Selecting a radio type can be completed using either the Manual
Commissioning screen or one of the Satellite Based
Commissioning screens as described in Chapter 3 –
Commissioning the HX260 satellite router
on page 19.
The
operator may select only one radio transmit option at any time.
Connecting the Ethernet
and power cables
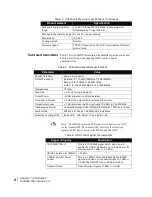
Select a location for the satellite router that accommodates all
required cable connections, including the power source. Using
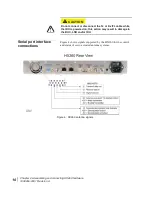
Figure 3 as a reference, connect the Ethernet cable:
1. Place the satellite router in the desired installation location.
2. Connect the installer PC to the satellite router with an
Ethernet cable. Make sure no Ethernet routers or switches are
currently connected between the satellite router and the
installer PC.
3. Connect the power cable.
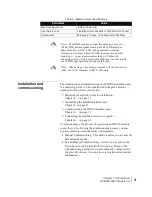
Note:
The satellite router may operate correctly when first
installed even if the transmit and receive cable connectors are not
adequately tightened. However, problems could develop later.
Therefore, correct operation of the satellite router is not an
indication that the cables are adequately tightened.
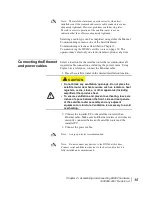
CAUTION
• Do not block any ventilation openings. Do not place the
satellite router near heat sources such as radiators, heat
registers, ovens, stoves, or other apparatus (including
amplifiers) that produce heat.
• To ensure ventilation and prevent overheating, leave six
inches of space between the front, side and rear panels
of the satellite router assembly and any adjacent
equipment or structure. Ventilation is necessary to avoid
overheating.
Note:
A surge protector is recommended.
Note:
Do not connect any devices to the HX260 at this time.
Connect serial and Ethernet devices to the device only after it is
fully installed and commissioned.


