


Product support
For additional information on using your monitor, go to
http://www.hp.com/support
. Select Find your
product, and then follow the on-screen instructions.
NOTE:
The monitor user guide, reference material, and drivers are available at
http://www.hp.com/support
.
Here you can do the following:
●
Chat online with an HP technician
NOTE:
When support chat is not available in a particular language, it is available in English.
●
Locate an HP service center
Preparing to call technical support
If you cannot solve a problem using the troubleshooting tips in this section, you may need to call technical
support. Have the following information available when you call:
●
Monitor model number (see
Locating the serial number and product number on page 19
)
●
Monitor serial number (see
Locating the serial number and product number on page 19
)
●
Purchase date on invoice
●
Conditions under which the problem occurred
●
Error messages received
●
Hardware configuration
●
Name and version of the hardware and software you are using
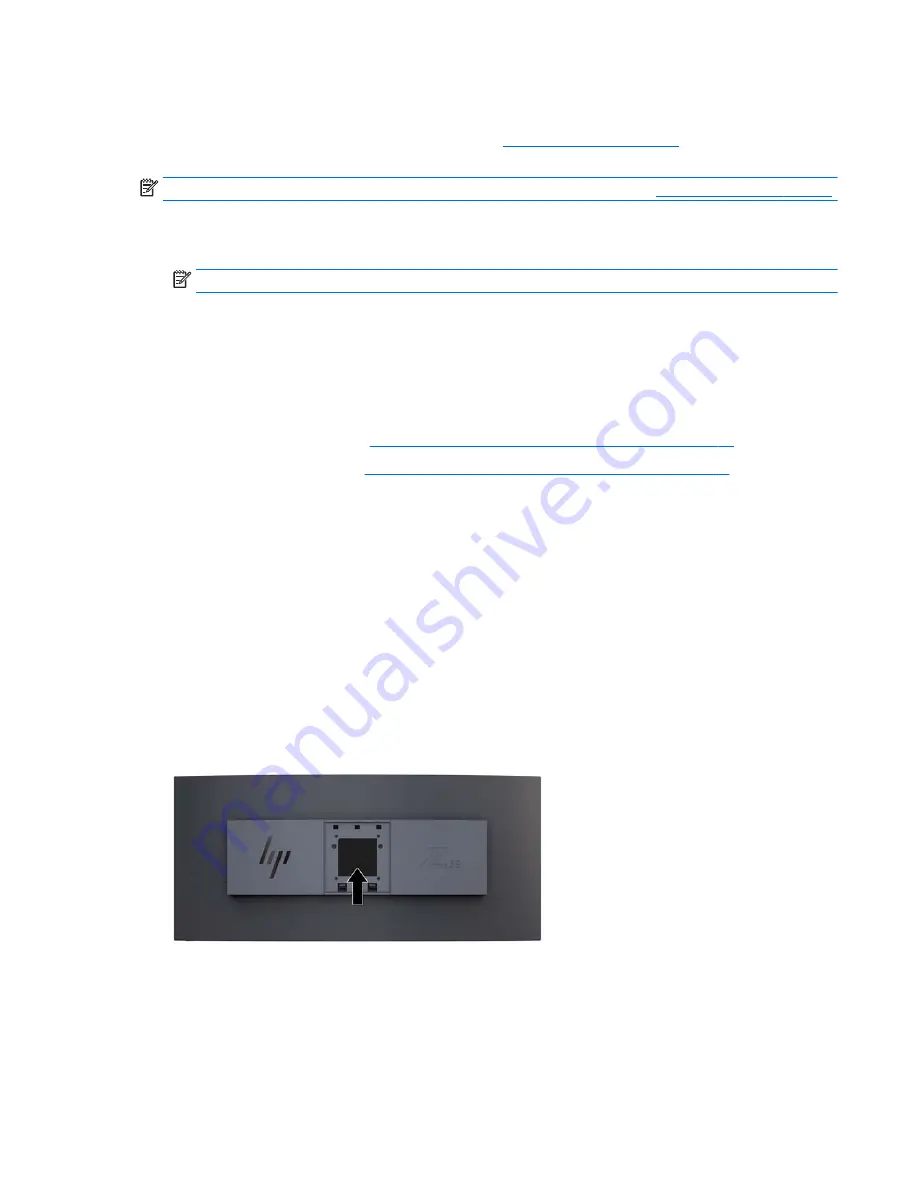
Locating the serial number and product number
The rating label on the monitor provides the product number and serial number. You may need these
numbers when contacting HP about the monitor model. The rating label is located on the bottom of the
monitor panel.
Product support
19
Содержание Z38c
Страница 1: ...User Guide ...
Страница 4: ...iv About This Guide ...


