


27
E
sp
a
ñ
o
l
Po
rtu
gu
ês B
R
E
n
g
lis
h
E
n
g
lis
h
E
n
g
lis
h
E
n
g
lis
h
E
n
g
lis
h
E
n
g
lis
h
F
ra
n
ç
a
is
E
n
g
lis
h
4. Utiliser le menu Fonction
Le menu Fonction est utilisé pour ajuster rapidement les paramètres de capture de base
lorsque vous êtes en mode Photo et Vidéo. En mode Photo, le menu Fonction affi che
les 6 derniers modes utilisés et permet d’apporter des modifi cations aux paramètres de
résolution et de qualité de compression des fi chiers, (compensation EV, Equilibre auto des
blancs (AWB), les paramètres ISO, Mesure et le mode Couleur peuvent être disponibles
pour les différents modes scènes). En mode Vidéo, le menu de fonction s’affi che et permet
d’apporter des changements au paramètre de Résolution vidéo, AWB, Mesure et mode
Couleur.
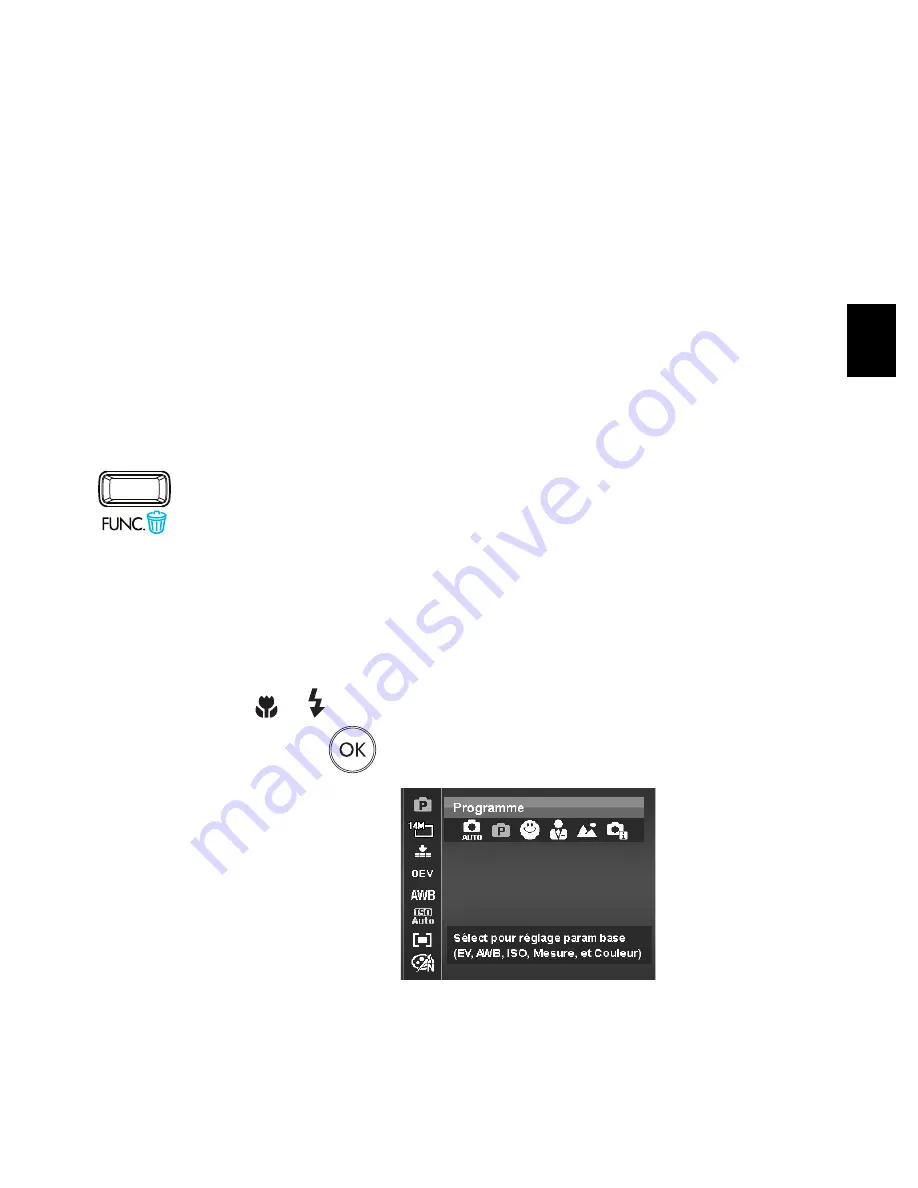
Appuyez sur le bouton
•
FUNC
(FONC)
de votre appareil photo pour lancer le
menu Fonction.
Appuyez à nouveau sur le bouton
•
FUNC
(FONC)
pour fermer le menu.
La barre de Menu affi che l’état actuel des paramètres de l’appareil photo. Seules les
•
fonctions disponibles pour les paramètres sont affi chées sous forme d’icône sur la barre
de menu.
Les options disponibles pour chaque élément sur la barre de menu sont affi chées dans
•
les options du Menu.
Utilisez la touche
•
ou pour vous déplacer parmi les sélections du menu, appuyez
ensuite sur le
bouton OK
pour enregistrer et appliquer les modifi cations.
Options de menu
Barre de menu
Содержание Visualize c200 - Workstation
Страница 1: ... ...
Страница 118: ...116 Włóż baterie do komory we właściwym kierunku 3 zgodnie z rysunkiem Zamknij i zablokuj komorę baterii 4 ...
Страница 130: ......
Страница 131: ...P N 7525C00256A ...