Chapter 3. Configuration
6.
Do one of the following:
•
Use the up and down arrow keys as described in step 2 to select YES, then press
ENTER. The DNS address is auto-detected and recorded. Proceed to step 8.
•
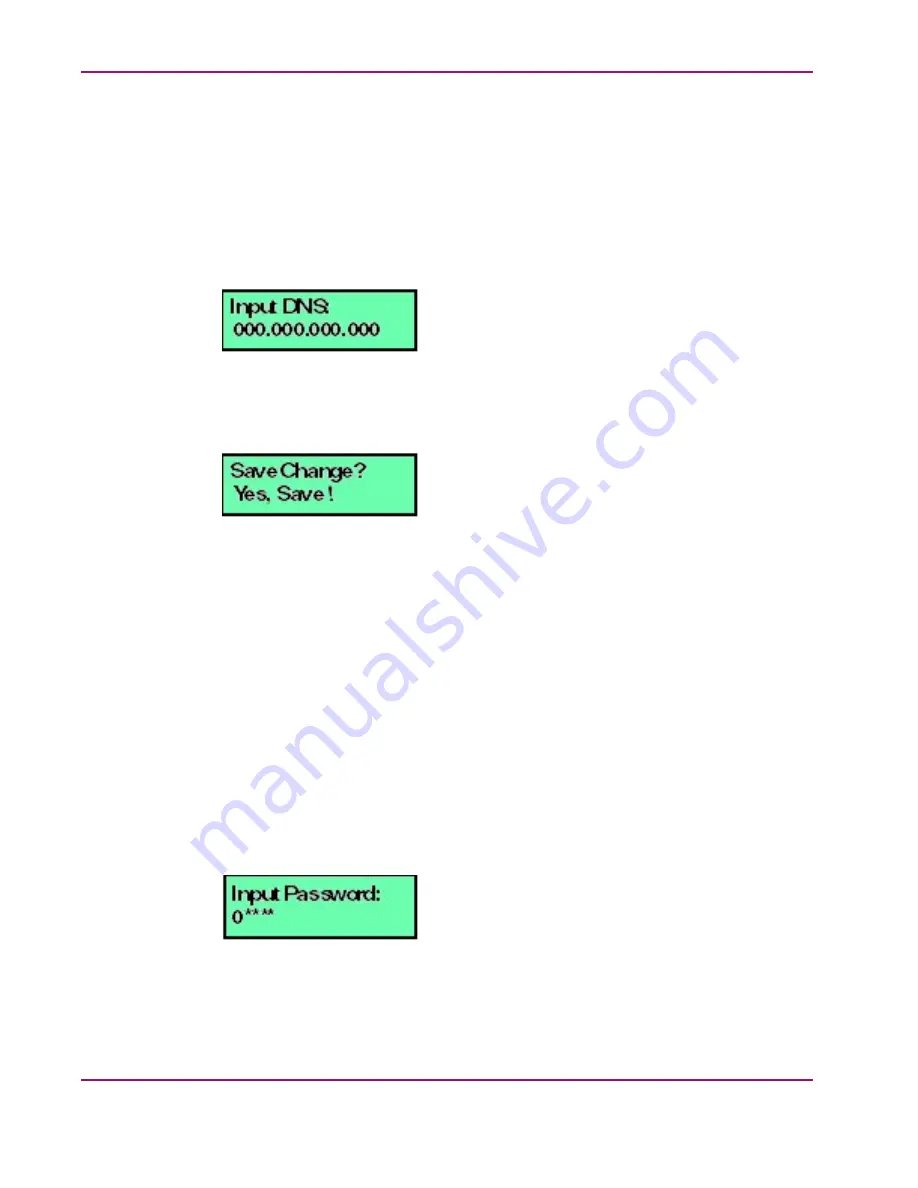
Select NO by pressing ENTER. The following message displays (
Figure 3.18. LCD Panel (Input DNS)
7.
Use the arrow keys as described in step 2 to enter the IP address for the DNS server, then
press ENTER. The following message displays (
):
Figure 3.19. LCD Panel (Save Change)
8.
Use the up and down arrow keys as described in step 2 to select YES, then press ENTER.
If you saved the changes, a
Wait a moment!!
message displays at the LCD panel
and the LCD panel returns to the LAN 1 Setting?? message.
9.
Press the up and down arrow keys until
Return??
is displayed, then press ENTER.
The LCD panel returns to scrolling mode, which continually displays HAFM appliance
operational information.
10. Record the private LAN IP address and subnet mask for reference if the appliance hard
drive fails and must be restored.
Manually Configuring Private LAN Addresses
To configure TCP/IP network information for the private LAN connection (LAN 2):
1.
At the LCD panel, press ENTER. The Welcome!! or operational information message
changes to the following (
):
Figure 3.20. LCD Panel (Password Entry)
42
hp StorageWorks HA-Fabric Manager Appliance Installation
Guide
Содержание StorageWorks HA-Fabric Manager
Страница 7: ...List of Tables 1 Document Conventions 11 1 1 Factory Set Defaults HAFM Appliance 17 ...
Страница 8: ......
Страница 22: ......
Страница 34: ......
Страница 72: ......
Страница 82: ...Appendix A Regulatory and Safety Information 82 hp StorageWorks HA Fabric Manager Appliance Installation Guide ...
Страница 84: ......
Страница 88: ...Index call home 70 text symbols 11 88 ...


