


Operating the Monitor
4–4
User’s Guide
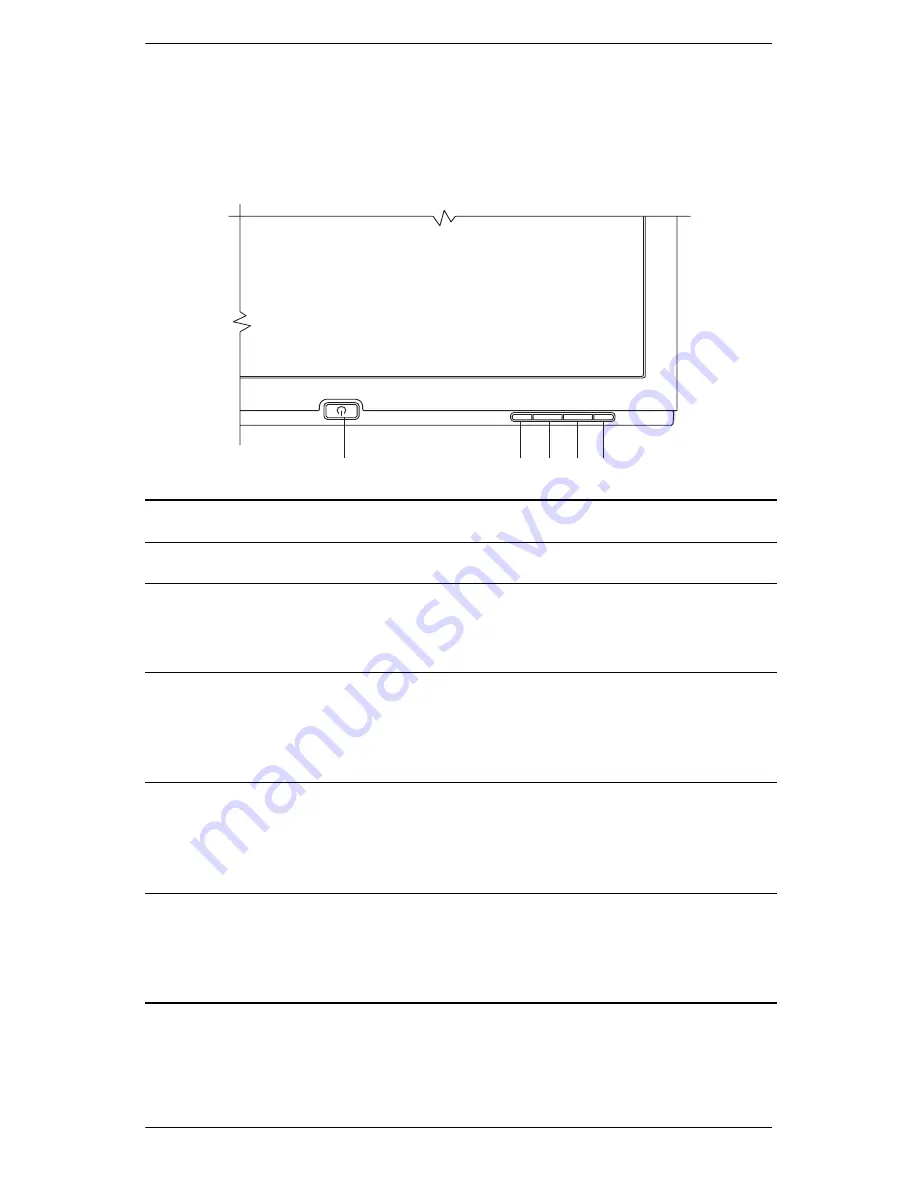
Front Panel Components
‘
1
2
3
4
5
No. Control
Function
1
On/Off
Turns the monitor on and off
2
Menu
• When OSD is active, closes setting screens and
exits OSD.
• When OSD is inactive, opens and closes OSD.
3
Left or Down
Browse/ Input 1
• When OSD is active, navigates OSD settings
menu and adjusts settings.
• When OSD is inactive, selects the VGA signal
input setting.
4
Right or Up
Browse/ Input 2
• When OSD is active, navigates OSD settings
menu and adjusts settings.
• When OSD is inactive, selects the DVI-I signal
input setting.
5
Select/Auto
• When OSD is active, acts as an Enter (Select) key
to select setting screen options.
• When OSD is inactive, performs an
auto-adjustment to optimize image quality.
Содержание Pavilion F1903
Страница 1: ...User s Guide f1903 LCD Monitor ...
Страница 10: ...Safety and Maintenance Guidelines 2 4 User s Guide ...
Страница 28: ...Operating the Monitor 4 10 User s Guide ...
Страница 32: ...Troubleshooting A 4 User s Guide ...
Страница 38: ...Technical Specifications B 6 User s Guide ...
Страница 44: ...Agency Regulatory Notices C 6 User s Guide ...


