background image

9

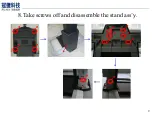
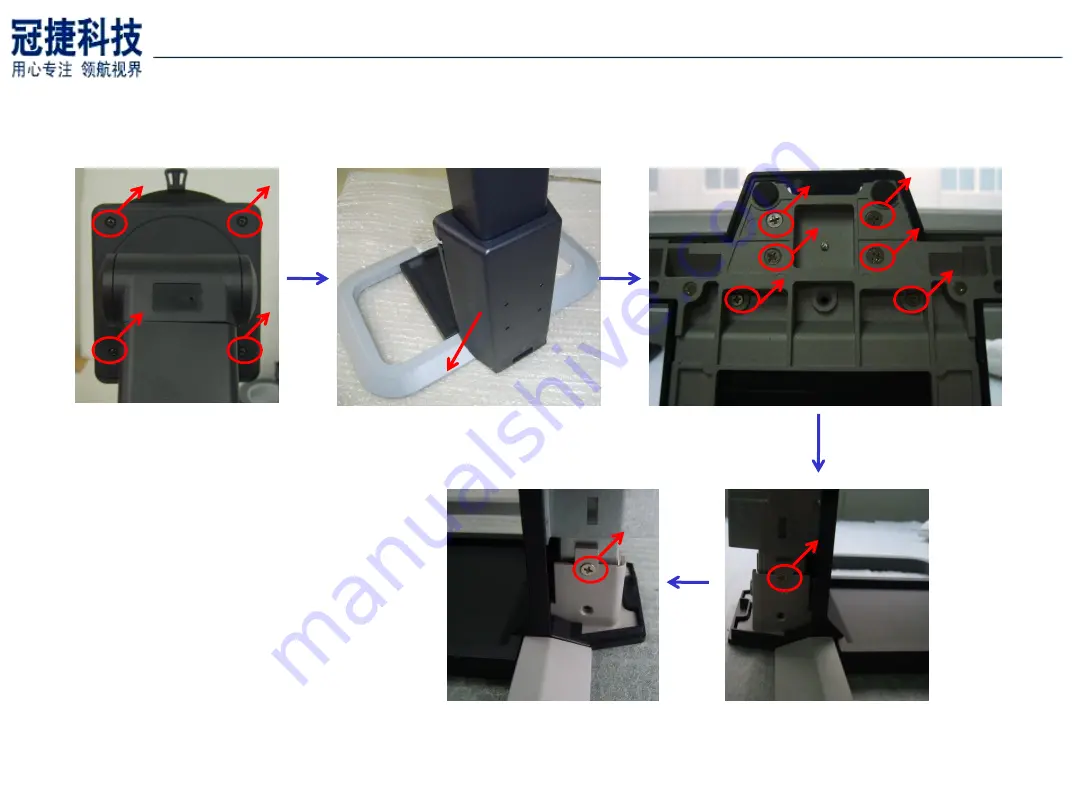
8.Take screws off and disassemble the stand ass’y.

Содержание LP2475w - 24" LCD Monitor

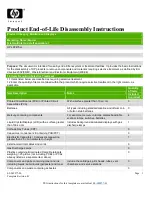
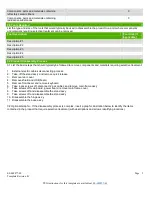
Страница 1: ...of items included in product Printed Circuit Boards PCB or Printed Circuit Assemblies PCA With a surface greater than 10 sq cm 3 Batteries All types including standard alkaline and lithium coin or button style batteries 0 Mercury containing components For example mercury in lamps display backlights scanner lamps switches batteries 4 Liquid Crystal Displays LCD with a surface greater than 100 sq cm...

Страница 2: ...should typically be followed to remove components and materials requiring selective treatment 1 External electric cables disconnecting process 2 Take off the stand ass y and remove quick release 3 Remove rear cover 4 Remove shield and USB board 5 Remove front bezel and remove keyboard 6 Take 4 pcs screws off disconnect 2 pcs cables and remove main frame ass y 7 Take screws off main board power boa...

Страница 3: ...1 HP L2475W disassembly SOP From YiQuan Kang Date APR 09 08 ...

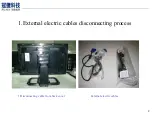
Страница 4: ...2 1 External electric cables disconnecting process 1 Disconnecting cable from back cover External electric cables ...

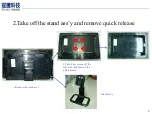
Страница 5: ...3 2 Take off the stand ass y and remove quick release 1 Remove the stand ass y 2 Take 4 pcs screws off the rear cover and remove the quick release Stand ass y ...

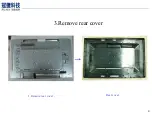
Страница 6: ...4 3 Remove rear cover 1 Remove rear cover Rear cover ...

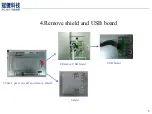
Страница 7: ...5 4 Remove shield and USB board Shield 1 Take 1 pcs screw off and remove shield 2 Remove USB board USB board ...

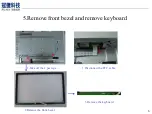
Страница 8: ...6 5 Remove front bezel and remove keyboard 1 Take off the 2 pcs tape 1 Disconnect the FFC cable 3 Remove the keyboard 2 Remove the front bezel ...

Страница 9: ...7 6 Take 4 pcs screws off disconnect 2 pcs cables and remove main frame ass y 1 Take off 4 pcs screws PANEL 2 Disconnect 2 pcs cables Main frame ass y ...

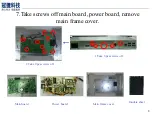
Страница 10: ...8 7 Take screws off main board power board remove main frame cover 1 Take 6 pcs screws off Main board 2 Take 9 pcs screws off Power board Insulate sheet Main frame cover ...

Страница 11: ...9 8 Take screws off and disassemble the stand ass y ...

Страница 12: ...10 9 Take screws off and disassemble the stand ass y ...

Страница 13: ...11 10 Disassemble the hinge ass y 1 Disassemble hinge ass y External electric cables ...

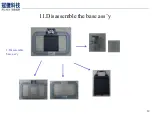
Страница 14: ...12 11 Disassemble the base ass y 1 Disassemble base ass y ...

Отзывы: