


3.
Management and configuration of the controller occurs through its web interface. Open the
web interface in your web browser (Microsoft Internet Explorer 9 or later, or Mozilla Firefox
17 or later) by connecting to the address:
https://192.168.1.1
.
(If the IP address of the controller is in the restricted sites list of your browser, you will not be
able to access the controller web interface.)
4.
A security certificate warning might appear the first time you connect to the web interface.
This is expected. Select the option in your web browser to continue.
5.
On the Login page, enter
admin
for both
Username
and
Password
, and then select
Login
.
6.
A workflow to set initial controller settings starts automatically. After you accept the HP Licence,
read the instructions and respond to the prompts on each page, and select
Next
to continue
to the next workflow page.
CAUTION:
To maintain regulatory compliance, during this workflow you must select the
correct country in which the controller and any controlled APs will operate. Selecting an
incorrect country can result in illegal operation and can cause harmful interference to other
systems.
When you reach the Network Interface step, make a note of the Internet network interface IP
address. You will need this address in step 10.
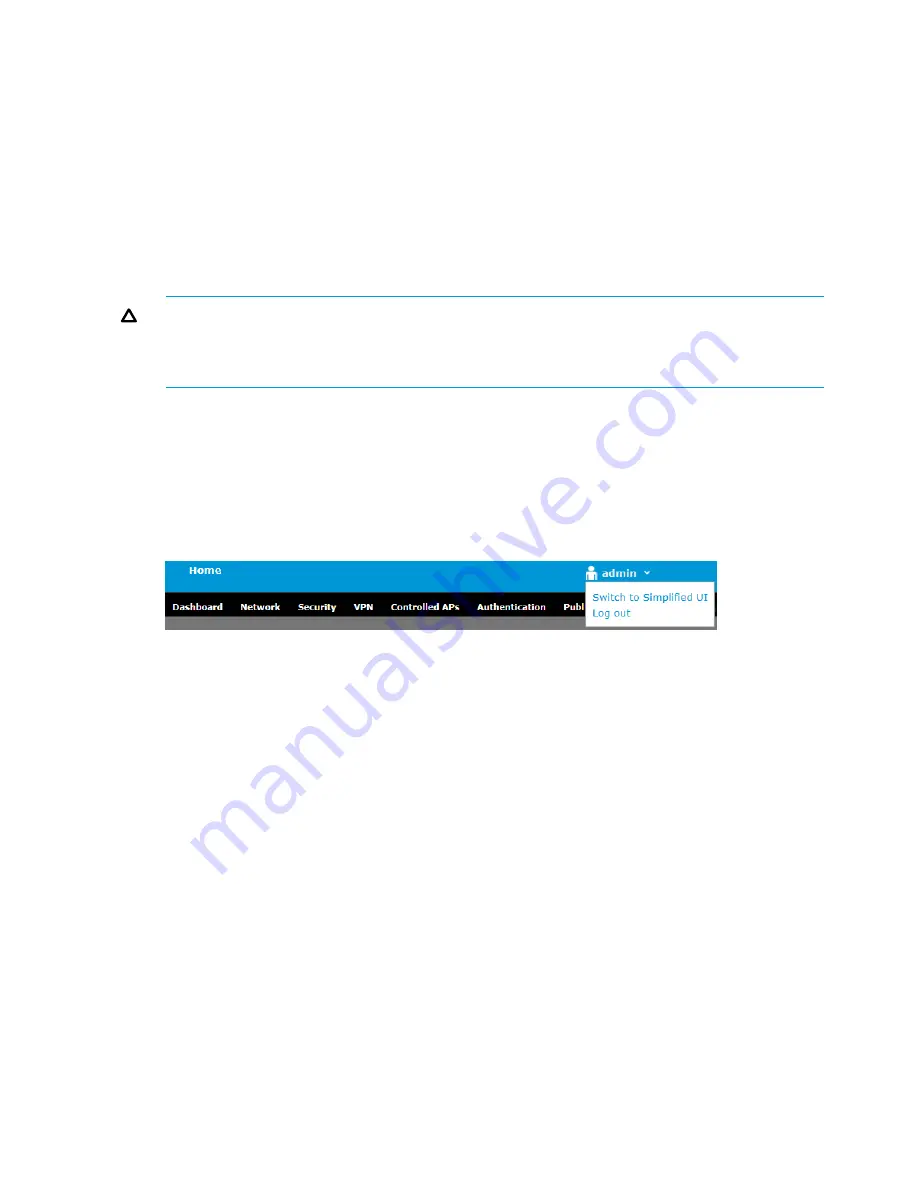
7.
When initial setup is complete, you are prompted to try the new Simplified UI. Select
Try it
Later
to stay in the Advanced UI, which is the default interface the first time you connect to
the controller.
8.
Click the administrator icon in the title bar and select
Logout
. (The name next to the icon will
be the name you defined during the initial configuration procedure. By default, it is
admin
.)
9.
Disconnect your computer from the controller LAN port. Connect it to the same network to
which the controller Internet port is connected. Configure the Ethernet port on your computer
with an IP address (or addressing method) that is compatible with this network.
10. Open the controller web interface in your browser by specifying the controller Internet port IP
address.
11. On the Login page, enter the new login credentials you defined for
Username
and
Password,
and then select
Login
.
12. You will be prompted to try the new Simplified UI.
•
Select
Let’s try it out
to switch to the Simplified UI. The Simplified UI provides access to
the most commonly configured controller options, and features wizards to make
configuration tasks easy. For initial configuration of the controller, HP recommends using
the Simplified UI. The first time the Simplified UI starts, it shows the product tour, which
provides a quick overview of the key features of the interface.
•
Select
Try it Later
to stay in the Advanced UI, which provides access to advanced
configuration settings on the controller. (This is the same interface that was used in previous
software releases.)
13. You are now ready to connect a controlled AP and deploy a wireless network.
•
If you are using the Simplified UI, open the online help and select the topic Working with
controlled APs under the section Tell Me About.
•
If you are using the Advanced UI, see Working with controlled APs in the MSM Controllers
Configuration Guide.
16
Initially connecting and configuring


