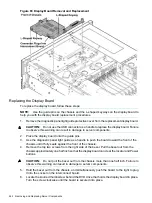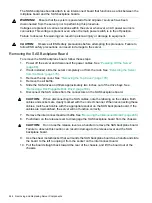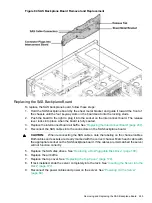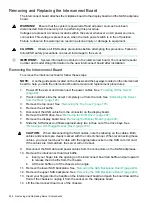
9.
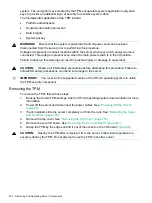
Restore the former TPM settings to the new TPM. See the HP-UX operating system
documentation for more information.
10. Back up the TPM security information. See the HP-UX operating system documentation for
more information.
Removing and Replacing the Core I/O Board
The core I/O board provides local and remote manageability access, and manages many critical
server functions and components such as:
•
Power supplies
•
Fans
•
Main memory
•
Front panel
•
Processors
•
Remote interfaces
•
USB
•
VGA (optional)
•
Server boards
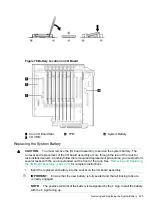
The core I/O board has a unique, dedicated slot located to the left of the public PCI/PCI-X card
slots (as viewed from the front of the chassis) on the I/O board assembly. The core I/O board
includes VGA (optional), iLO 2 MP LAN, iLO 2 MP USB, and iLO 2 MP serial ports, and locator
and iLO 2 MP status LEDs. For more detail on the port locations and LEDs, see
WARNING!
Ensure that the system is powered off and all power sources have been
disconnected from the server prior to performing this procedure.
Voltages are present at various locations within the server whenever an AC power source is
connected. This voltage is present even when the main power switch is in the off position.
Failure to observe this warning can result in personal injury or damage to equipment.
CAUTION:
The dedicated core I/O board slot is not hot-pluggable.
CAUTION:
Observe all ESD safety precautions before attempting this procedure. Failure to
follow ESD safety precautions can result in damage to the server.
Removing the Core I/O Board
IMPORTANT:
The replacement core I/O board may not be the same as the current core I/O
board. If the server is running an operating system other than Windows or Linux, the current core
I/O board may not have a VGA connector. The replacement core I/O board always ships with a
VGA connector. The VGA connector may not be functional depending on the server operating
system. However, when you run system discovery utilities, such as MAPPER, the output includes
VGA.
To remove the core I/O board, follow these steps:
1.
Power off the server and disconnect the power cables. See
2.
Disconnect all external cables attached to the board.
3.
If rack installed, slide the server completely out from the rack. See
.
234
Removing and Replacing Server Components


