


Instruction Manual
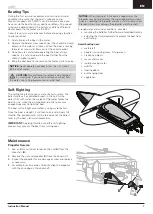
In the unlikely event that the radio connection is lost during
use, the receiver will drive the servo and ESC to their pre-
programmed failsafe positions (normally no throttle and
straight steering).
If the receiver is powered on before powering on the
transmitter, the receiver will enter this failsafe mode. When
the transmitter is powered on, normal control is resumed.
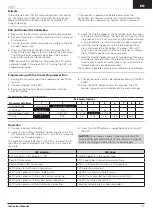
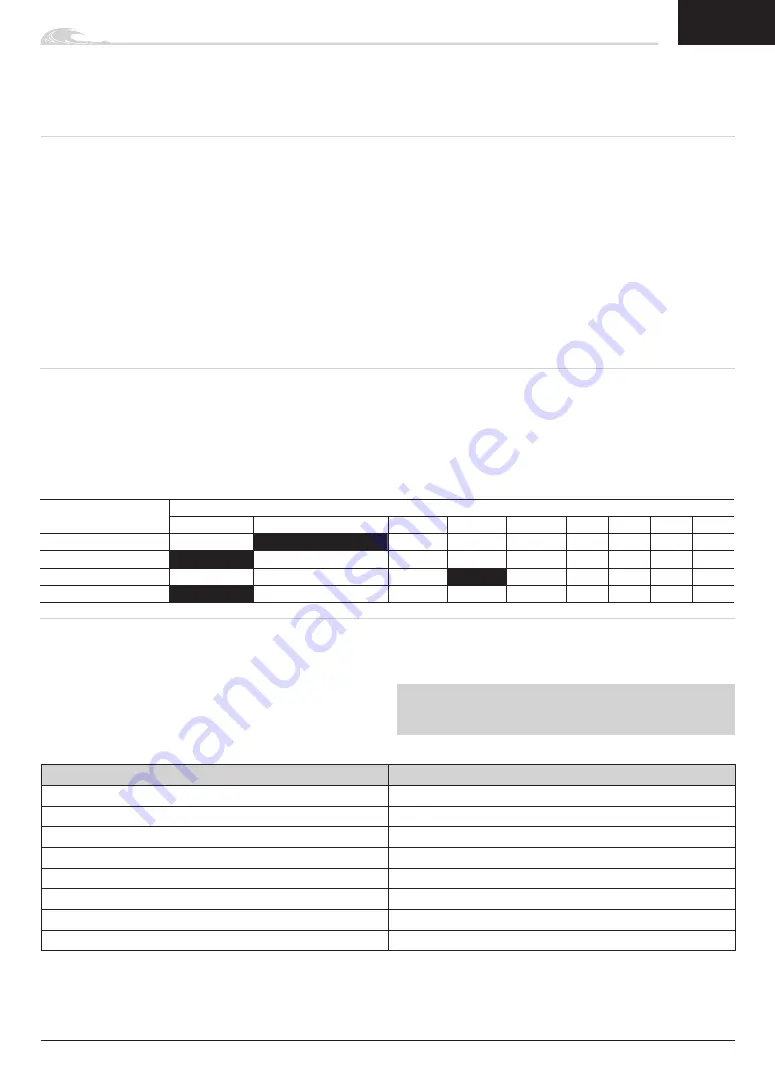
Failsafe
The black-shaded setting is the factory default
Programmable Items
Parameter Options
1
2
3
4
5
6
7
8
9
Running Mode
Forward Only
Forward/ Backward
Li-Po Cells
Auto Calc.
3S
4s
5s
6s
7s
Low Voltage Cutoff
Disabled
2.8V/Cell
3.0V/Cell
3.2V/Cell
3.4V/Cell
Timing
0º
3.75º
7.5º
11.25º
15º
18.5º
22.5º
26.5º
1.
Begin with the transmitter and receiver binding complete.
2.
Set your transmitter’s throttle channel to 100% travel and
trim to neutral.
3.
Turn on your transmitter and connect a battery to the ESC
but don’t power it on.
4.
Press and hold the Set button while turning on the ESC.
When the red LED begins to flash, release the Set button.
The ESC will enter programming mode if the button is
pressed for more than three seconds.
TIP:
The red LED should be fl ashing when the ESC enters
calibration mode. If the green LED is fl ashing the ESC is in
programming mode.
5.
Leave the throttle trigger at the neutral position, then press
and release the Set button. The red LED will stop fl ashing,
the green LED will fl ash one time and the motor will make
a tone to indicate the neutral position has been accepted.
6.
Hold the throttle trigger at the full throttle position then
press and release the Set button. The green LED will fl
ashe twice and the motor will make two tones to indicate
the full throttle position has been accepted.
7.
Hold the throttle trigger at the full brake position then press
and release the Set button. The green LED will fl ash three
times and the motor will make three tones to indicate the
full brake position has been accepted.
The motor will operate normally after calibration is completed.
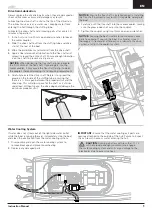
1.
Unplug the fan and connect the programming lead to the
fan port.
2.
Connect a battery to the ESC.
3.
Power on the box and select the parameter with the
SELECT button.
4.
Change the values of the selected parameter with the EDIT
button.
5.
Press the SAVE button to save the changes. The ESC
requires a power cycle to implement the saved changes.
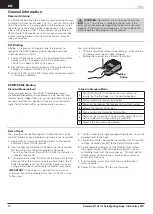
1.
Connect a battery to the ESC.
2.
Leave the transmitter throttle at neutral and press the On/
Off button on the ESC to turn it on. The ESC will cause the
motor to make several tones.
The number of tones indicates (1) the ESC is in operation (2)
the LiPo cell count detected and (3) the ESC is in a ready-to-
use state.
3.
Press the On/Off button or unplug the battery to turn off
the ESC.
NOTICE:
Do not leave a battery connected with the ESC
turned off for extended periods of time. Always unplug the
battery for storage or the battery may be damaged.
LED Indicator
LED Code
ESC turned On, LED indicator is Off
Throttle trigger is in the neutral zone
Red LED illuminated
ESC is operating in forward, reverse or brake
Red and Green LED illuminated
ESC is at full throttle, full brake, or full reverese
LED flashes red with short single pulses
LVC protection activated
LED flashes green with short single pulses
The ESC is in thermal shutoff mode
LED flashes green with three short pulses repeating
The ESC has exceeded the continuous current limit
LED flashes green with four short pulses repeating
The ESC has failed the self test
LED flashes green with five short pulses repeating
Capacitor temperature has been exceeded
Programming with the Smart Programmer Box
Operation
11
EN
ESC and Transmitter Calibration


