24
Installation into Panel
1.
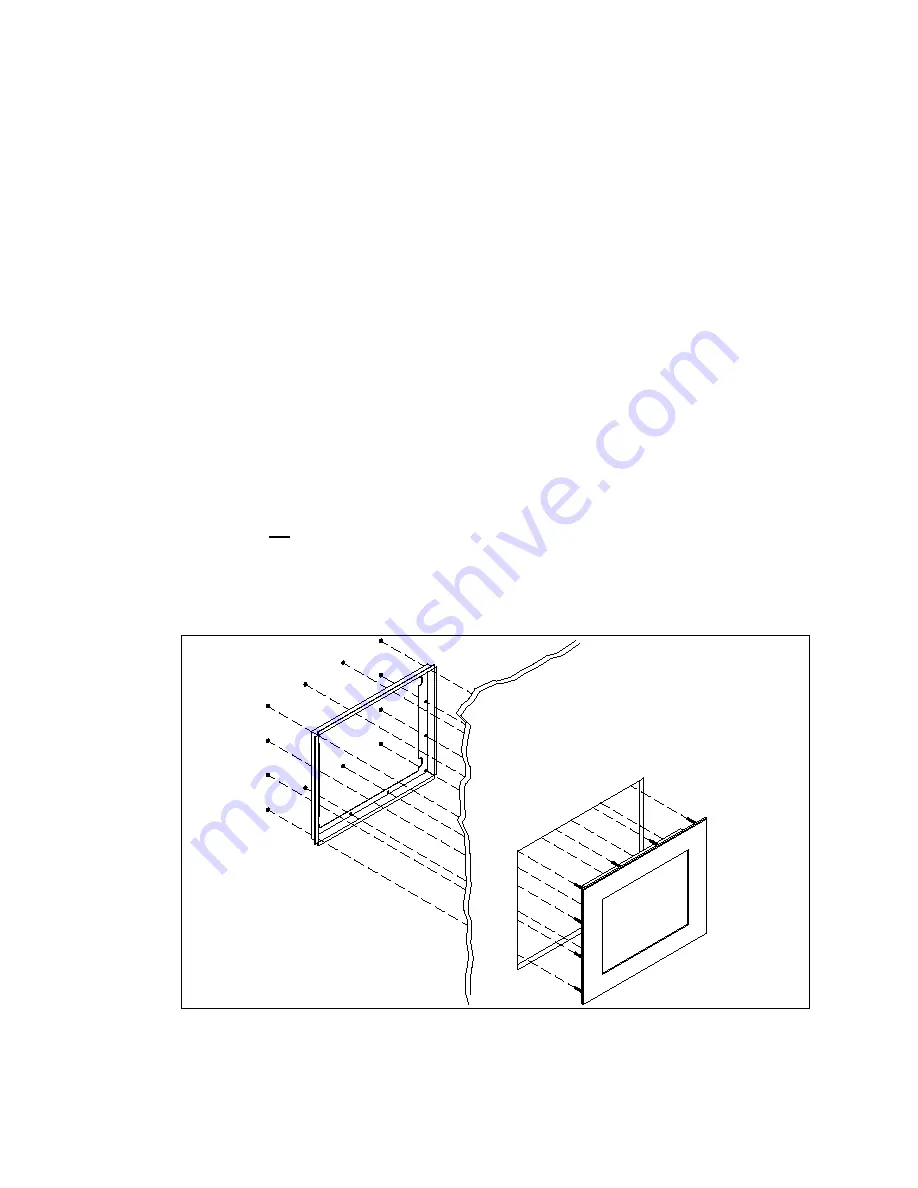
Refer to the drawing below.
2.
Locate position in panel for mounting of the monitor. Assure that
there is adequate space begin the panel. Allow extra space (0.5
in. behind and on each side) for air ventilation.
3.
Cut a rectangular hole in the panel. Clean and deburr.
Dimensions: 21.13” (536mm) W x 16.70” (424mm) H ; +/- .020”
4.
Separate the rear collar from the unit by removing the 14 nuts.
5.
Insert the unit into the front of the panel and re-attach the collar.
6.
Tighten all 14 nuts to a torque of 24 inch-pounds to assure a wa-
ter-tight seal between the poron bezel gasket on the monitor and
equipment panel.
HIS will not assume liability for damage to in-
ternal electronics due to improper installation.
Содержание HIS-ML21-SGAB
Страница 26: ...26 Drawings Front View Bottom and Rear View Showing cutout dimensions...
Страница 27: ...27...


