


Automatic
diaphragnl
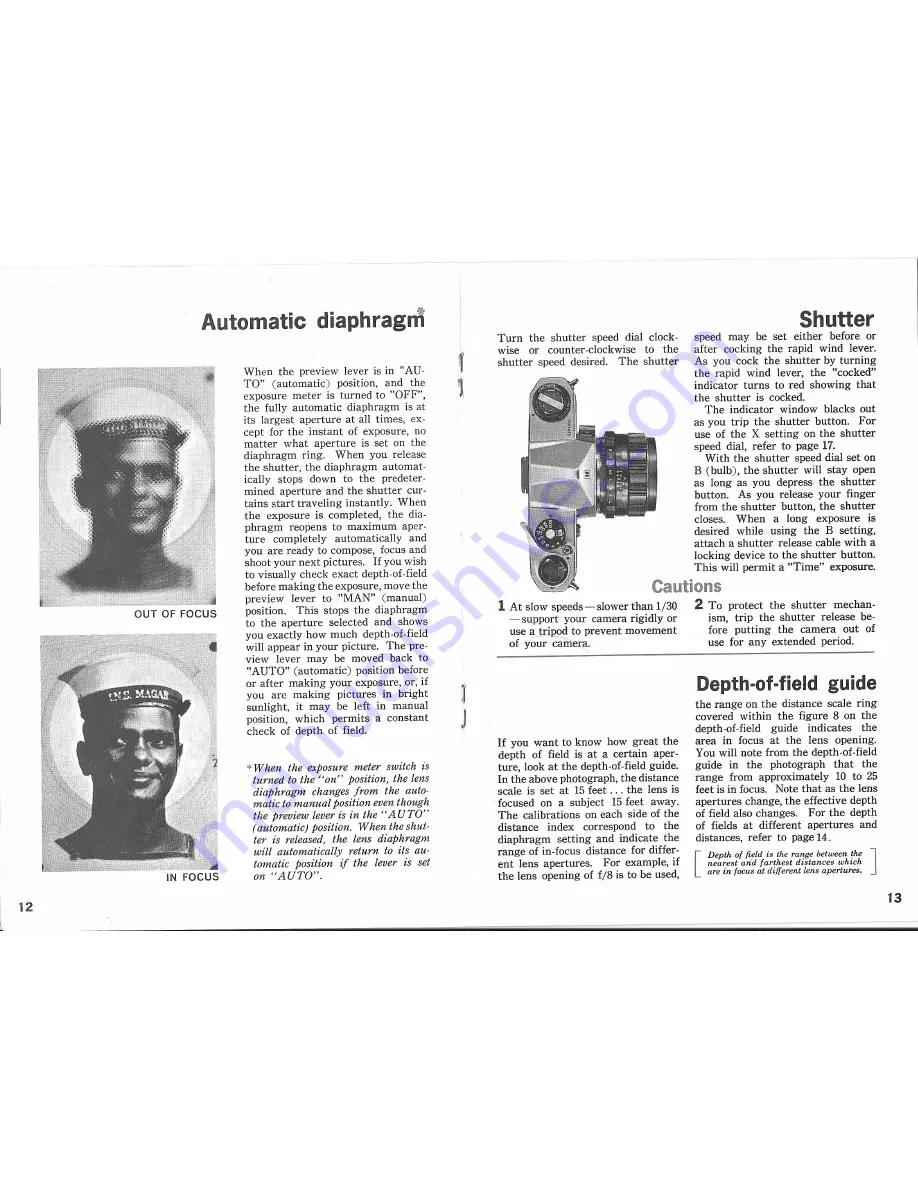
OUT OF FOCUS
IN FOCUS
12
I
~
When the preview lever is in "AU-
TO" (automatic)
position, and the
exposure meter is turned to "OFF",
the fully automatic diaphragm is at
its largest aperture at all times, ex-
cept for the instant of exposure, no
matter
what aperture is set on the
diaphragm ring.
When you release
the shutter, the diaphragm automat-
ically stops down to the predeter-
mined aperture and the shutter cur-
tains start traveling instantly. When
the exposure is completed, the dia-
phragm reopens to maximum aper-
ture
completely
automatically
and
you are ready to compose, focus and
shoot your next pictures.
If
you wish
to visually check exact depth-of-field
before making the exposure, move the
preview lever to "MAN" (manual)
position.
This stops the diaphragm
to the aperture
selected and shows
you exactly how much depth-of-field
will appear in your picture. The pre-
view lever may be moved back to
"AUTO" (automatic) position before
or after making your exposure, or, if
you are making pictures in bright
sunlight, it may be left in manual
position, which permits a constant
check of depth of field.
*
When
the exposure meter switch is
turned to the "on"
position, the lens
diaphragm
changes from
the auto-
matic to manual position even though
the preview lever is in the "AUTO"
(automatic)
position.
When the shut-
ter is released, the lens diaphragm
will automatically
return to its au-
tomatic position
if the lever is set
on "AUTO".
Turn the shutter
speed dial clock-
wise
or counter-clockwise
to the
shutter speed desired.
The shutter
Shutter
speed may be set either before or
after cocking the rapid wind lever.
As you cock the shutter by turning
the rapid wind lever, the "cocked"
indicator turns to red showing that
the shutter is cocked.
The indicator window blacks out
as you trip the shutter button.
For
use of the X setting on the shutter
speed dial, refer to page 17.
With the shutter speed dial set on
B (bulb), the shutter will stay open
as long as you depress the shutter
button.
As you release your finger
from the shutter button, the shutter
closes.
When
a long exposure
is
desired while using the B setting,
attach a shutter release cable with a
locking device to the shutter button_
This will permit a "Time" exposure.
1
At slow speeds-slower
than 1/30
- support your camera rigidly or
use a tri~to
prevent movement
of your camer~
Cautions
2
To protect the shutter
mechan-
ism, trip the shutter
release' be-
fore putting
the camera out of
use for any extended period.
If
you want to know how great the
depth of field is at a certain aper-
ture, look at the depth-of-field guide.
In the above photograph, the distance
scale is set at 15 feet ... the lens is
. focused on a subject 15 feet away_
The calibrations on each side of the
distance
index
correspond
to the
diaphragm
setting and indicate the
range of in-focus distance for differ-
ent lens apertures_
For example, if
the lens opening of f/8 is to be used,
Depth-of-field
guide
the range on the distance scale ring
covered within the figure 8 on the
depth-of-field
guide
indicates
the
area in focus at the lens opening.
You will note from the depth-of-field
guide in the photograph
that
the
range from approximately
10 to 25
feet is in focus_ Note that as the lens
apertures change, the effective depth
of field also changes.
For the depth
of fields at different apertures and
distances, refer to page 14.
[Depth
of field is the range between
the
]
nearest
an·d farthest
distances
which
are in focus at different
lens apertures_
13
Содержание Pentax Spotmatic
Страница 1: ...SPOTMATIC ...
Страница 15: ...HoneY ell ...