Configuration
64
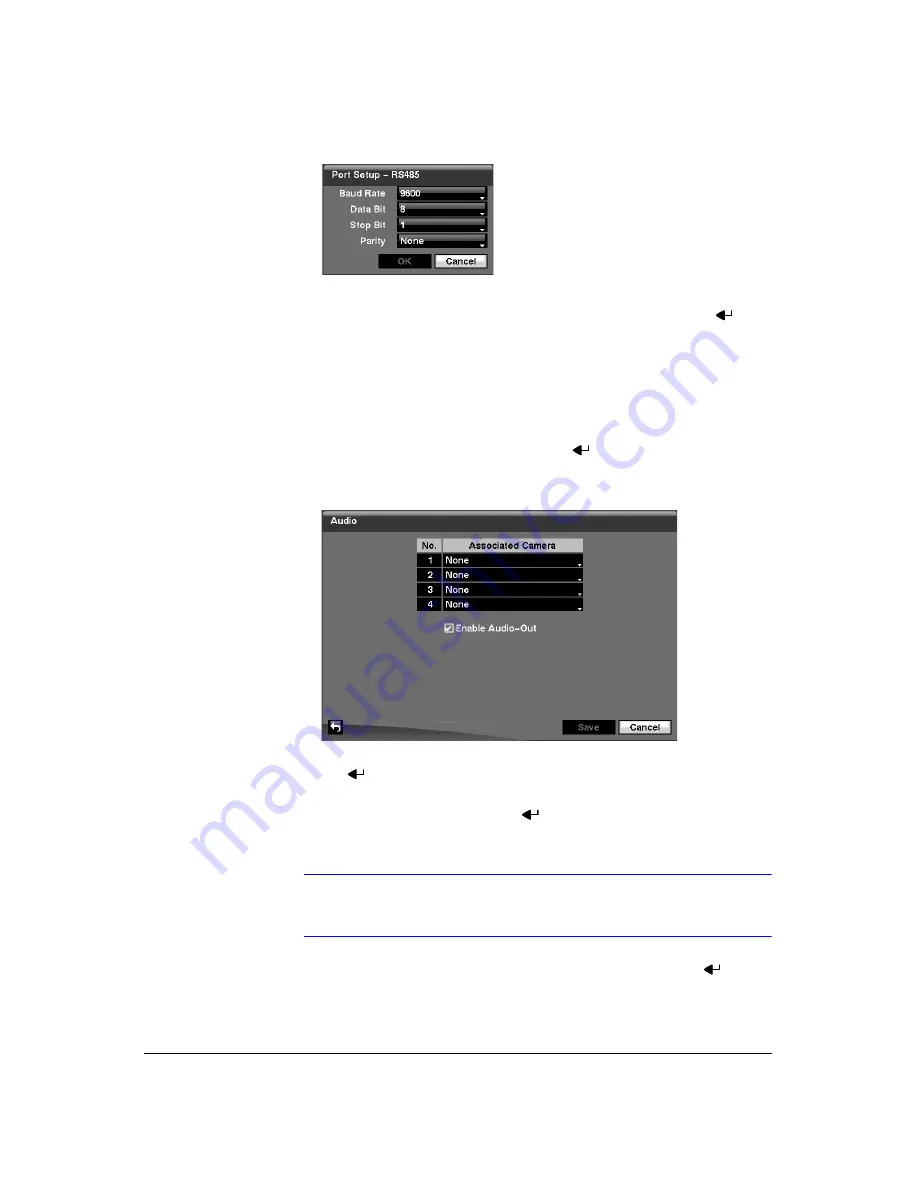
Figure 3-39
Port Setup Window
9.
Configure the port’s setting based on the PTZ camera manufacturer’s instructions.
10. You can save your Camera changes by highlighting
Save
and pressing
.
Selecting
Cancel
exits the screen without saving the changes.
Audio Setup Screen
1.
Highlight
Audio
in the Devices menu and press
. The Audio setup screen
(
Figure 3-40
Audio Setup Screen
2.
The DVR can record up to four audio inputs. Highlight the box beside the input
and press
. A list of cameras appears, and you can select which camera you
want associated with that audio input.
3.
Highlight
Enable Audio-Out
and press
. This toggles between enabling and
disabling audio out.
Note
The DVR will NOT record audio when the recording speed is set
to less than 1 ips.
4.
You can save your Audio changes by highlighting
Save
and pressing
.
Selecting
Cancel
exits the screen without saving the changes.
Содержание HRXD16
Страница 1: ...Document 900 0856 Rev 3 00 11 07 User Guide HRXD9 HRXD16 9 16 Channel Models Digital Video Recorder ...
Страница 8: ...Contents 8 ...
Страница 20: ...Introduction 20 ...
Страница 32: ...Installation 32 ...
Страница 125: ...Text In Search Examples Document 900 0856 Rev 3 00 125 11 07 Figure B 2 Text In Search Option Example 2 ...
Страница 126: ...Text In Search Examples 126 ...
Страница 130: ...Reviewing Video Clips 130 ...
Страница 138: ...WebGuard 138 ...
Страница 140: ...Time Overlap 140 ...
Страница 142: ...Troubleshooting 142 ...
Страница 144: ...Connector Pin Outs 144 RS485 Connector Pin Outs Master Unit Slave Unit To TX To TX To RX To RX ...
Страница 145: ...Map of Screens Document 900 0856 Rev 3 00 145 11 07 H Map of Screens ...
Страница 146: ...Map of Screens 146 ...
Страница 148: ...System Log Notices 148 ...
Страница 154: ...Specifications 154 ...
Страница 155: ......


