
Document 800-07015 – Rev B – 09/10
HREP 4-, 8-, 16-Channel Color
DVR Quick Install Guide
Front Panel
CONTROL
GROUP
BUTTON/
CONTROL
FUNCTION
Function Keys
PTZ
Selects PTZ mode in Live display.
MENU
Displays the SETUP menus.
SEARCH
Displays the SEARCH menu.
DISPLAY
Selects various display modes in Live display and playback
Control Keys
CHANNEL
SELECTION
BUTTONS
Used to display individual channels in Live display and
playback. They are also used to enter numeric passwords
for logon screens.
CURSOR KEY
Used to navigate the various menus.
ENTER
Apply or select an item.
RETURN
Cancel, or return to the previous menu.
Playback
Control
Shuttle Wheel
Used to quickly adjust playback speed and direction. Also
used to control camera zoom when in PTZ mode and
digital zoom in Live display mode.
JOG
When playback is paused, use
JOG
to move the footage
forward or backward, frame by frame.
Increases reverse playback speed.
Selects reverse playback.
Pauses/resumes playback.
Selects forward playback.
Increases forward playback speed.
JOG
SHUTTLE
Wheel
Function
Keys
Channels
Control
Keys
Playback
Controls
Rear Panel
Getting Started
GROUP
CONNECTION
DESCRIPTION
A
Camera Inputs
Connect up to 4/8/16 camera inputs, depending on your DVR.
B
Monitor and Spot
Out
Connect the main BNC monitor and a BNC spot monitor.
C
Audio Inputs/
Outputs
Connect up to 4 audio inputs and one audio output.
D
PAL/NTSC Switch
Change the camera input type.
E
Alarm Inputs/
Relay Outputs
Connect up to 4 alarm inputs and configure them as high or
low inputs with common ground. Connect one alarm output
and configure it as high or low output with common ground.
F
RS485
Connect PTZ cameras or a keyboard controller.
G
LAN
LAN connection to a router or an internal network.
H
DVI
DVI main monitor connection to a PC monitor or compatible
display.
Note
If you want to connect a VGA monitor, please use a
DVI-to-VGA converter (supplied with DVR).
I
Power
Connect to a 12V/5A adapter (supplied).
A
B
C
D
E
F
G
H
I
Logon to the system after the startup diagnostics have
completed after applying power.
The default USER name is
ADMIN
. Use the Channel
Selection buttons to enter the default PASSWORD,
1234
, then click
ENTER
.
Logging On
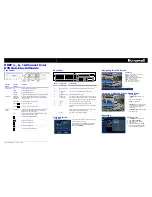
Navigating the LIVE Screen
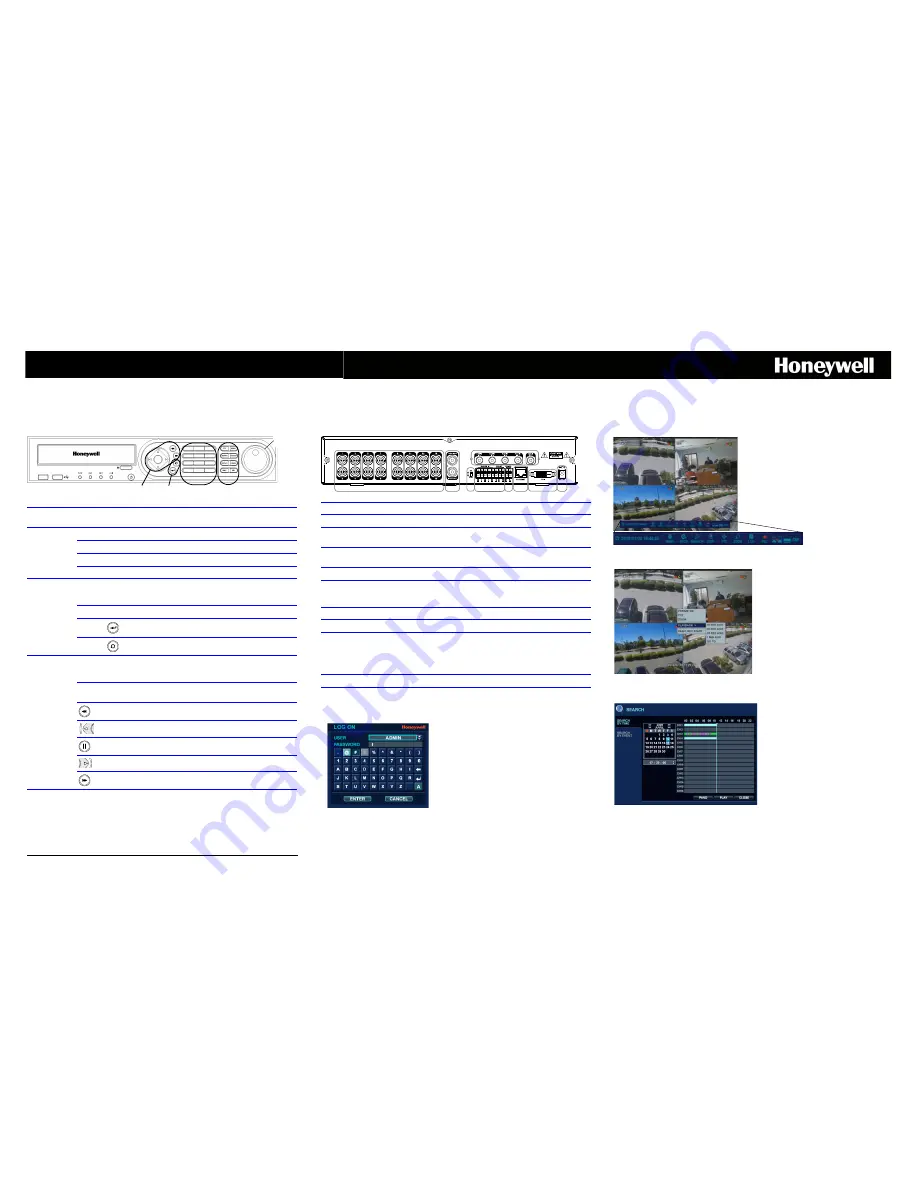
Using the LIVE Mode Mouse Popup Menu
Searching
LIVE Menu
MENU
- Access to system or recording setup
ARCH
- Enter Backup menu
SEARCH
- Open SEARCH menu
DISP
- Change the display mode/Split mode.
PTZ
- Open PTZ control panel
ZOOM
- Activate LIVE ZOOM
LOG
- Open LIVE Log list with images.
REC
- Start Panic Recording mode.
Mouse Menu
FREEZE ON/OFF
- Freeze LIVE
screen
PTZ
- Turn On/Off PTZ mode
ZOOM
- Start LIVE zoom
PLAYBACK
- Start a quick search for
the selected channel (Choose from
10, 20, and 30 seconds ago or 1
minute ago)
PANIC REC START
- Start/stop Panic
Recording mode
Searching by Time
1.
Click
SEARCH
on the LIVE screen.
2.
Select
SEARCH BY TIME
.
3.
Select a date on the calendar.
4.
Select a timeline.
5.
Select the playback mode:
PANO
(thumbnail-style playback) or
PLAY
(normal multi-channel playback).


