69
SERVICING YOUR OUTBOARD MOTOR
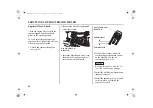
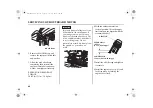
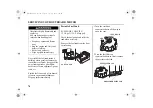
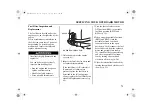
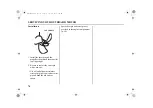
6. Install the spark plug carefully, by
hand, to avoid cross-threading.
7. After the spark plug seats, tighten
with a spark plug wrench to
compress the sealing washer.
SPARK PLUG TORQUE:
13 lbf·ft (18 N·m, 1.8 kgf·m)
If reinstalling the used spark plug,
tighten 1/8 – 1/4 turn after the
spark plug seats.
If installing new spark plug, tighten
1/2 turn after the spark plug seats.
A loose spark plug can overheat
and damage the engine.
Overtightening the spark plug can
damage the threads in the cylinder
head.
8. Attach the spark plug cap.
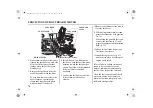
9. Install the engine cover (p. 61), and
lock it in place by locking the
engine cover latch.
REFUELING
If you do not anticipate using at least
one complete tank of fuel within a 30
day period, we recommend adding
Honda Marine Fuel Stabilizer or
equivalent each time you refuel.
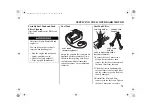
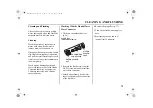
Internal Fuel Tank
FUEL TANK CAPACITY:
0.40 US gal (1.5 L, 0.33 Imp gal)
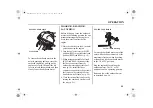
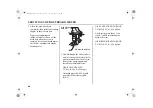
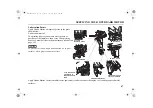
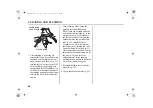
With the engine stopped, turn the internal
fuel tank vent knob counterclockwise to
the open position (p. 21), and then
remove the fuel filler cap.
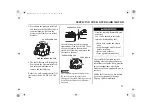
Refill the fuel tank if the fuel level is
low.
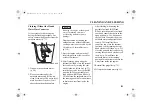
Refuel in a well-ventilated area. Fill
the tank to the maximum fuel level.
After refueling, install the fuel filler cap
and tighten it securely. Close the
internal fuel tank vent by turning the
vent knob clockwise all the way (p. 21).
Fuel can damage paint and plastic.
Be careful not to spill fuel when
filling your fuel tank. Damage caused
by spilled fuel is not covered under
warranty.
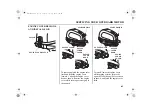
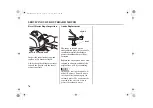
FUEL FILLER CAP
VENT KNOB
MAXIMUM FUEL LEVEL
FUEL TANK
31ZVC6000.book Page 69 Tuesday, June 28, 2016 1:09 PM

