Page 2
STEP #2
– Wi-Fi Setup
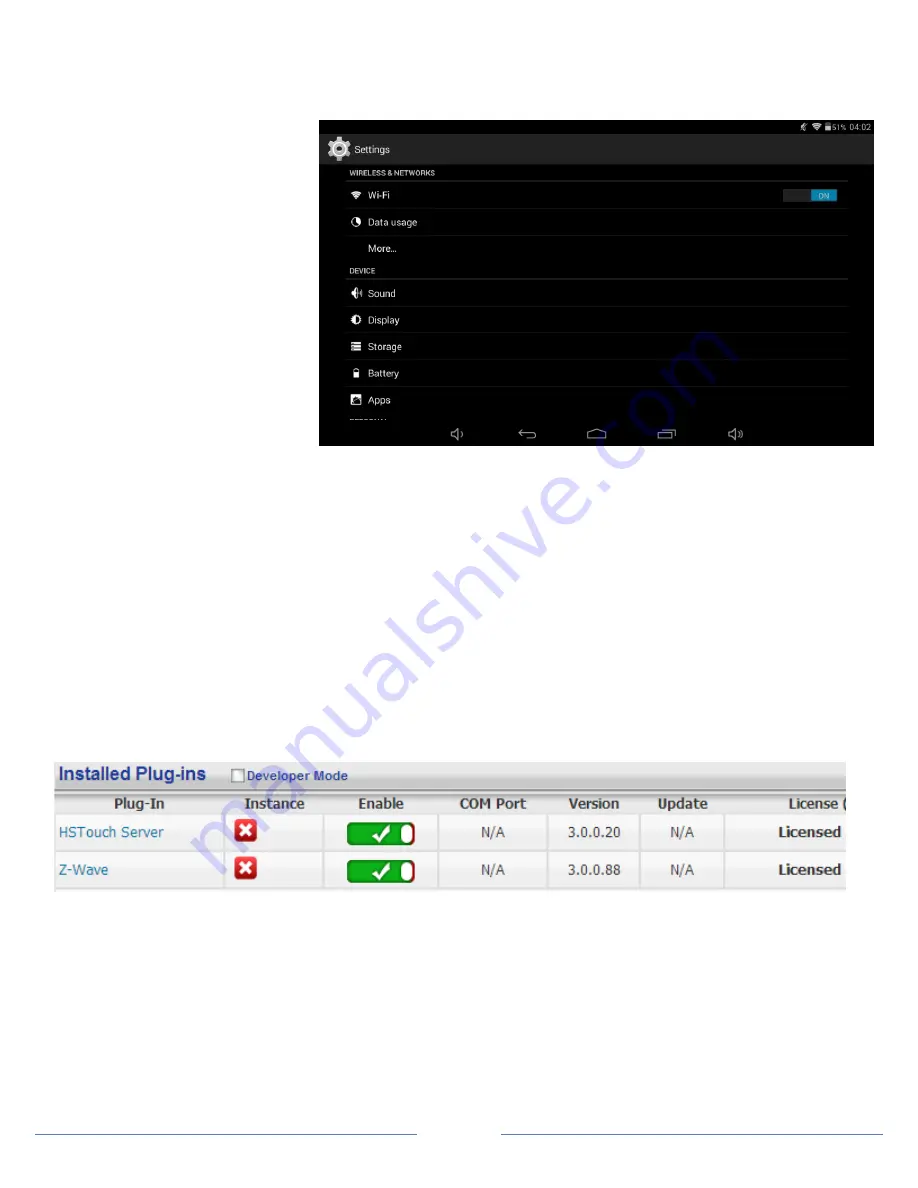
In order to control your home, you will need to put your WFTT07-2 onto your WiFi network. Follow the instructions below
to connect this to your network.
a)
Enter into the settings and
turn on the Wi-Fi.
b)
Once the Wi-Fi list is
populated, select your Wi-Fi
network to connect to.
c)
Enter the password when
prompted to.
d)
Once the network says
‘Connected’, go to your app
drawer and open up
‘Browser’ to make sure you
are connected to the internet.
e)
Once connected you can
proceed to setting up the
HSTouch Server & Client.
STEP #3
– HSTouch Server Setup
After you have successfully connected to your Wi-Fi network, you will need to make sure HSTouch Server is properly set
up before connecting the client to your HomeSeer system. This guide will assume that you have gone through the
necessary steps to set up HomeSeer. Follow the instructions below to set up HSTouch Server.
a)
Go to the Plug-in’s menu within your HomeSeer Web Control and click on
Manage
.
b)
If HSTouch Server is not installed follow these steps, otherwise skip to step f
c)
Click on
Additional Interfaces
to expand the plug-in updater.
d)
Scroll down to
User Interfaces
and expand that. Check the box next to
HomeSeer HSTouch Sever
.
e)
Scroll back up and click on
Download and Install
.
f)
Now that HSTouch Sever is installed we will need to enable it. Underneath the Enable column click on the red
toggle. It should become green with a check mark in it.
g)
HSTouch Server is now enabled. You can now go into your WFTT07-2 to configure HSTouch.


