32
•
Remove the protective film from the adhesive strip.
• Press the assembled push button with the back
side to the wall in the position where it should
subsequently be attached.
6.3 Screw mounting
• Choose a site for installation.
• Make sure that electrical lines in the wall will not
be damaged.
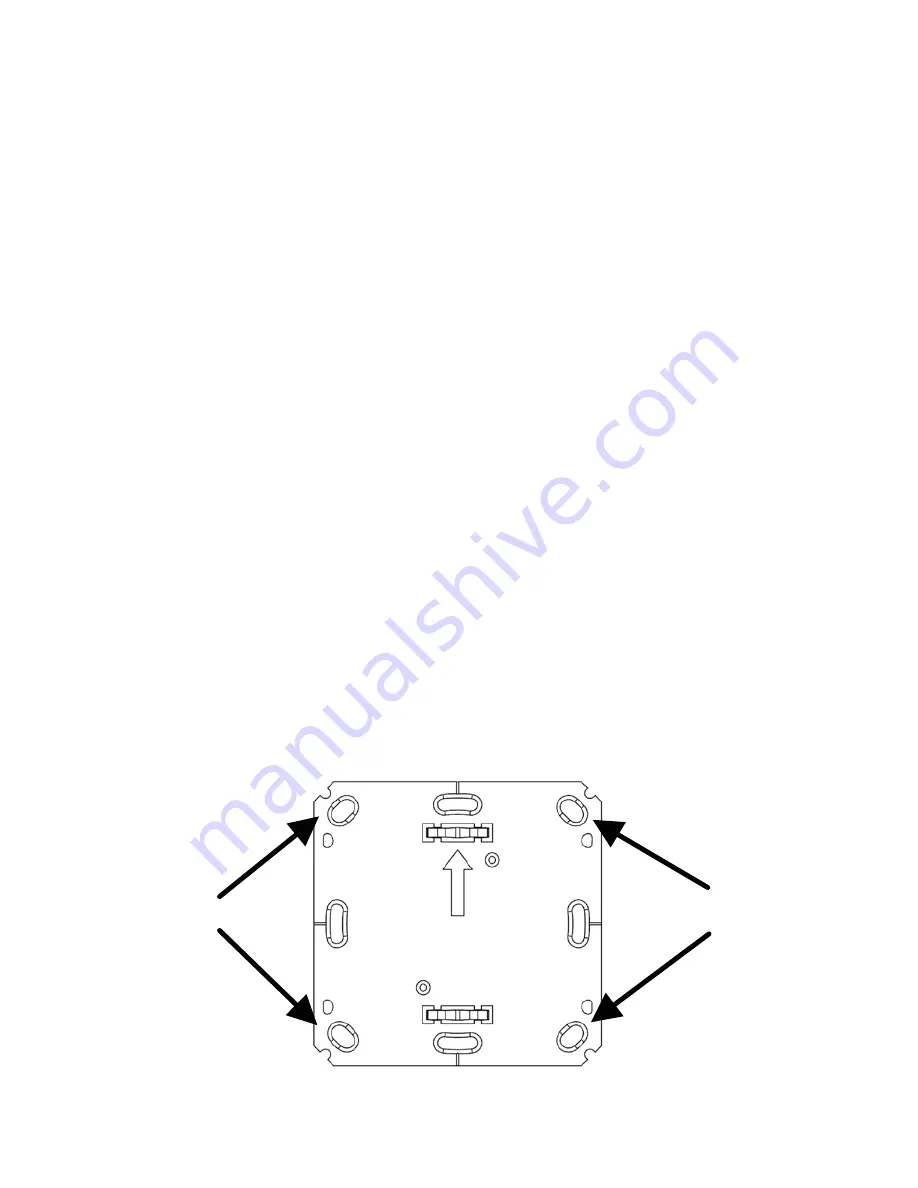
• Position the mounting plate on the desired site on
the wall. Make sure that the arrow on the mounting
plate is pointing upwards.
• Use a pen to mark the positions of 2 bore holes
A
(diagonally opposite) in the mounting plate on the
wall. The bore holes
B
can be used for installation
with a flush-mounting box.
B
B
B
A
A
B
Содержание HM-PB-2-WM55-2
Страница 28: ...28 C A B A Mounting plate B Attachment frame C Electronic unit rocker button ...
Страница 43: ...43 ...


