9
LOCATING DISPENSER
1. Place the dispenser upright.
2. Place the dispenser on a hard, level surface; in a cool, shaded location near a grounded wall outlet.
Note: Do NOT plug in the power cord yet.
3. Position the dispenser so the back is at least 8 inches from the wall and there is at least 8 inches of clearance on both sides.
ASSEMBLING
1. Remove the Drip tray from the Water collector and place the grid on top for water collecting.
2. Snap the Grid and Water collector into the Dispenser door.
3. Open the Dispenser door to install the water bottle.
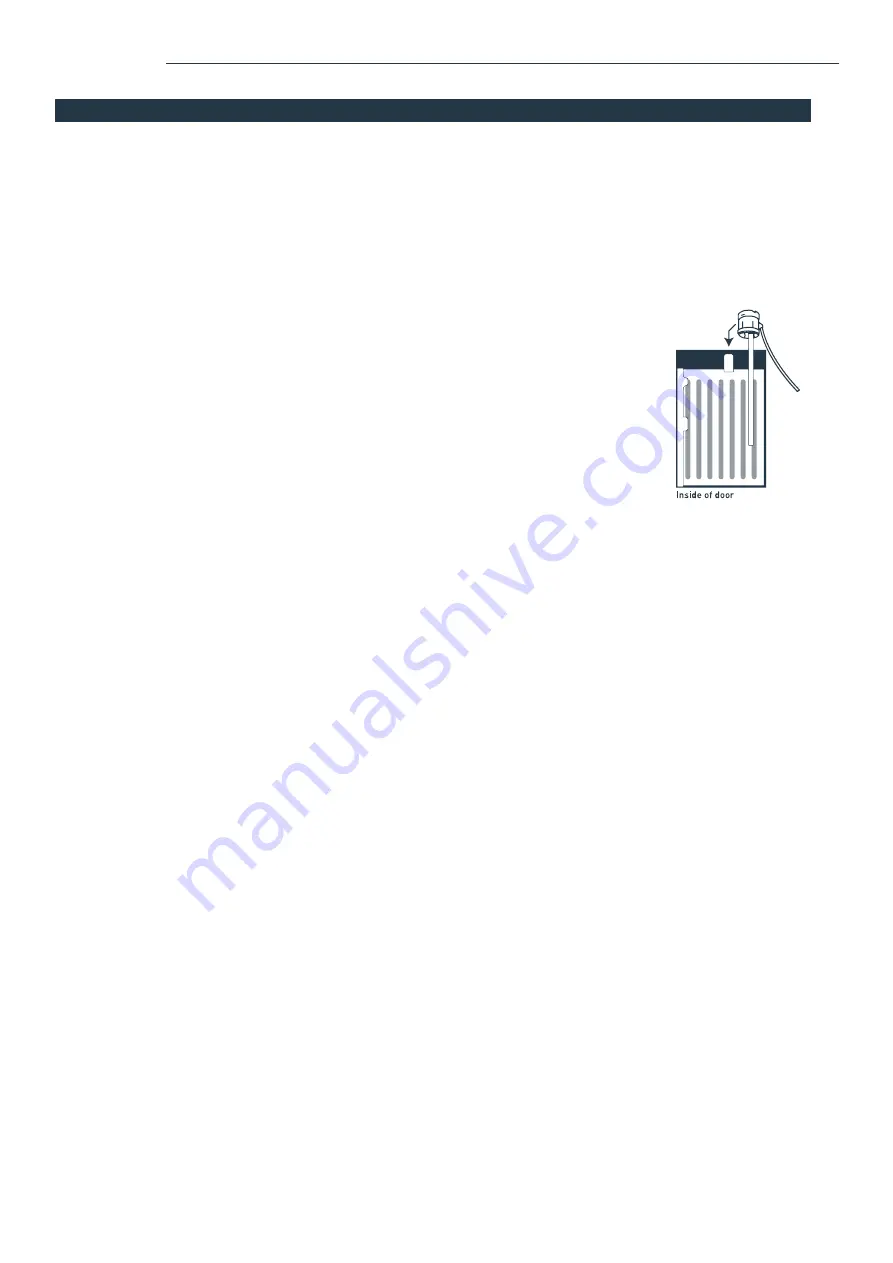
4. Place probe assembly on probe hanger. See Figure on the right.
5. Place fresh bottle outside of the cabinet.
6. Remove entire plastic cap from the top of the bottle.
7. Clean the outside of the new bottle with a cloth.
8. Place the probe into the bottle.
9. Slide collar down until it clicks in place.
10. Push head down until tubes hit the bottom of the bottle.
11. Slide the bottle into the cabinet and close the Dispenser door.
12. Plug the Power cord into a properly grounded wall outlet. The pump will begin to move water to the hot and cold
tanks. It takes up to 12 minutes to fill the tanks for the first time. During this period, the pump will run continuously.
ACTIVATING HEATING & COOLING
Note: This unit will not dispense hot or cold water until the switches are turned on. To activate, push the top side of
the power switches in to start heating and cooling water.
- If you do not want to heat water, push the bottom side of the red switch in.
- If you do not want to cool water, push the bottom side of the green switch in.
ACTIVATING NIGHTLIGHT
Push the top side of the Nightlight switch in to turn the nightlight on. Push the bottom side in to turn the nightlight off.
DISPENSING COLD WATER
1. It takes approximately 1 hour from the initial setup until water is completely chilled. Cooling light will turn off once it
has been completely chilled.
2. Press the Push button of cold water to dispense cold water.
3. Release the Push button once the desired level is reached.
DISPENSING HOT WATER
1. It takes approximately 12 minutes from the initial set up until water reaches its maximum temperature. Heating light
will turn off once it has been fully heated.
2. This water dispenser is equipped with a child safety feature in order to prevent accidental dispensing of hot water.
To enable dispensing of hot water, slide and hold the red child lock button on the Push button of hot water when
pressing the button.
3. Release the Push button once desired level is reached.
CAUTION: This unit dispenses water at temperatures that can cause severe burns. Avoid direct contact with hot water.
Keep children and pets away from the unit while dispensing. Never allow children to dispense hot water without
proper direct supervision. If there is a risk of children having access to the water dispenser, ensure the heating feature
is disabled by switching the heating switch to the off position.
OPERATING INSTRUCTIONS
OPERATION
Содержание HME030236N
Страница 1: ...Before using your water dispenser please read this manual WATER DISPENSER HME030236N...
Страница 2: ......
Страница 14: ......
Страница 15: ......


