
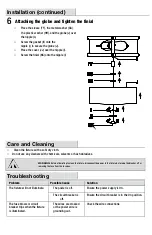

6
Installation (continued)
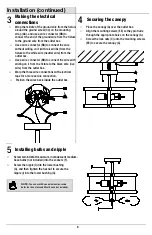
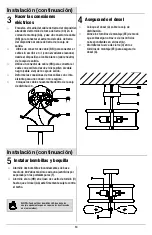
3
Making the electrical
connections
4
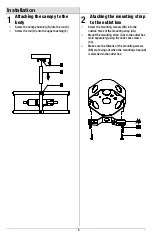
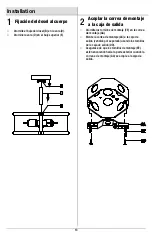
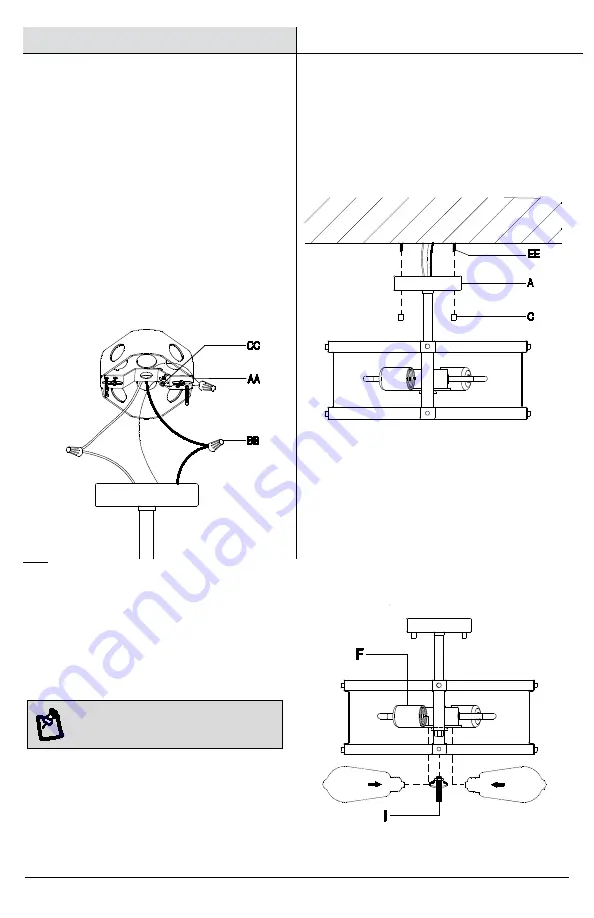
Securing the canopy
□
Wrap the middle of the ground wire from the fixture
around the ground screw (CC) on the mounting
strap (AA), and use a wire connector (BB) to
connect the end of the ground wire from the fixture
to the ground wire from the outlet box.
□
Use a wire connector (BB) to connect the wire
without writing on it (with raised ribs) from the
fixture to the white wire (neutral wire) from the
outlet box.
□
Use a wire connector (BB) to connect the wire with
writing on it from the fixture to the black wire (live
wire) from the outlet box.
□
Warp the three wire connections with electrical
tape for a more secure connection.
□
Position the wires back inside the outlet box.
□
Place the canopy (A) over the outlet box.
□
Align the mounting screws (EE) so they protrude
through the appropriate holes on the canopy (A).
□
Screw the lock nuts (C) onto the mounting screws
(EE) to secure the canopy (A).
5
Installing bulbs and nipple
□
Screw two 60-Watt maximum, incandescent medium-
base bulbs (not included) into the sockets (F).
□
Screw the nipple (I) into the lower bushing
(G), and then tighten the hex nut to secure the
nipple (I) into the lower bushing (G).
NOTE:
You can use LED equivalent energy-saving
bulbs that do not exceed 8 Watts each (not included).


