background image


6

Setting 

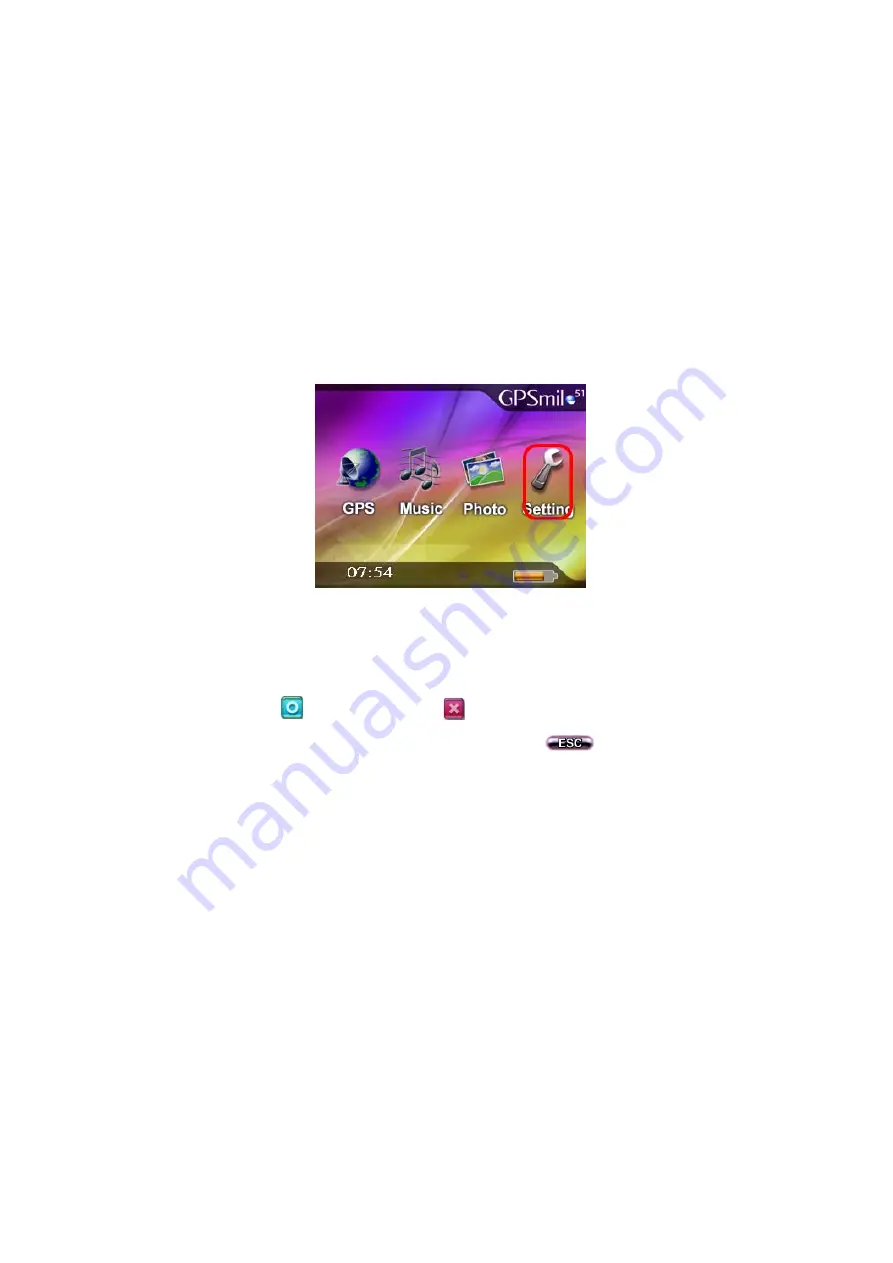
The setting function gives you the ability to adjust the basic system 
options, including time settings, volume control, screen calibration, 
startup message, backlight setting, version info etc… You can modify 
the settings to your personal preference.  

System Settings 

[Time] 

1.  After system startup, from main menu screen, select [Setting] to 

go into the System Settings window.  


2. Select from the [Hour] pull down menu and choose the correct 

value.  

3.  Select from the [Minute] pull down menu and choose the correct 

value.  

4.  Select      to confirm, or select      to keep original settings.  

5.  Go back to the settings window and select            to return to 

main menu screen.  


Содержание NAV-51

Страница 1: ...emovable Lithium ion battery can easily buy and change Build in larger speakers 2 colors LED for the status display of battery status Applications Car Navigation Turn by turn with voice guidance Personal Portable Navigation The advanced technology Car Navigator in the global market equipped with SiRF Star III super high sensitivity chipset Highlights With SiRFstarIII super high sensitivity chipset...

Страница 2: ... Memory 32 MB flash memory and 64MB SDRAM for operating system and embedded applications Weight 180 g Size 127 x 76 x 28 mm Battery Rechargeable 1050 mAh Li ion 8 hours battery life when backlight is inactive 3 hours to fully charge Extension Slot SD MMC Display 3 5 high brightness contrast ratio transflective TFT LCD 262k colors with 240 x 320 QVGA resolution LED Red Green LED for battery chargin...

Страница 3: ...up down left and right Music Playback Function This unit has a complete MP3 Music Playback function capable of playing back MP3 files stored on SD memory cards Storing MP3 files onto SD memory cards On your computer you must first convert the music from an audio CD into MP3 files then save them onto the SD memory card Starting music playback 1 Insert the SD memory card with stored MP3 files into t...

Страница 4: ...s of different buttons in the Music Playback Window please refer to the illustration below Progress Bar Display Song Title Increase Volume Battery Indicator Volume Display Exit Repeat Single Song Decrease Volume Repeat All Songs Timer Stop Back to First Song To Song Selection Window Play Pause Previous Next Skip to Last Song ...

Страница 5: ... removing a song from the playlist will not copy or delete the actual file It will only add remove the path and position of the music file from the playlist 1 Under the Music Playback Window select Select Song and go to the Song Selection Window 2 The panel on the left lists the source directories select a directory and double click to enter the directory ...

Страница 6: ... playlist please select the song from the right panel and then click the Remove button 7 Clicking the Remove All button removes all songs at once from the playlist from the right panel 8 Click the button to exit the Song Selection Window and go back to the Music Playback Window Image Browsing Function The system has an Image Browsing function capable of displaying images photographs stored on SD m...

Страница 7: ...nel that stores the image files 5 Double click the image photograph file to be displayed 6 Click the expand shrink button to expand or shrink the viewed image 1x 2x 4x 8x 7 An expanded image can be panned by dragging the stylus around on the screen 8 Click to go back to Main Menu ...

Страница 8: ...ttings to your personal preference System Settings Time 1 After system startup from main menu screen select Setting to go into the System Settings window 2 Select from the Hour pull down menu and choose the correct value 3 Select from the Minute pull down menu and choose the correct value 4 Select to confirm or select to keep original settings 5 Go back to the settings window and select to return ...

Страница 9: ... control the volume directly with the scroll bar There are six levels of volume in total Scroll bar Startup Message 1 Under the settings window select the Warning Voice Off or On squares for whether the startup message is to be broadcast ...

Страница 10: ...fy your stylus input please run through the screen calibration procedure 1 From the settings window select the Stylus Adjustment option to start the screen calibration procedure 2 Use the stylus and touch once on the center of the cross displayed on screen 3 Touch once on the cross at the second position 4 Touch once on the cross at the third position ...

Страница 11: ...t settings will let you set the brightness of the backlight and the auto off time 1 Under the setting window select the Backlight to enter the backlight settings window 2 Select the time to turn off backlight for When running off the battery 1 min 3 min 5 min 10 min 30 min Always On 3 Select the time to turn off backlight for When running off the external adapter 1 min 3 min 5 min 10 min 30 min Al...

Страница 12: ...10 5 Select to confirm or select to keep the original settings 6 Go back to the settings window and select to return to main menu screen ...

Страница 13: ...select Help to enter the help window 2 The screen display will show instructions for operation of music playback and image browsing functions For instructions on the navigation software please refer to the Navigation Software Operation Manual ...

Страница 14: ...1 this device may not cause harmful interference and 2 this device must accept any interference received including interference that may cause undesired operation CAUTION Any changes or modifications not expressly approved by the grantee of this device could void the user s authority to operate the equipment ...

Отзывы: