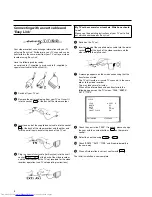
Connecting with a scart cable
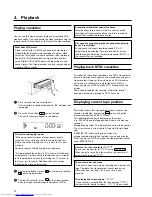
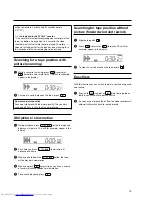
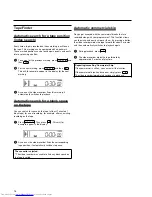
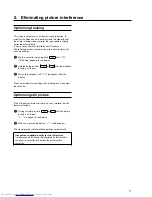
without 'Easy Link'
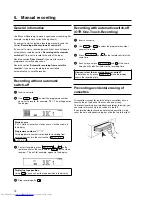
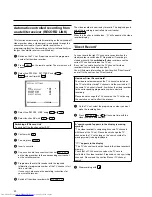
Have the following cables ready:
an aerial cable (1, supplied), a mains cable (2, supplied), a
scart cable (3).
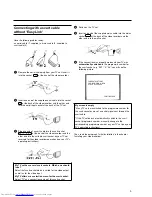
1
Remove the aerial cable plug from your TV set. Insert it
into the socket
2
at the back of the video recorder.
2
Insert one end of the supplied aerial cable into the socket
TV
at the back of the video recorder and the other end
into the aerial input socket at the back of the TV set.
3
Plug one end of a scart cable into the scart socket
EXT.1
AV. 1
at the back of the video recorder and the
other end into the suitable scart socket on your TV set
reserved for the video recorder operation (see your TV's
operating instructions).
My TV set has several scart sockets. Which one should
I use?
Select that scart socket which is suited for the video output
as well as for the video input.
My TV offers me a selection menu for the scart socket.
Select 'TV' as a connection source of this scart socket.
4
Switch on the TV set.
5
Insert one end of the supplied mains cable into the mains
socket
4
at the back of the video recorder and the
other end into the wall socket.
6
If the connection was properly made and your TV was
automatically switched
to the programme number for
the scart socket, e.g. 'EXT', '0', 'AV', you will see the
following picture:
CONGRATULATIONS
YOU NOW OWN A NEW
VIDEO RECORDER
CONTINUEpOK
My screen is empty
* Many TV sets are switched to the programme number for
the scart socket by way of a control signal sent through the
scart cable.
* If the TV set does not automatically switch to the scart
socket programme number, manually change to the
corresponding programme number on your TV set (see your
TV's operating instructions).
Then, read the paragraph 'Initial installation' in the chapter
'Installing your video recorder'.
5


