background image


2

IMPORTANT SAFETY INSTRUCTIONS 


15. Monitors are designed to comply with the recommended 
      safety standards for tilt and stability. 
      Do not apply excessive pulling force to the front, or top, of the
      cabinet which could cause the product to overturn resulting in 
      product damage and/or personal injury. 
16. Follow instructions for wall, shelf or ceiling mounting as   
   recommended by the manufacturer. 
17. Under no circumstances remove the rear cover of your   
      monitor. 
      Never guess or take any chances with electrical equipment of

      any kind - it is better to be safe than sorry! 
18. After the monitor has been on for any length of time, you will 
      notice that the screen becomes warm. Please note that this 
   is normal. 
      Sometimes the screen might have some tiny bright or dark 
      spots. Please note that this is normal. 
19. To prevent scratches or damages to the Plasma screen, do 
      not knock or rub the surface with sharp or hard objects.   
      Clean the screen with a soft cloth moistened with warm   
      water and dry with a soft cloth. A mild soap may be used if 
      the screen is extremely dirty. Do not use harsh or abrasive 
   cleaners! 
20. Use a soft cloth to clean the cabinet and control panel of the
      monitor. When excessively soiled dilute a neutral detergent 
      in water, wet and wring out the soft cloth and afterward wipe
      with a dry soft cloth. 
      Never use acid/alkaline detergent, alcoholic detergent,   
      abrasive cleaner, powder soap, OA cleaner, car wax, glass 
      cleaner, etc. especially because they would cause   
   discoloration, scratches or cracks. 


Read before operating equipment 

Follow all warnings and instructions marked on this monitor. 
1. Read these instructions. 
2. Keep these instructions. 
3. Heed all warnings. 
4. Follow all instructions. 
5. Do not use this apparatus near water. 
6. Clean only with a dry cloth. 
7. Do not block any ventilation openings. Install in accordance
    with the manufacturer’s instructions. 
8. Do not install near any heat sources such as radiators, heat
    registers, stoves, or other apparatus (including amplifiers)   
  that produce heat. 
9. Do not defeat the safety purpose of the polarized or   
    grounding-type plug. A polarized plug has two blades with 
    one wider than the other. A grounding type plug has two   
    blades and a third grounding prong. The wide blade or the 
    third prong are provided for your safety. If the provided plug
    does not fit into your outlet, consult an electrician for   
    replacement of the obsolete outlet. 
10. Protect the power cord from being walked on or pinched 
    particularly at plugs, convenience receptacles, and the point
    where they exit from the apparatus. 
11. Only use the attachments/accessories specified by the   
  manufacturer. 
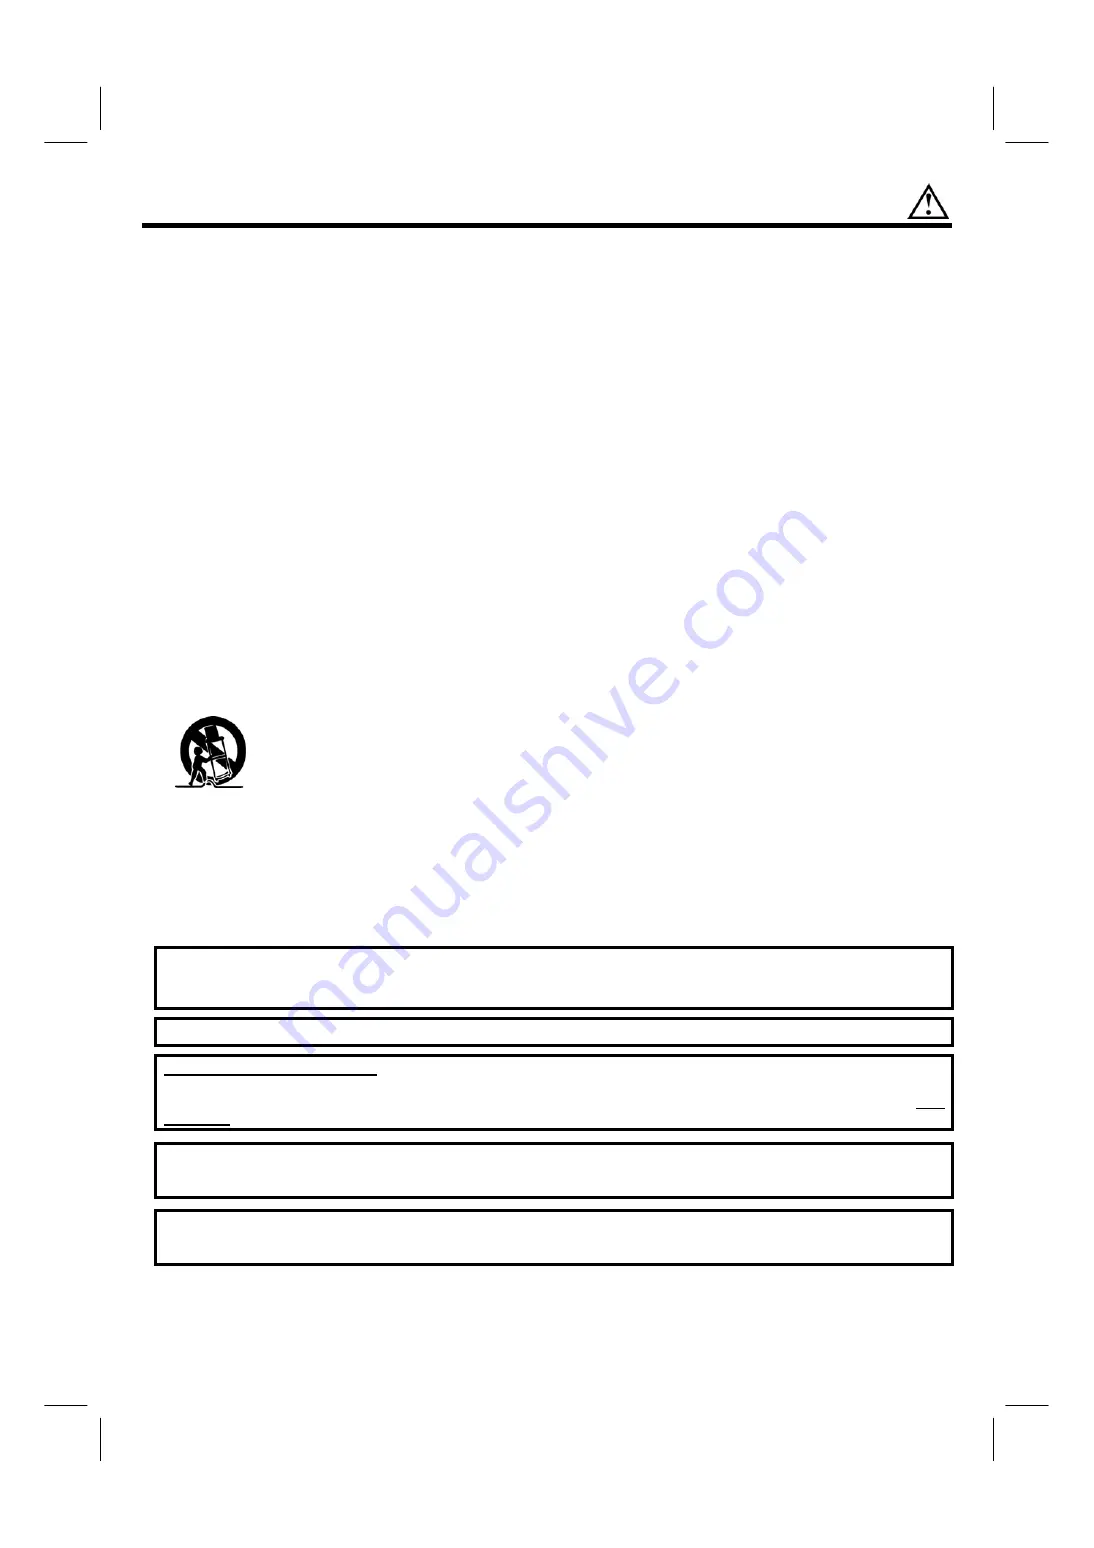
12.            Use only with the cart, stand, tripod, bracket,
               or table specified by the manufacturer, or 
               sold with the apparatus. When a cart is used,
               use caution when moving the cart/apparatus
               combination to avoid injury from tip-over. 
13. Unplug this apparatus during lightning storms or when 
    unused for long periods of time. 
14. Refer all servicing to qualified service personnel. Servicing
    is required when the apparatus has been damaged in any 
    way, such as power-supply cord or plug is damaged, liquid 
    has been spilled or objects have fallen into apparatus, the 
    apparatus has been exposed to rain or moisture, does not 
    operate normally, or has been dropped.   

This product contains lead. Dispose of this product in accordance with applicable environmental laws. For product recycling and 
disposal information, contact your local government agency or the Electronic Industries Alliance at www.eiae.org (in the US) or the 
Electronic Product Stewardship Canada at www.epsc.ca (in Canada). For more information, call “1-800-HITACHI.” 

Do not place any objects on the top of the monitor which may fall or cause a child to climb to retrieve the objects.


PREVENTION OF SCREEN BURN 

Continuous on-screen displays such as video games, stock market quotations, computer generated graphics, and other fixed 
(nonmoving) patterns can cause permanent damage to monitor receivers. Such “SCREEN BURNS” constitute misuse and are 

NOT

COVERED 

by your HITACHI Factory Warranty. 

PUBLIC VIEWING OF COPYRIGHTED MATERIAL 

Public viewing of programs broadcast by TV stations and cable companies, as well as programs from other sources, may require 
prior authorization from the broadcaster or owner of the video program material.

• This product incorporates copyright protection technology that is protected by U.S. patents and other intellectual property rights. Use of this   
  copyright protection technology must be authorized by Macrovision Corporation, and is intended for home and other limited consumer uses only 
  unless otherwise authorized by Macrovision. Reverse engineering or disassembly is prohibited. 

Содержание 42HDM12

Страница 1: ...AGE RETENTION 7 ACCESSORIES 8 HOW TO SETUP YOUR NEW HITACHI PLASMA MONITOR 9 21 HOW TO USE REMOTE CONTROL TO CONTROL YOUR PLASMA MONITOR 22 24 OSD ON SCREEN DISPLAY 25 29 USEFUL INFORMATION 30 37 PLASMA MONITOR Operating Guide for 42HDM12A ...

Страница 2: ...by Hitachi America Ltd Home Electronics Division may void the user s authority to operate the equipment POWER SOURCE THIS PLASMA MONITOR IS DESIGNED TO OPERATE ON 120 VOLTS 60Hz AC CURRENT INSERT THE PLASMA MONITOR POWER CORD INTO A 120 VOLT 60Hz OUTLET TO PREVENT ELECTRIC SHOCK DO NOT USE THE PLASMA MONITOR S POLARIZED PLUG WITH AN EXTENSION CORD RECEPTACLE OR OTHER OUTLET UNLESS THE BLADES AND G...

Страница 3: ...hird prong are provided for your safety If the provided plug does not fit into your outlet consult an electrician for replacement of the obsolete outlet 10 Protect the power cord from being walked on or pinched particularly at plugs convenience receptacles and the point where they exit from the apparatus 11 Only use the attachments accessories specified by the manufacturer 12 Use only with the car...

Страница 4: ...jects Penetration of liquids or foreign objects could result in fire or electrical shock Use special caution in households where children are present If liquids or foreign objects should enter the projector immediately turn off the power switch disconnect the power plug from the power outlet and contact your dealer Do not place the PDP monitor in a bathroom Do not expose the PDP monitor to rain or...

Страница 5: ...vy objects on the power cord and cables Also do not place a spread cover etc over them because this could result in the inadvertent placing of heavy objects on the concealed power cord or cables Do not pull the power cord and cables When connecting and disconnecting the power cord or cables do it with your hand holding the plug or connector Do not place the cord near the heater Do not touch the po...

Страница 6: ...r near a curtain which has a possibility of obstructing a ventilation hole of the PDP monitor Do not put the PDP monitor in the following places Hot places such as near heater place exposed to the direct rays of the sun A place where the temperature is widely changing Places with soot dust or high humidity Poor air ventilation place Place near fire A wet place such as bathroom or shower room Place...

Страница 7: ...rol Do not place heavy objects on the remote control Avoid strong rays Any strong rays such as direct sun rays or room lighting onto the remote control sensors could invalidate the remote control Avoid radio interference Any interfering radiation could cause distorted images or noises Avoid radio generator such as a mobile telephone transceiver etc around the PDP monitor Set the sound volume at a ...

Страница 8: ...or additional instructions on how to use these features To avoid image retention please follow these simple guidelines Activate the Screen Saver Mode Use Aspect Ratio modes that completely fill the screen with picture Make sure 4 x 3 aspect ratio and letterbox images are not displayed more than 15 of total viewing time Avoid using split screen PIP modes for long periods of time Do not display stil...

Страница 9: ...eplacing old batteries push them towards the springs and lift them out 3 Match the batteries to the and marks in the battery compartment 4 Replace the cover 1 Remote Control Unit 2 Power Cord 3 D SUB Mini 15 Pin Cable 4 Audio Video Cable 5 S Video Cables 6 Two AAA size 1 5V batteries 7 User s Guide 8 Easy Graphic Guide 9 Warranty Card CAUTION Ceiling mounting is not recommended Mounting the panel ...

Страница 10: ... or bright indoor illumination will not fall directly on the picture screen Also be sure that the location selected allows a free flow of air to and from the perforated back cover of the set To avoid cabinet warping cabinet color changes and increased chance of set failure do not place the monitor where temperatures can become excessively hot for example in direct sunlight or near a heating applia...

Страница 11: ...r than a Cathode ray tube 6 Plasma Surface The plasma display panel is made from glass Heavy shock on the front panel might damage it 7 Transportation When the plasma monitor is transported horizontally the glass panel has the possibility of being broken or increasing the picture defects At the time of transportation horizontal style is prohibited More over please treat the plasma panel with great...

Страница 12: ...r Video Connector Provided This connector is used on camcorders VCRs and laserdisc players with an S Video feature in place of the standard video cable to produce a high quality picture Stereo Cable This cable is used to connect from external audio out to the audio input of the Plasma monitor ex ANALOG RGB HDMI Audio Input HDMI Cable This cable is used to connect your external devices such as Set ...

Страница 13: ...IN POWER is set ON 2 No signal input no sync signal Lights Green On When the POWER is ON POWER button This power button is for power on the plasma monitor or change to standby mode and selector These buttons serve as the cursor down and up buttons when in MENU mode VOLUME level Press these buttons to adjust the sound level The volume level will be displayed on the monitor screen These buttons also...

Страница 14: ...se DO NOT connect here Y PBPR Y CBCR Audio Input Connect audio for Component input if you have mono sound insert the audio cable into the left L audio jack S VIDEO Audio Input Connect audio for S Video input if you have mono sound insert the audio cable into the left L audio jack COMPOSITE Audio Input Connect audio for Composite input if you have mono sound insert the audio cable into the left L a...

Страница 15: ...e for consumer electronics HDMI enables the secure distribution of uncompressed high definition video and multi channel audio in a single cable Because digital television DTV signals remain in digital format HDMI assures that pristine high definition images retain the highest video quality from the source all the way to your monitor screen Use the HDMI input for your external devices such as Set T...

Страница 16: ... modify them to accommodate your particular assortment of components and features For best performance video and audio cables should be made from coaxial shielded wire CONNECTING HDTV SOURCES HDTV input sources such as a digital cable box digital satellite receiver or digital terrestrial receiver box can be connected as desired using the appropriate cable system 1 Connect the HDTV source device us...

Страница 17: ...eceiver device using Component cable and Audio cable OR S Video cable and Audio cable OR Composite cable and Audio cable 2 Connect all power sources before activating the monitor 3 Turn on the monitor 4 Press the button corresponding to the appropriate signal source Component Video YCBCR YPBPR S Video or Composite Video ...

Страница 18: ...ble OR Component cable and Audio cable OR S Video cable and Audio cable OR Composite cable and Audio cable 2 Connect all power sources before activating the monitor 3 Turn on the monitor 4 Press the button corresponding to the appropriate signal source HDMI Component Video YCBCR YPBPR S Video or Composite Video ...

Страница 19: ... the VCR player using S Video cable and Audio cable OR Composite cable and Audio cable 2 Connect all power sources before activating the monitor 3 Turn on the monitor 4 Press the button corresponding to the appropriate signal source S Video or Composite Video ...

Страница 20: ...r stereo system 1 Use an audio cable and Subwoofer cable to connect the PDP s audio output jacks to the line input jacks on the A V receiver 2 Connect all power sources before activating the monitor 3 Turn on the monitor 4 Press the MENU to display the menu then press to select Audio 5 Press SEL then press to select subwoofer and press W X to select On Off ...

Страница 21: ...d Signal List Signal Mode No Signal Name Resolution Vertical Frequency Hz Horizontal Frequency kHz 1 VGA 640 x 400 70 09 31 47 2 VGA 640 x 480 59 94 31 47 3 Macintosh 640 x 480 66 67 35 00 4 5 6 VGA 640 x 480 640 x 480 640 x 480 72 81 75 00 85 01 37 86 37 50 43 27 7 8 9 10 11 SVGA 800 x 600 800 x 600 800 x 600 800 x 600 800 x 600 56 25 60 32 72 19 75 00 85 06 35 16 37 88 48 08 46 88 53 67 12 13 14...

Страница 22: ...et top boxes Use these connections in place of the standard video connection if your device has this feature Your component outputs may be labeled Y B Y and R Y In this case connect the components B Y output to the monitor s PB input and the components R Y output to the monitor s PR input Your component outputs may be labeled Y CBCR In this case connect the components CB output to the monitor s PB...

Страница 23: ... the Brightness Contrast Volume Treble Bass and Balance adjustment Press repeatedly to circle through the selections 4 P MODE button Press to select Natural Cinema and Dynamic picture mode Press repeatedly to circle through the selections 5 PC ADJ button not available for 480p 720p 1080i signals When the image is not even or not in the center of the screen under PC mode press this button for auto ...

Страница 24: ...received the picture format ratio allows you to adjust the images through the following options 4 3 EXPANDED Use this aspect mode to display conventional 4 3 sources by linearly increasing image expansion from the center towards the edges of the display area in order to fill it 4 3 STANDARD Use this aspect mode to display conventional 4 3 images Side panels gray areas are placed to the left and ri...

Страница 25: ...to increase and decrease the volume Input 4 3 Standard 4 3 Expanded 4 3 Zoom1 16 9 Zoom 16 9 Standard 4 3 Zoom2 Input 16 9 Standard 16 9 Zoom 4 3 Expanded ATTENTION Using a wide picture size This monitor has a picture size selection feature If an incompatible size is selected to play certain software such as a TV program the image would appear different from original Take this into consideration w...

Страница 26: ... S video Y CBCR Y PBPR or HDMI is selected PC Mode Displays when the Analog RGB input is selected Audio Video Mode PC Mode Picture Mode Brightness Brightness Contrast Contrast H Position Color V Position Tint Sharpness Sharpness Color Temperature Color Temperature Video Reset Video Reset Auto Adjust Aspect Clock Phase Border Color Set Image Horizontal Clock Noise Reduction Mute Image 3 2 Pull Down...

Страница 27: ...gnals only Color Temperature Adjusts the level of the color temperature Cool Natural Warm Black White User Reset Puts all of your display settings back to their default PC Mode Video Function Options Brightness Adjusts the darkness and lightness of the display 0 to 100 Contrast Adjusts the color brightness of the display 0 to 100 H Position Moves image to the left or right Not available for 720p 7...

Страница 28: ... sizes Available for 720p 1080i HDMI signals 4 3 expanded 16 9 standard 16 9 zoom Border Color Set Select the border color when display 4 3 video Black Gray Noise Reduction Provide 3 models for reducing video noise Not available for YPBPR HDMI signals Off Level 1 Level 2 Level 3 3 2 Pull Down Improve the picture quality Not available for YPBPR HDMI signals Disable Enable PC Mode Image Function Opt...

Страница 29: ...nd level 16 to 16 SRS WOW Turns SRS WOW function on and off On or Off Subwoofer Turns Subwoofer function on and off On or Off SRS WOW is an audio enhancement technology from SRS Labs that provides deep rich bass on any speaker system without the need for a subwoofer or additional extra physical components For systems with a subwoofer SRS WOW complements and enhances the bass performance This featu...

Страница 30: ...ay Adjust the brightness contrast and color Swap Switches your main picture and PIP System Reset Sets OSD back to default settings PC Mode System Function Options Signal Format Displays RGB signal information Advanced Adjusts move screen function Move Screen Mode Off Mode 1 or Mode 2 Move Screen Time 255 5 sec PIP Set Adjust the PIP source position audio source and display Size PIP Off Small Mediu...

Страница 31: ...ners polishes or a chemically treated cloth Do not place rubber or vinyl products or cellophane tape on your Plasma Monitor Avoid repeatedly touching the screen Do not subject the remote control to shocks such as dropping it on the floor etc This may cause physical damage to the precision parts Avoid placing the remote control in a high humidity place or getting it wet Do not leave it on or near a...

Страница 32: ...ep the monitor away from Radio Adjust Radio antennas in order for the monitor not to receive interference The antenna cable of Radio should be kept away from the monitor Use a coaxial cable for antenna You can check if this monitor influences Radio receivers by turning off all other equipment other than the monitor If you find a problem receiving Radio when using the monitor check the instructions...

Страница 33: ...32 USEFUL INFORMATION ...

Страница 34: ...ds back a string of data including its characteristics TRADEMARK ACKNOWLEDGMENT DDC TM is a trademark of Video Electronics Standard Association IBM PC AT and VGA are registered trademarks of International Business Machines Corporation of the U S A Apple and Macintosh are registered trademarks of Apple Computer Inc VESA is a trademark of a nonprofit organization Video Electronics Standard Associati...

Страница 35: ...it different from that to which the receiver is connected Consult the dealer or an experienced radio television technician for help Modifications The FCC requires the user to be notified that any changes or modifications made to this device that are not expressly approved by Hitachi Home Electronics America Inc may void the user s warranty Cables Connections to this device must be made with shield...

Страница 36: ...d Accessories Remote Control Batteries D Sub Cable S Video Cable AV Cable Power Cable User s Guide Easy Graphic Guide Warranty Card Optional Accessories Wallmount INPUTS OUTPUTS Component Y PB PR 1 RGB Analog Input 1 HDMI 1 Composite Video 1 S Video 1 Audio Input 4 Audio Output 1 Video Output 1 Subwoofer Output 1 SPECIFICATIONS Multi Scanning 32 70kHz h 50 85Hz v Pixel Pitch 0 90 horiz x 0 51 vert...

Страница 37: ... convenient and expedient assistance Our service hotline operator will direct you to the Hitachi Authorized Service Facility nearest you Just present proof of purchase and or delivery receipts to the Hitachi Authorized Service Facility and service will be rendered in accordance with the terms of the limited warranty as stated on your warranty card or operating guide Should you have any questions r...

Страница 38: ...al is missing call 1 800 HITACHI 1 800 448 2244 for a copy Pour de plus amples renseignements sur le service durant la période couverte par la garantie sur le fonctionnement ou pour de lʼassistance technique communiquez avec Au Canada 1 800 HITACHI 1 800 448 2244 Lundi Vendredi L EST 9 00am 7 00pm Samedi L EST 9 00am 5 00pm La version française de votre manual se trouve á lʼextérieur de la boîte S...

Отзывы: