


Selecting the sound mode
To select the sound mode:
Press [
SOUND
] to call up sound mode menu and
press [P+/P-] to select the sound mode and press
[OK] to confirm. That you can select Standard,
Music, Movie, Sports and User (a mode that you
defined) mode.
Selecting the picture mode
To select a picture mode:
Press [
PICTURE
] to call up picture mode
menu and press [P+/P-] to select the picture
mode and press [OK] to confirm. You can
select Dynamic, Standard, Mild and User
(a mode that you defined) mode.
Selecting the aspect ratio
To select the aspect ratio:
Press [
ZOOM
] one or more times to select the
aspect ratio you want. You can select Auto, 4:3,
16:9, Zoom1 and Zoom2.
Selecting the audio mode in DTV
To select the audio mode:
Press [
I/II
] to call up the audio languages menu
and press [V+/V-] to select the audio mode.
Freezing a picture
To freeze a picture:
Press [
STILL
] repeatedly to access or quit
Freeze.
Setting the sleep timer
You can specify the amount of time you want your TV to
wait before it automatically turns off.
To set the sleep timer:
Press [
SLEEP
] one or more times until the
remaining time you want appears. You can
select Off, 10 minutes, 20 minutes, 30 minutes,
60 minutes, 90 minutes, 120 minutes, 180
minutes or 240 minutes. You can also setup
sleep timer in the time submenu.
Display channel information
To display channel information
Press [
INFO]
to view current channel information in
TV source.
Press [
EPG
] to view channel information in DTV
mode.
There are INFO, Schedule, DATE and Reminder items,
you can look or set them.
Press the
INFO
button to enter INFO menu.
Press the
GREEN
button to enter SCHEDULE LIST.
Press the
Yellow
button to enter DATE menu.
Press the
BLUE
button to enter Reminder menu.
Once a reminder is set, it will appear in the SCHEDULE
list.
Freeze : Off
Sleep Timer: 120min
No Information
12:02
576i
Using the TV features
Sound Mode
Standard
Music
Movie
Sports
User
Exit
Conf irm
Sel ect
Picture Mode
Exit
Conf irm
Sel ect
Dynamic
Mild
User
Standard
16:9
Exit
Conf irm
Sel ect
Audio Languages
English
DOLBY
22 C-69
TV
PAL BG
Mono
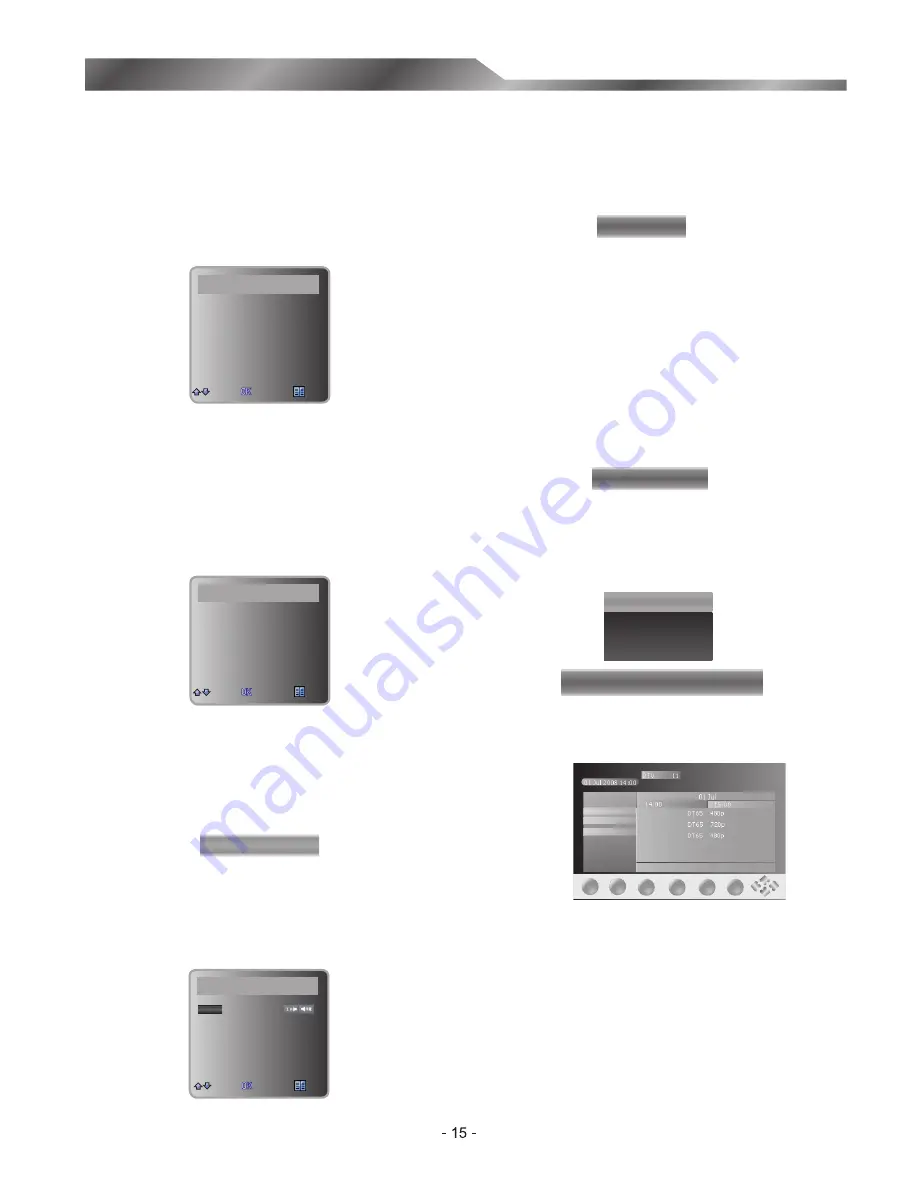
01 Jul 2008 14:00
PROGRAM GUIDE
DTV
2 DT65 720p
3 DT65 480p
1 DT65 480p
INFO
EXIT
01 Jul
14:00
15:00
DTV 11 Dt65 480p
14:00-17:00 Dt65 480p
DT65 480p
DT65 720p
DT65 480p
Reminder
DATE
Schedule
OK


