20
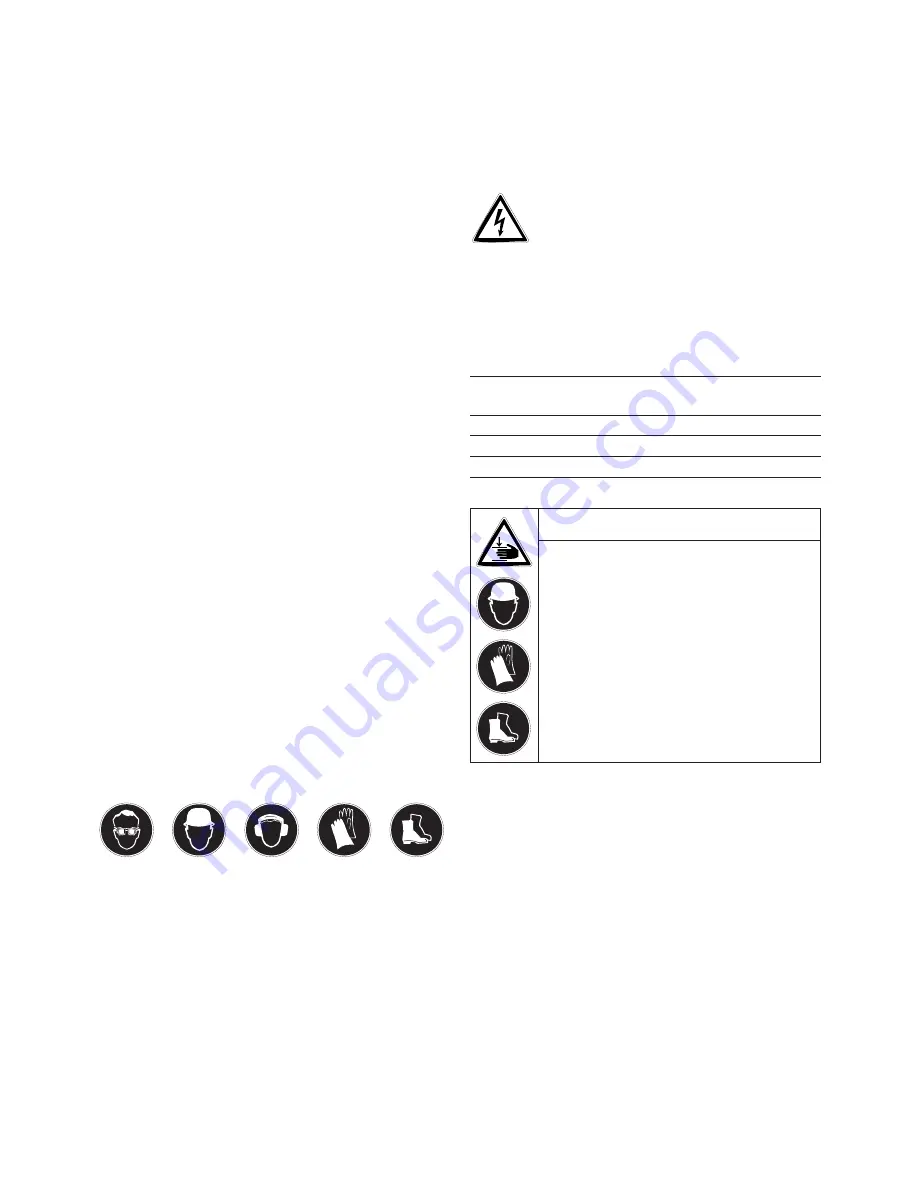
- CAUTION -
■
The tool, the diamond core bit and the
drill stand are heavy.
■
There is a risk of pinching parts of the
body.
■
Wear a safety helmet, safety gloves and
safety boots.
tenance and the replacement of core bits in good
time.
5.2.3 Electrical safety
a) Before beginning work, check the working area (e.g.
with a metal detector) to ensure that no concealed
electric cables or gas and water pipes are present.
External metal parts of the tool may become live if,
for example, an electric cable is damaged inadvertenly.
This presents a serious risk of electric shock.
b) Check the condition of the supply cord and its plug
connections and have it replaced by a qualified elec-
trician if damage is found. Check the condition of
the extension cord and replace it if damage is found.
Do not touch the supply in the event of it suffering
damage while working. Disconnect the supply cord
plug from the socket
. Damaged supply cords and
extension cords present a risk of electric shock.
c) Dirty or dusty electric tools should thus be checked
at a Hilti service center at regular intervals, espe-
cially if used frequently for working on conductive
materials. Dust (especially dust from conductive
materials) or dampness adhering to the surface of
the tool may, under unfavorable conditions, present
a risk of electric shock.
d)Ensure that the tool is switched off (remove the switch
lock insert) before switching on at the PRCD (ground
fault interrupter). Test the PRCD each time before
use (see 7.1).
5.2.4 Work area
a) Ensure that the workplace is well lit.
b) Ensure that the workplace is well ventilated.
Poorly ventilated workplaces may be injurious to the
health due to exposeure to dust.
5.2.5 Personal protective equipment
The user and any other persons in the vicinity must wear
suitable safety goggles, a safety helmet, ear protection,
safety gloves and safety boots while the tool is in oper-
ation.
5.2.6 Protective equipment
Never use the tool without the applicable protective
equipment:
●
Never operate the tool without the water swivel / extrac-
tion head.
●
An additional means of securing the drill stand must
be employed when used for horizontal drilling with vac-
uum attachment.
●
The drill stand must be fastened by means of an anchor
or quick-release brace when used for overhead drilling.
●
Use of the water collector system in conjunction with
a wet-type vacuum cleaner is mandatory when carrying
out wet overhead drilling.
6. Before use
It is essential that the safety precautions printed in these
operating instructions are read and observed.
-CAUTION-
Disconnect the tool from the mains supply.
If extension cables are used: Only extension cables of a
type approved for the intended use and of adequate cross
section may be used. Failure to observe this point may
result in reduced performance and could cause the cable
to overheat. Damaged extension cables must be replaced.
The recommended cable cross-sections and maximum
lengths are:
Conductor cross-section
Mains voltage 1.5 mm
2
2.0 mm
2
2.5 mm
2
3.5 mm
2
100 V
20 m
40 m
110–120 V
20 m
40 m
220–230 V
50 m
80 m
6.1 Side handle
6.1.1 Fitting the side handle
1. Screw the side handle onto the tool and tighten it
securely.
6.1.2 Fitting the side handle in a different position
1. Remove the screw plug at the position where the side
handle is to be fitted (e.g. for left-handed use). The
grip at the end of the side handle can be unscrewed
and used as a screwdriver.
2. Screw the side handle onto the tool at the desired
position and tighten it securely.
3. Insert the screw plug in the exposed threaded hole.
6.1.3 Adjusting the extraction head / water swivel (and
side handle)
1. Press the water swivel lock out of the gap between
the locking ring and the water swivel/extraction head.
2. Release the locking ring between the chuck and side
handle.
Содержание DD 130
Страница 2: ...1...
Страница 3: ...6 1 1 6 1 3 6 4 1 6 6 2 6 1 2 6 2 6 5 1 6 7 1 6 1 2 6 3 6 6 1 6 7 2...
Страница 4: ...6 7 3 6 10 7 2 1 6 8 6 11 7 2 2 6 9 6 12 7 3 6 9 1 DD130 6 9 2 6 9 3...
Страница 5: ...7 4 7 5 8 5 1 1 8 5 1 2...


