Network Fisheye Camera
·
Quick Start Guide
32
32
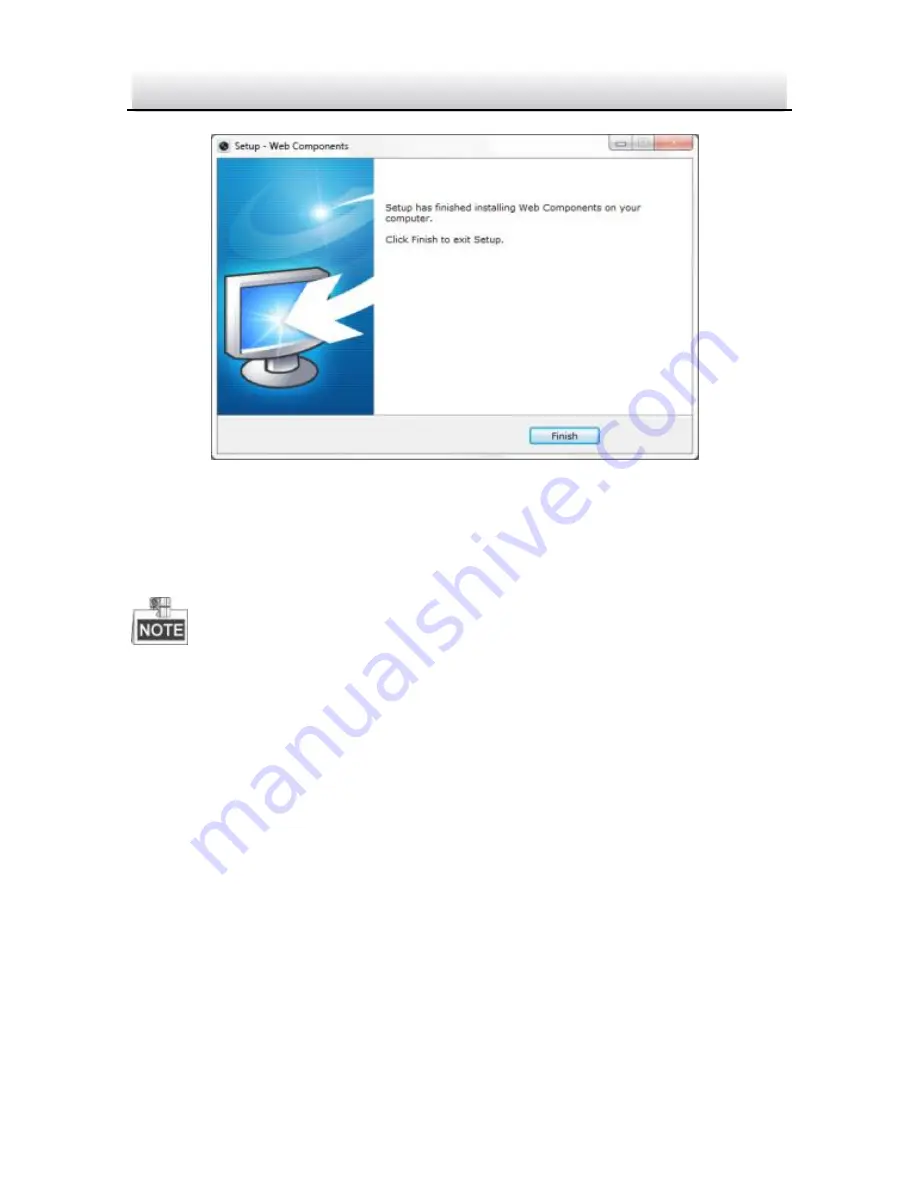
Install Plug-in (2)
Figure 4-4
6.
Reopen the web browser after the installation of the plug-in and
repeat steps 2~4 to login.
For detailed instructions of further configuration, please refer to the
user manual of network camera.


