


Video Intercom Master Station
·
User Manual
30
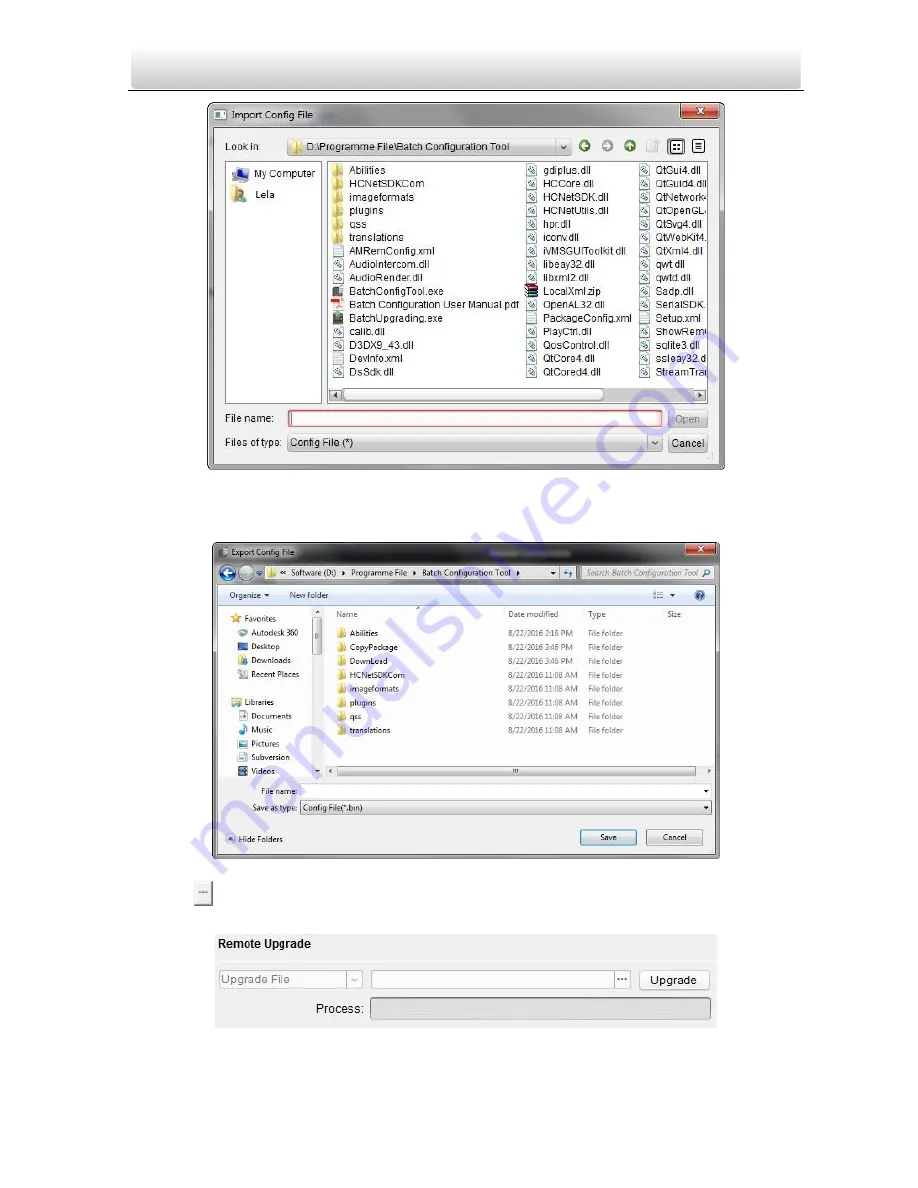
Figure 4-16
Import File
6.
Click
Export Configuration File
and the export file window pops up. Select the saving
path of remote configuration files and click
Save
to export the configuration file.
Figure 4-17
Export File
7.
Click
to select the upgrade file and click
Upgrade
to remote upgrade the device.
The process of remote upgrade will be displayed in the process bar.
Figure 4-18
Remote Upgrade


