USA
,
Inc.
A Division of Hikvision China
USA
,
Inc.
A Division of Hikvision China
First Choice For Security Professionals
First Choice For Security Professionals
www.hikvision-usa.com
www.hikvision-usa.com
www.hikvision-usa.com
Quick Start Guide
Quick Start Guide
DS-9100HDI-S DVR Version 2.0
Quick Start Guide
DS-9100HDI-S DVR Version 2.0
USA
,
Inc.
A Division of Hikvision China
USA
,
Inc.
A Division of Hikvision China
First Choice For Security Professionals
First Choice For Security Professionals
Quick Start Guide
Quick Start Guide
DS-9100HDI-S DVR Version 2.0
Quick Start Guide
DS-9100HDI-S DVR Version 2.0
8. Backup
Quick Start Guide
DS-9100HDI-S
Version 2.0
USA
,
Inc.
A Division of Hikvision China
565 Brea Canyon Road, Suite A
Walnut, California 91789
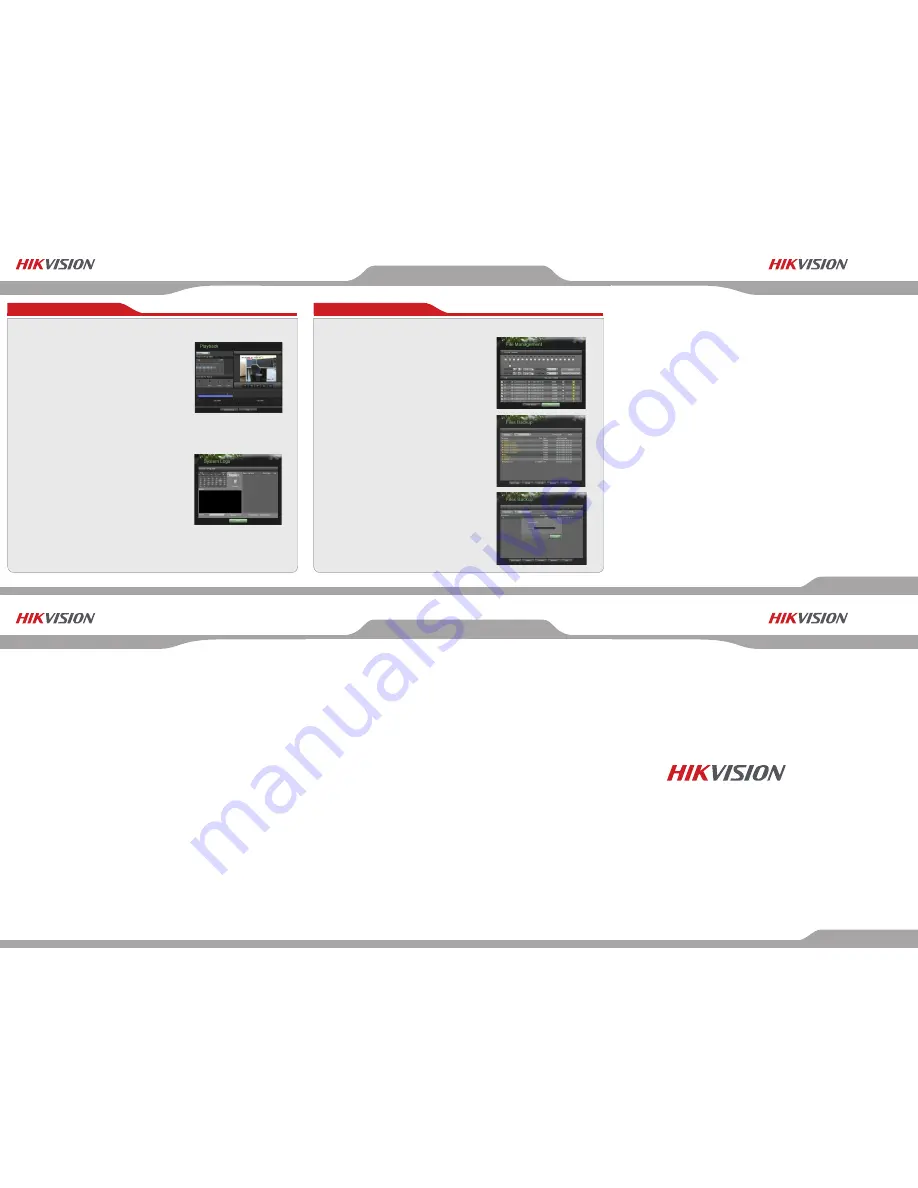
7. Playback
Playback from Search:
1. Enter the Playback menu by going to
Main Menu > Playback.
2. Set the search parameters by selecting
cameras to search and date to search on.
3. The search results will be shown on the timeline
with blue bars designating recorded files.
4. Select file and click the Play button to begin playback.
Playback from System Log:
1. Enter the System Logs menu by going to
Main Menu > Maintenance > System Logs.
2. Select date from the Calendar to search for system
logs in.
3. Select Search Type.
4. Click the Search button.
5. A list of results with your search criteria will be displayed.
If applicable, select the video log to playback and click Play.
6. The recording will begin to play in the Playback interface.
To backup recorded files:
1. Enter the File Management menu by going to
Main Menu > System Configuration > File Management
2. Select desired parameters to search for files
to backup.
3. Select the files to backup. You may also click the Play
button to verify that these files are indeed the ones
you would like to backup. The total size of the files will
also be shown on this menu.
4. Click the Files Backup button to access the Files
Backup Menu.
5. Select device to backup to from drop-down list (USB
Flash Drive, USB HDD, DVD Writer). If backup device
is not recognized:
• Click the Refresh button.
• Reconnect device.
• Check for compatibility from vendor.
6. The total available free space will be shown. If the
free space is not sufficient, delete files from the storage
device or insert a device with more available free
space.
7. Click the Backup button to begin backup process. After
the backup has completed, click the OK button.
NOTE: For more detailed information, refer to the Users Manual on
the CD-ROM. You must use your PC or MAC to access the files.


