


User rights setup
HDD management
Stop alarm output
Reboot
View log
System information
3.3.2 Menu Operation
How to enter into menu mode
z
Press
【
MENU
】
key to enter into DVR main menu.
z
Press
【
PLAY
】
short key to enter into playback menu.
z
Press
【
REC
】
short key to enter into manual record menu.
z
Press
【
PTZ
】
short key to enter into PTZ control interface.
Notes: You must input user name and password. The default user name is
“admin” and password is “12345”.
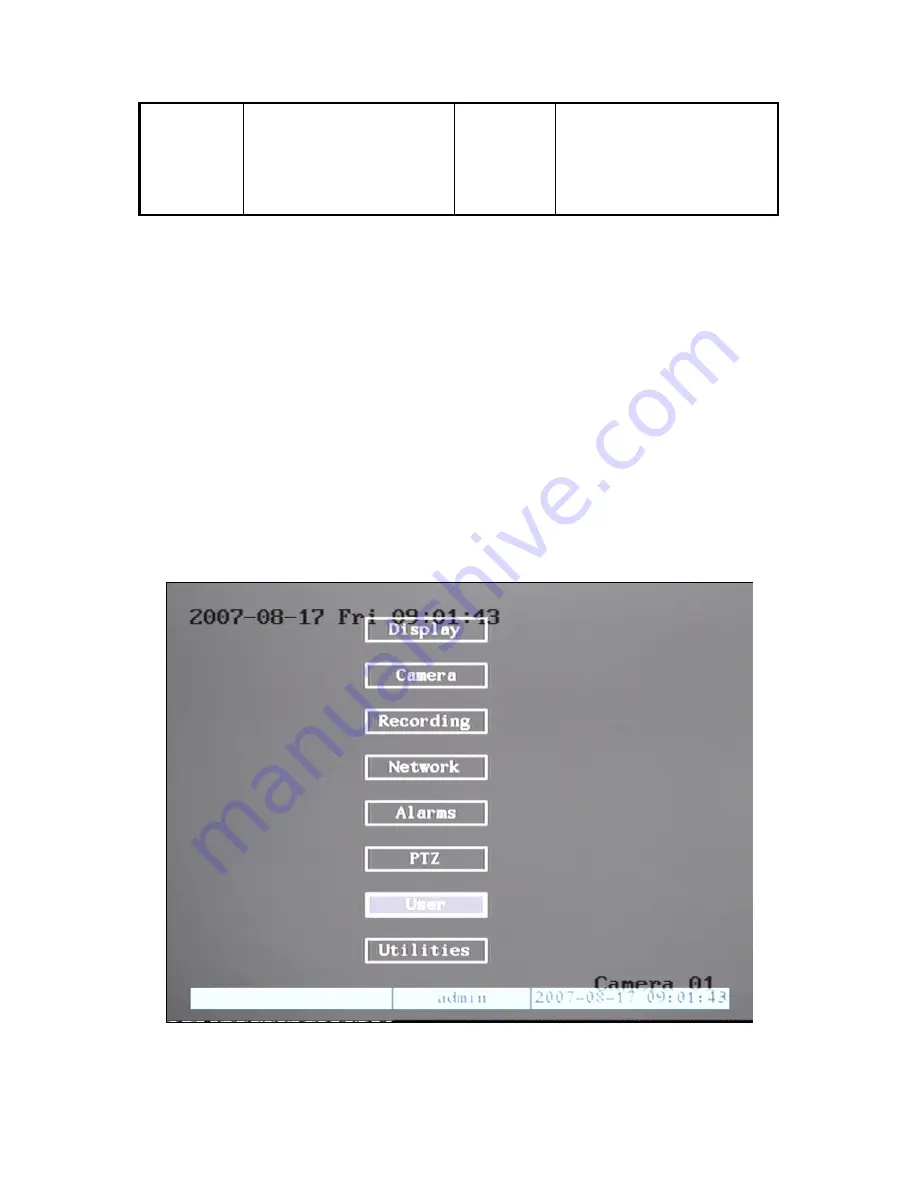
Main Menu Description
The main menu interface is shown as fig 3.3:
Fig 3.3 Main menu
There is one small frame named “Activ
rom one item to another by
e Frame”. It can be moved f
13
Содержание DS-7204HI series
Страница 32: ...4 8 Shut Down DVR Note You can only turn off the power directly 32 ...
Страница 41: ...or press Cancel to abort modification 41 ...
Страница 95: ...Suggestions 95 ...


