Network Bullet Camera·
Quick Operation Guide
25
25
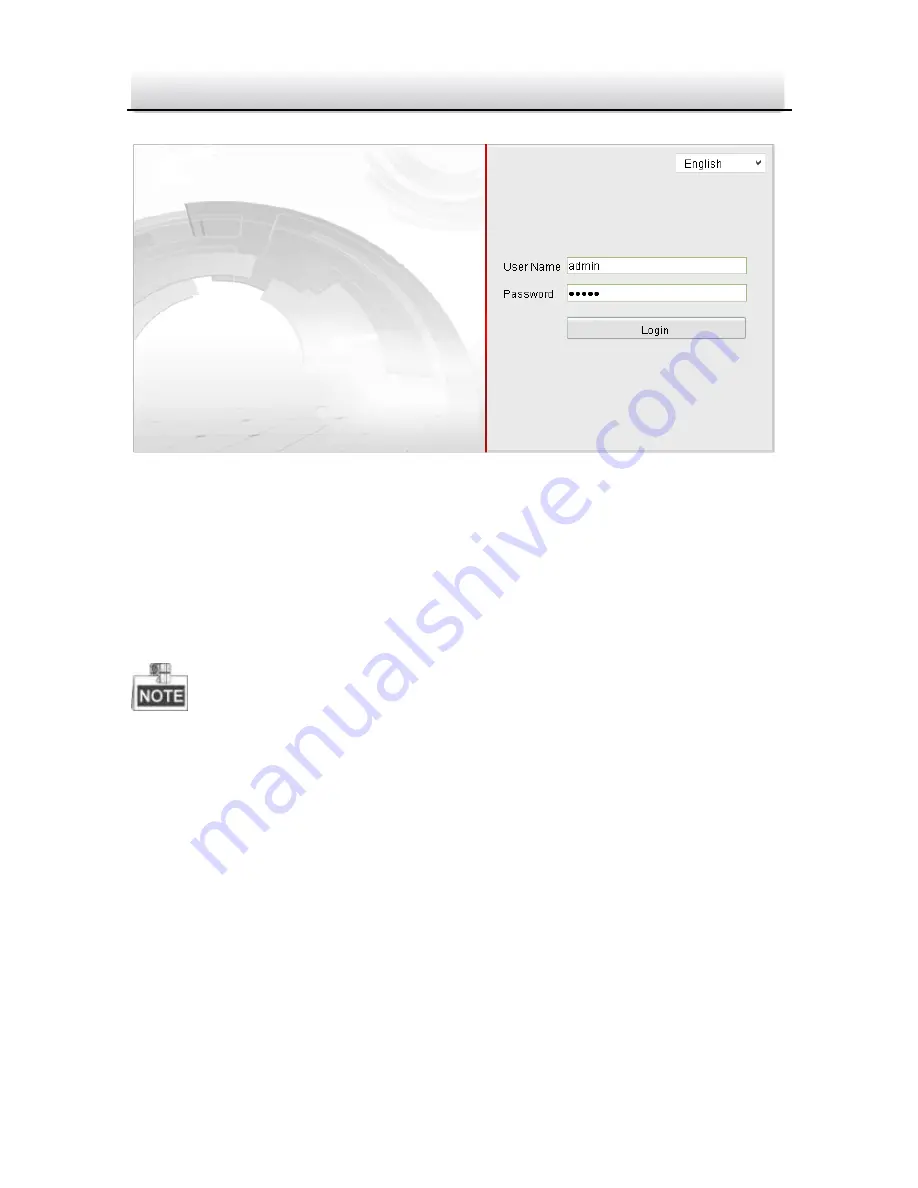
Login Interface
Figure 4-1
5.
Install the plug-in before viewing the live video and managing
the camera. Please follow the installation prompts to install the
plug-in.
You may have to close the web browser to finish the installation of
the plug-in.


