—
—
9
16). Installing of the neddle plate
To attach the needle plate, bring the cloth-cutting knife to its lowest position, and gradually tighten the two
set screws alternately while lightly pressing the needle plate onto the cloth-cutting knife.
17) Cloth cutting knife
1)
Operation of the cloth cutting knife
(1)
To actuate the cloth-cutting knife, press
down knife setting plate 1.
(2)
To stop the cloth-cutting knife and reset
the machine to the normal lockstitching
mode, pull knob 2 in the direction of the
arrow.
2)
Attaching the cloth cutting knife
(1)
Raise or lower the cloth-cutting knife so
that section A of the cloth-cutting knife
is positioned 0-0.5 mm below the top
face of the needle plate when the knife is
in its lowest position.
(2)
Loosen two knife set screws 1, and re-
place the cloth-cutting knife.
3)
Changing the cutting width
(1)
The needle plate decides the cutting
width. When the needle plate is replaced,
loosen knife guiding shaft set screw 1 so
that proper parallelism is obtained and
the sharpness of the knife blade is increased as shown in the figure.
(2)
When the position of the knife is changed in accordance with the change of the needle plate size,
loosen set screw 2, and position the knife so that the blade of the needle plate comes in contact
with the knife blade. Then tighten set screw 2.
(3)
For the standard machine, a 3.2 mm wide needle plate is installed at the time of delivery.
Содержание GC1998-MCDZ
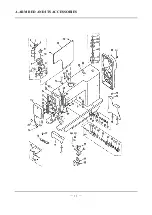
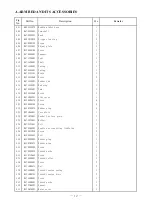
Страница 13: ...A ARM BED AND ITS ACCESSORIES 11...
Страница 16: ...B NEEDLE BAR AND THREAD TAKE UP MECHANISM 14 14...
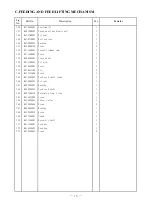
Страница 18: ...C FEEDING AND FEED LIFTING MECHANISM 16 16...
Страница 21: ...D STITCH REGULATOR MECHANISM 19 19...
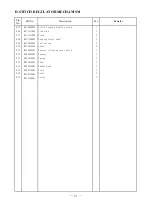
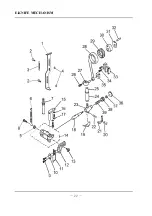
Страница 24: ...E KNIFE MECHANISM 22...
Страница 26: ...F PRESSER FOOT MECHANISM 24 24...
Страница 29: ...G THREAD TRIMMER MECHANISM 27 27...
Страница 32: ...H TOUCH BACK AND DETECTOR MECHANISM 30 30...
Страница 34: ...I MOTOR MECHANISM 32 32...
Страница 36: ...J OIL LUBRICATION MECHANISM 34 34...
Страница 38: ...K ACCESSORIES 36 36...


