background image

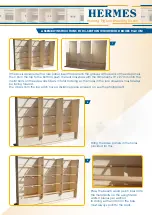
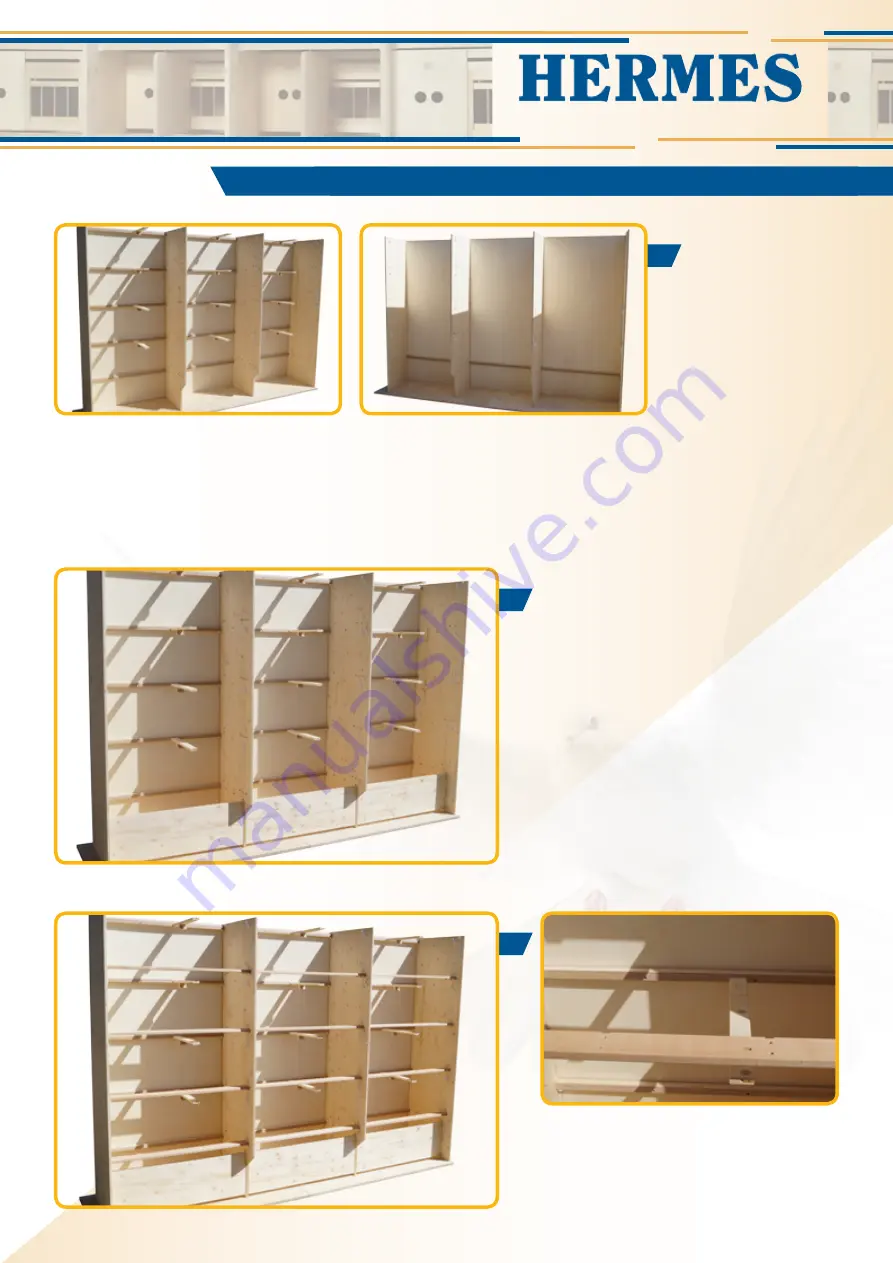
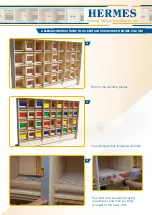
If the box is delivered with a rear panel, insert the panel in the grooves at the back of the side panels. 

Then, from the top to the bottom, push the rear crossbars with the dimensions 19 x 27 mm onto the 

metal bolts on the side walls. 5 bars in total. In doing so, the holes in the rear crossbars must always 

be facing forward. 

The 4 bars from the top each have a distance piece screwed on, see the photograph!

Hang the base panels in the holes 

provided for this.

Press the beech wood perch bars onto 

the metal bolts on the upright side 

walls. 4 pieces per section. 

In doing so the notch on the bars 

must always point to the back. 

1

2

3

ASSEMBLY INSTRUCTIONS FOR 3-SECTION WIDOWHOOD BOXES 94.2 CM

Homing Pigeon Breeding Boxes

Содержание 313

Страница 1: ... so the holes in the rear crossbars must always be facing forward The 4 bars from the top each have a distance piece screwed on see the photograph Hang the base panels in the holes provided for this Press the beech wood perch bars onto the metal bolts on the upright side walls 4 pieces per section In doing so the notch on the bars must always point to the back 1 2 3 ASSEMBLY INSTRUCTIONS FOR 3 SEC...

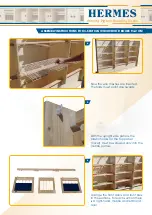
Страница 2: ... plastic hooks for the top panel cover must be screwed only into the middle panels Arrange the front doors and front bars in the sections For each section there is a right hand middle and left hand door 4 5 6 ASSEMBLY INSTRUCTIONS FOR 3 SECTION WIDOWHOOD BOXES 94 2 CM Homing Pigeon Breeding Boxes ...
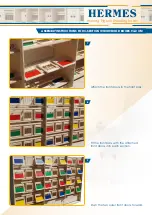
Страница 3: ...rs to the front bars Fit the front bars with the attached front doors into each section Push the two outer front doors forward 7 8 9 ASSEMBLY INSTRUCTIONS FOR 3 SECTION WIDOWHOOD BOXES 94 2 CM Homing Pigeon Breeding Boxes ...

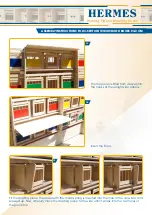
Страница 4: ...d fit the separating door with the right hand To do so the dowel with the metal spring must first be inserted in the hole in the cross bar Then the front dowel on the separating door must be guided into the groove of the front bar Then move the separating door carefully to the side until this snaps into place in the hole in the front bar The separating door engages in the notch below in the perch ...

Страница 5: ... dividing piece The dowel with the metal spring is inserted into the hole of the cross bar and pressed up Now carefully move the dividing piece to the side until it snaps into the two holes of the perch bar 13 14 15 ASSEMBLY INSTRUCTIONS FOR 3 SECTION WIDOWHOOD BOXES 94 2 CM Homing Pigeon Breeding Boxes ...

Страница 6: ...ces The sectioned box is fully assembled This must now be aligned using a spirit level and then be firmly screwed to the back wall 16 17 18 ASSEMBLY INSTRUCTIONS FOR 3 SECTION WIDOWHOOD BOXES 94 2 CM Homing Pigeon Breeding Boxes ...

Отзывы: