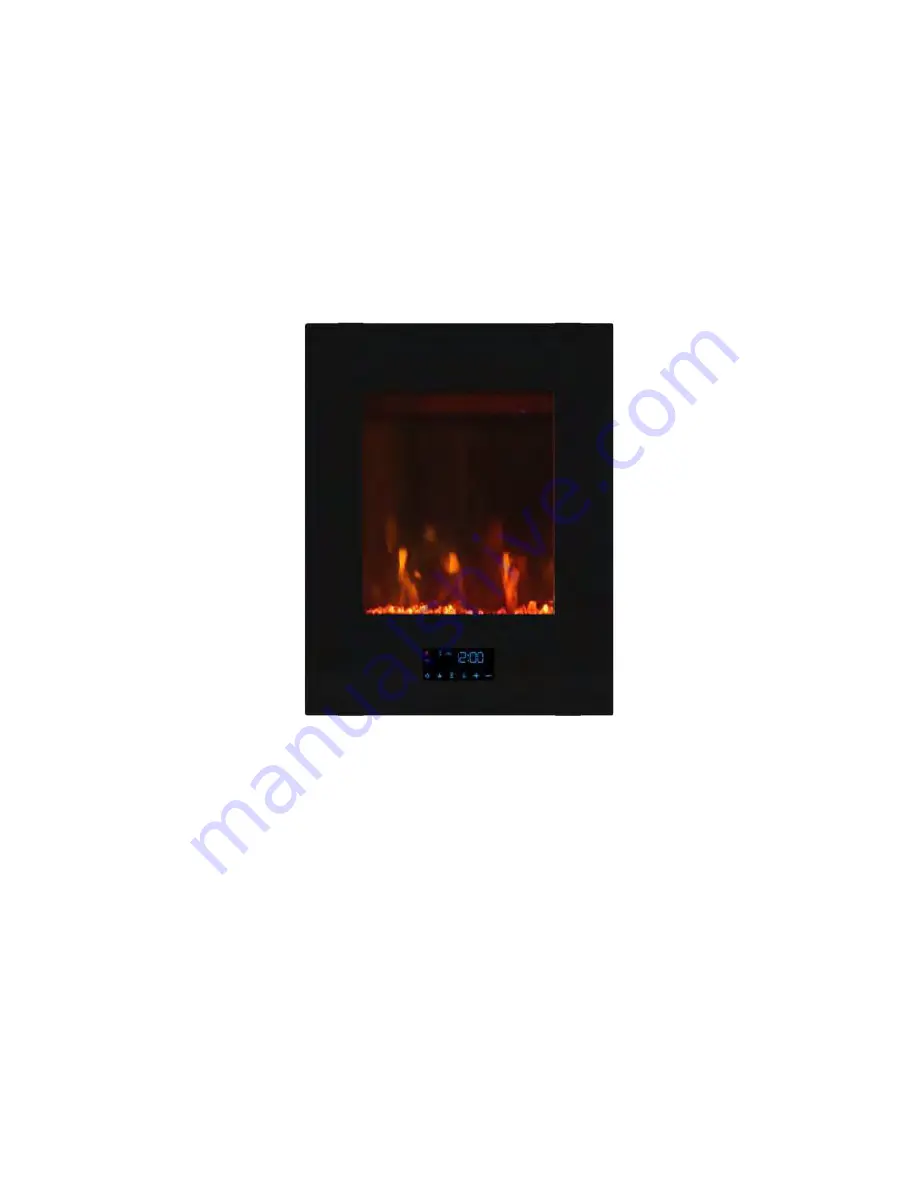
SP5733
USER MANUAL
Keep this manual for future reference
Please carefully check the unit and make sure there is no damage when you open the carton.
Страница 1: ...SP5733 USER MANUAL Keep this manual for future reference Please carefully check the unit and make sure there is no damage when you open the carton...
Страница 2: ...Canadian Electrical Code or for USA installations follow the National Electrical Code ANSI NFPA NO 70 This equipment has been tested and found to comply with the limits for Class B digital devices pu...
Страница 3: ...e DO NOT block any air intakes or exhaust in any manner DO NOT use on soft surfaces like a bed where opening may become blocked ALWAYS plug this unit directly into a wall outlet receptacle NEVER use w...
Страница 4: ...losed wall anchors BB only can be use on the concrete wall 6 For the best effect install the fireplace out of direct sunlight and away from overhead lighting Tools Required Site Selection Philips Scre...
Страница 5: ...ion ASSEMBLY INSTRUCTIONS x 1 x 1 x 1 A C B Front Glass Fireplace Mounting Bracket x 1 x 1 Remote Control Acrylic Shards D E A C D B E Number of spare hardware is indicated in Hardware Identification...
Страница 6: ...of fireplace B by unscrew two screws at the top of the unit Minimum distance between the object 21 inch C B Choose a wall location to attach the mounting bracket C Position the mounting bracket C in t...
Страница 7: ...for mounting bracket installation STUD WALL Secure the mounting bracket C to wall using screws AA at marked stud locations DRYWALL Drill holes at marked locations and secure the mounting bracket C to...
Страница 8: ...Assembly Wall Mount Installation ASSEMBLY INSTRUCTIONS 5 Distribute the Acrylic Shards E evenly in the tray of the fireplace B E 8...
Страница 9: ...BLY INSTRUCTIONS Assembly Wall Mount Installation 6 Hang the front glass A on the hooks at both side of fireplace B lock the front glass A by closing the latches on both side as illustrated below A A...
Страница 10: ...is invalided The TIMER symbol will automatically disappear Clock Setting For clock setting hold the TIMER key for 5s hour display will flashing Push UP or DOWN key Hours setting can be adjusted Touch...
Страница 11: ...fireplace and replace any part of the electrical system WARNING Disconnect the power before attempting any maintenance or cleaning to reduce the risk of fire electrical shock or personal injury WARNIN...
Страница 12: ...the unit back in and turn on the heater If the problem persists call customer service 3 Unplug unit wait 5 10 minutes then the sensor will reset itself Plug the unit back in and turn on the heater If...
Страница 13: ...MANUEL D UTILISATEUR Keep this manual for future reference V rifiez soigneusement l appareil et assurez vous qu il n y a pas de dommages lorsque vous ouvrez le carton...
Страница 14: ...es locaux a la plus recente version du Code canadien de l electricite CSA C22 1 ou au code national de l electricite ANSI NFPA No 70 Cet article a t test et d clar conforme aux limites impos es aux di...
Страница 15: ...e la terre Ne vous servez pas de l adaptateur si une prise trois fentes avec mise la terre est disponible AVIS IMPORTANT Quand vous utilisez un appareil electrique des precautions de base devrait etre...
Страница 16: ...s BB peuvent seulement tre utilize sur un mur de b ton 6 Pour un meilleur effet installer le foyer hors des rayons directe du soleil et loin de l clairage du plafond Outils requis Tournevis cruciforme...
Страница 17: ...STRUCTIONS DE MONTAGE x 1 x 1 x 1 A C B Couvercle avant Foyer Support de Montage x 1 x 1 T l commande Pierres D E A C D B E Nombre de materiel en est separe pour la sauvegarde Identification de la qui...
Страница 18: ...B en devissant les deux vis en haut de l unite Choisissez un emplacement sur le mur pour fixer le support de montage C Positionner le support de montage C l endroit d sir Utilisez un niveau pour align...
Страница 19: ...fixer le support de montage C au mur avec des boulons ailettes et des rondelles non inclus MUR DE B TON Percer des trous de 5 16 pouces aux endroits marqu s puis ins rez les ancrages BB dans les trou...
Страница 20: ...Assembl e Installation Murale INSTRUCTIONS DE MONTAGE 5 E Distribuer les pierres E uniform ment dans le plateau du foyer B 20...
Страница 21: ...E MONTAGE Assembl e Installation Murale 6 Accrochez le verre avant A sur les crochets des deux c t s du foyer B verrouillez le verre avant A en fermant les loquets des deux c t s comme illustr ci dess...
Страница 22: ...che Flamme jusqu a FL0 FL1 FL2 FL3 FL4 FL5 s affiche sur l ecran puis appuyez sur la touche ou pour ajuster la luminosite de la flamme du niveau 0 au niveau 5 R glage de la Minuterie La minuterie peut...
Страница 23: ...tation de l appareil doit tre mis hors tension Tout d abord tourner l interrupteur d alimentation principal sur la position ARR T Ensuite retirez la fiche lectrique de la prise murale Remarque Lorsque...
Страница 24: ...le capteur se r initialisera par lui m me Rebrancher l unit et mettre l appareil en marche Si le probl me persiste contacter le service la client le 3 D brancher l unit attendre 5 10 minutes le capteu...