background image

Page 25

Optional Connections

Page 26

Connecting to a Computer

Connect the tablet to a computer to transfer files.

1. Connect your tablet to the computer. With the 
included USB cable:

    Plug the small end of the cable into the USB 2.0 

Hi-speed connector of the tablet.

    Plug the large end of the cable into an available 

USB 2.0 Hi-speed port on the computer.

2.When


your


tablet


is


connected

a


USB  icon


will 

appear


in


the


Notification window.

    Touch


Notification


window


to


expand.

3. Mount the storage drive.    

      Touch  USB  connected  to  mount  the  tablet's 

built-in  storage,  then  touch  Turn  on  USB 
storage  when  prompted  to  confirm.  When 
mounted,  you  can  copy  files  to/from  your 
computer to it.

Optional Connections

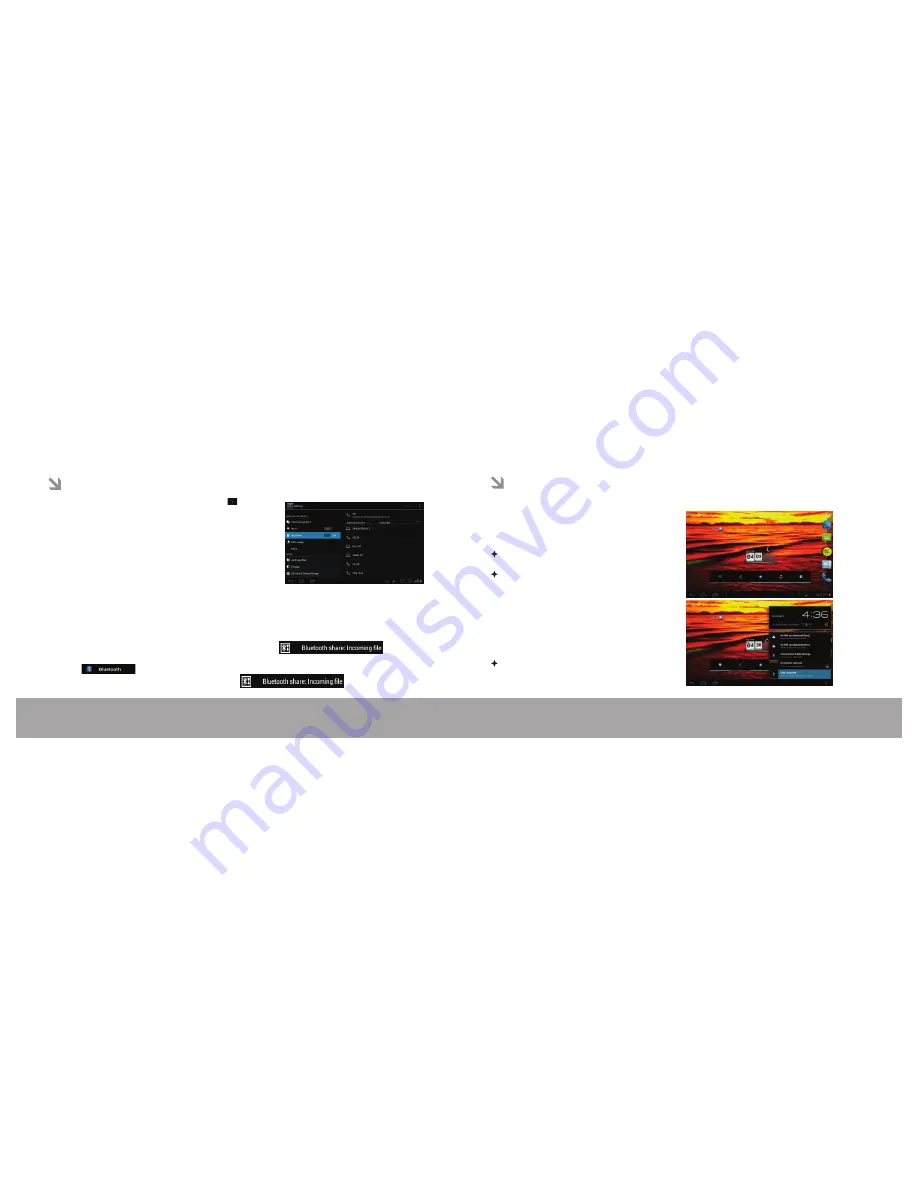
Bluetooth connectivity

This Tablet can use the Bluetooth to transfer files 

between two 

devices  and  also  able  to  stream  the  audio  through  Bluetooth 

headphone.

1.To Turn ON the Bluetooth, under settings   touch “Bluetooth” to 

Turn it ON

2.Touch “SEARCH FOR DEVICES”,  to list the Bluetooth enabled 

device

3.Touch the device which needs to be paired and follow on-screen 

instruction at both the device to pair each other.

4.User  able  to  see  the  list  of  device  which  are  paired  under   

PAIRED DEVICES and list of un-paired Bluetooth enabled device 

under DEVICES AVAILABLE

5.Touch  menu  key  to  get  Bluetooth  settings  (Rename  tablet, 

To receive the files

1.User notifies

notification at notification panel

2.Expand  the  notification  panel  and  touch 
the

3.Touch the Accept  to receive the file

Bluetooth connectivity

To send the files

1.Open Gallery
2.Select  the file which has to be shared
3.Touch menu key  and touch share
4.Select 
5.Select the device to which it has to be sent
6.User can able to see file sending progress in 

notification panel

Содержание Me Y3

Страница 1: ...ME Tablet Y3 User Manual Please read carefully before use For Series Y3 Ver 1 0 ...

Страница 2: ...e Film 7 Touchscreen Actions 7 About the Orientation Sensor 8 Charging the Tablet 9 Inserting a Memory Card 9 GETTING STARTED 11 Turning the Tablet On and Off 11 Turning the Screen On and Off Standby 12 Unlocking the Screen 12 Home Screen at a Glance 13 Menu 14 CONNECTING TO THE INTERNET 15 Requirements 15 Connect to a Wi Fi Network 15 ME Tablet Y3 ...

Страница 3: ...ies Browse the web watch videos check e mail and more on a generous 7 0 LCD screen Make calls browse the web through 3G connectivity Connect your device to your PC using Bluetooth or USB Data card Intuitive touchscreen controls powered by Android OS Connect to the Internet with high speed networking support Wi Fi 802 11 b g n Play popular video music and photo formats View pages in portrait or lan...

Страница 4: ...matically disabled when Headset connected to tablet Reset the device Reset 9 4 3 8 2 7 1 Micro SD Card Slot SIM Slot1 Slot to insert the micro SD card Mini USB 2 0 Hi Speed port Using Mini USB to USB data cable tablet can be connected to the computer as device Jack to insert the DC adaptor for charging Use the adaptor which is bundled along with the Tablet SIM1 8 Stereo Speaker Speakers Power Key ...

Страница 5: ...blet s functions Use your finger tip to touch the area of the screen where a control icon is displayed If you touch and hold the screen it will register as a continuous button press Protective Film A thin film has been applied to the touchscreen to protect it during shipping The protective film should be removed before use To remove it simply take a corner of the film and peel it away from the scr...

Страница 6: ...2 Slide the card into the spring loaded slot Push the card in until it clicks into place Inserting a Memory Card The tablet supports microSD memory cards Insert a memory card into the microSD card slot to Increase the memory capacity of your tablet Charging the Tablet Do not attempt to insert objects other than a microSD memory card into the card slot A compatible memory card should fit easily int...

Страница 7: ...seconds and 30 minutes This Screen timeout option can be found in the display settings menu if a password been set enter the password to finish unlocking the screen The Screen Unlock password can be set in the security settings menu Page 12 Page 11 Getting Started Getting Started Turning the Tablet ON and OFF To turn the tablet on Press and hold the Power key until the LCD screen turns on Wait unt...

Страница 8: ... touch hold home screen option to change wallpaper appears Menu Not all items have a context menu if a menu does not exist nothing will happen if you touch and hold the item Page 14 Page 13 Getting Started Menu Virtual buttons in the System Bar let you navigate instantly to Back Home RecentApps and menu The system Bar and virtual buttons are present across all apps but can be dimmed by application...

Страница 9: ...i status Requirements In order to connect to the Internet you will need the following 1 A wireless router or access point with a broadband Internet connection 2 The wireless router network settings You will need to know the name of your network SSID as well as the password or other credentials if your network is secured These settings can usually be found on the administration webpage of your wire...

Страница 10: ... Window and Select the Settings Step 2 In the following screen make sure Wi Fi is switched on Step 3 Now long press on the network with which the proxy settings is to be used Page 18 Page 17 Connecting to proxy server through wi fi Connecting to proxy server through wi fi ...

Страница 11: ...d option Step 6 In the following screen in the Proxy Settings option please select Manual Option Step 7 Now enter the proxy details Proxy Hostname Proxy Port as given by the network administrator Page 20 Page 19 Connecting to proxy server through wi fi Connecting to proxy server through wi fi ...

Страница 12: ...n experience that s as rich and convenient as a desktop browser 1 2 3 4 5 Step 8 Also please ensure that the correct IP settings are done as provided by the network administrator Step 9 Now click on Save option Address bar Search tool To open new tab max 16 tabs To bookmark the visited web page To view book marked pages To history saved pages Page 22 Browsing the WEB Page 21 Connecting to proxy se...

Страница 13: ...o configuration fails manually imap settings has to be fed by selecting Manual setup Note For setting details contact your network administrator Mail Configuration Page 24 Page 23 Phone Function Mail Configuration This tablet can be used to make receive the audio calls just like mobile phone Touch on the All Apps launcher to open the Phone application 1 Touch to open the on screen dial pad 2 Touch...

Страница 14: ...fer files between two devices and also able to stream the audio through Bluetooth headphone 1 To Turn ON the Bluetooth under settings touch Bluetooth to Turn it ON 2 Touch SEARCH FOR DEVICES to list the Bluetooth enabled device 3 Touch the device which needs to be paired and follow on screen instruction at both the device to pair each other 4 User able to see the list of device which are paired un...

Страница 15: ...ing Earphones and then slowly raise the volume to a comfortable listening level The Earphones must have a 3 5 mm 1 8 in plug When Earphones are connected speaker output will be disabled automatically Connecting Earphones Constant exposure to high volumes can lead to hearing loss If you should experience ringing in the ears or hearing loss discontinue use and seek medical advice Connecting to 3G ne...

Страница 16: ...ilable in your tablet Step 5 After a while you can see over the Notification bar Mobile data is enabled You are now connected to the mobile data network Note Reboot the tablet if 3G signal is not detected Once you remove the SIM card out of the tablet 3G Data will automatically switch OFF after a while This is to save your battery life Repeat from steps 1 4 to enable it ...

Страница 17: ...s To open the Settings menu 1 From the Home screen press the virtual Menu key 2 Select system Settings to open the Settings menu The settings are grouped by category Select a category to open and customize the settings System settings Wireless Networks Wi Fi Data usage More Used to turn on and off the wi fi and options available to set the wi fi settings Data usage controls let you monitor total u...

Страница 18: ...sonal Account sync Used to add an account to control the sync status of your device with configured Accounts Security Options available to secure your device Setting the System Options Language input Used to select the language keyboard layout and to add the new words to the dictionary Back up reset Used to back up your data to do factory data reset System Date Time Used to set the date time time ...

Страница 19: ...escreen Wi Fi Enabled IEEE 802 11 b g n Bluetooth v4 0 Audio formats Image formats PC Interface Additional Features Operating System WAV MP3 MIDI AAC APE MP2 AMR FLAC OggVorbis JPEG BMP PNG Built in microphone Front facing camera 0 3MP Built in speaker Rear facing camera 3 2MP Android 4 0 4 Rechargeable Li poly battery 3 7V 3100mAh Power Adapter DC 5V 2A USB 2 0 Hi speed and USB 2 0 OTG Power Spec...

Страница 20: ... Read Instructions All the safety and operating instructions should be read before the product is operated 2 Retain Instructions The safety and operating instructions should be retained for future reference 3 Heed Warnings All warnings on the product and in the operating instructions should be adhered to 4 Follow Instructions All operating and usage instructions should be followed 5 Cleaning Unplu...

Страница 21: ...stment of other controls may result in damage and will often require extensive work by a qualified technician to restore the product to its normal operation e if the product has been dropped or damaged in any way f when the product exhibits a distinct change in performance This indicates a need for service Important Handling Instructions Important Handling Instructions 12 Replacement Parts When re...

Отзывы: